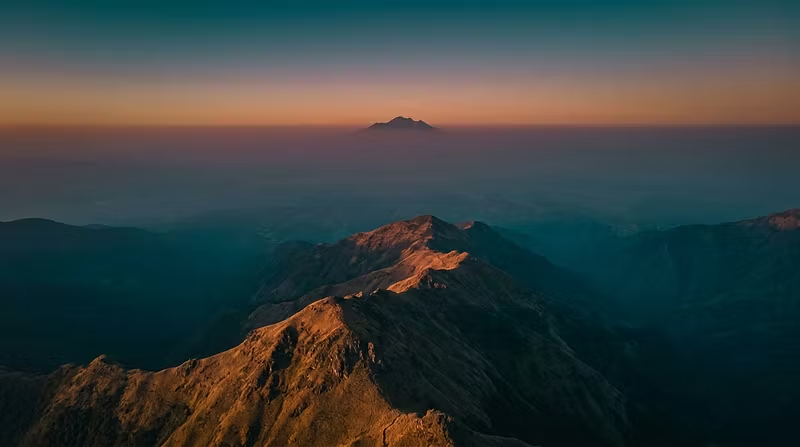


3 DaVinci Resolve Tricks That Fix 90% of Ugly Drone Footage
If your drone footage looks flat, hazy, or washed out — you're not alone. Most aerial shots straight off the card look nothing like what you saw through the lens.
Here are three DaVinci Resolve techniques I use on nearly every drone project to go from "meh" to cinematic.
---
1. The Haze Killer — Offset + Lift Separation
Atmospheric haze is the #1 enemy of aerial footage. It crushes your blacks and desaturates everything.
Quick fix:
Drop into the Primaries – Bars panel
Pull the Offset wheel slightly toward blue-orange complement (opposite of the haze cast)
Lower your Lift to restore true blacks without crushing shadow detail
Check your Waveform — blacks should kiss the baseline, not slam into it
This alone transforms 50% of hazy drone shots.
2. Qualifier-Based Sky Enhancement
Drone shots live and die by the sky. Here's how to make it pop without looking fake:
Use the HSL Qualifier to isolate the sky (target the blue/cyan range)
Add a slight saturation bump (+10-15%) and pull the Hue toward a richer blue
Feather your key generously — nothing screams "amateur" like a hard sky mask
Use the Highlight window to keep the enhancement in the upper portion of the frame
3. The Aerial Contrast Curve
Forget the basic contrast slider. Use a custom Curves adjustment:
Lift the bottom of the curve slightly (adds atmosphere, prevents crushed blacks at altitude)
S-curve the midtones gently for contrast without harshness
Roll off the highlights to tame blown-out clouds and sun reflections
This gives you that filmic, cinematic look that flat contrast adjustments can't achieve.
---
These three techniques are the foundation of every aerial color grade I deliver. If you want to go deeper — understanding color science, building reusable node trees, creating custom LUTs, and grading real-world aerial projects — that's exactly what my full course covers.
What's your biggest color grading challenge with drone footage? Drop it in the comments 👇