

How To Build a Shopify-Like E-Commerce Store on Whop — With Full Frontend Control + Admin Panel
If you've been wanting to use Whop as both the backend and payment infrastructure for a real e-commerce business, you can now build the entire setup end-to-end without needing Shopify or paying separately for a bunch of cart, upsell, and checkout apps.
I built a Whop Blueprint that gives you a complete e-commerce setup, including:
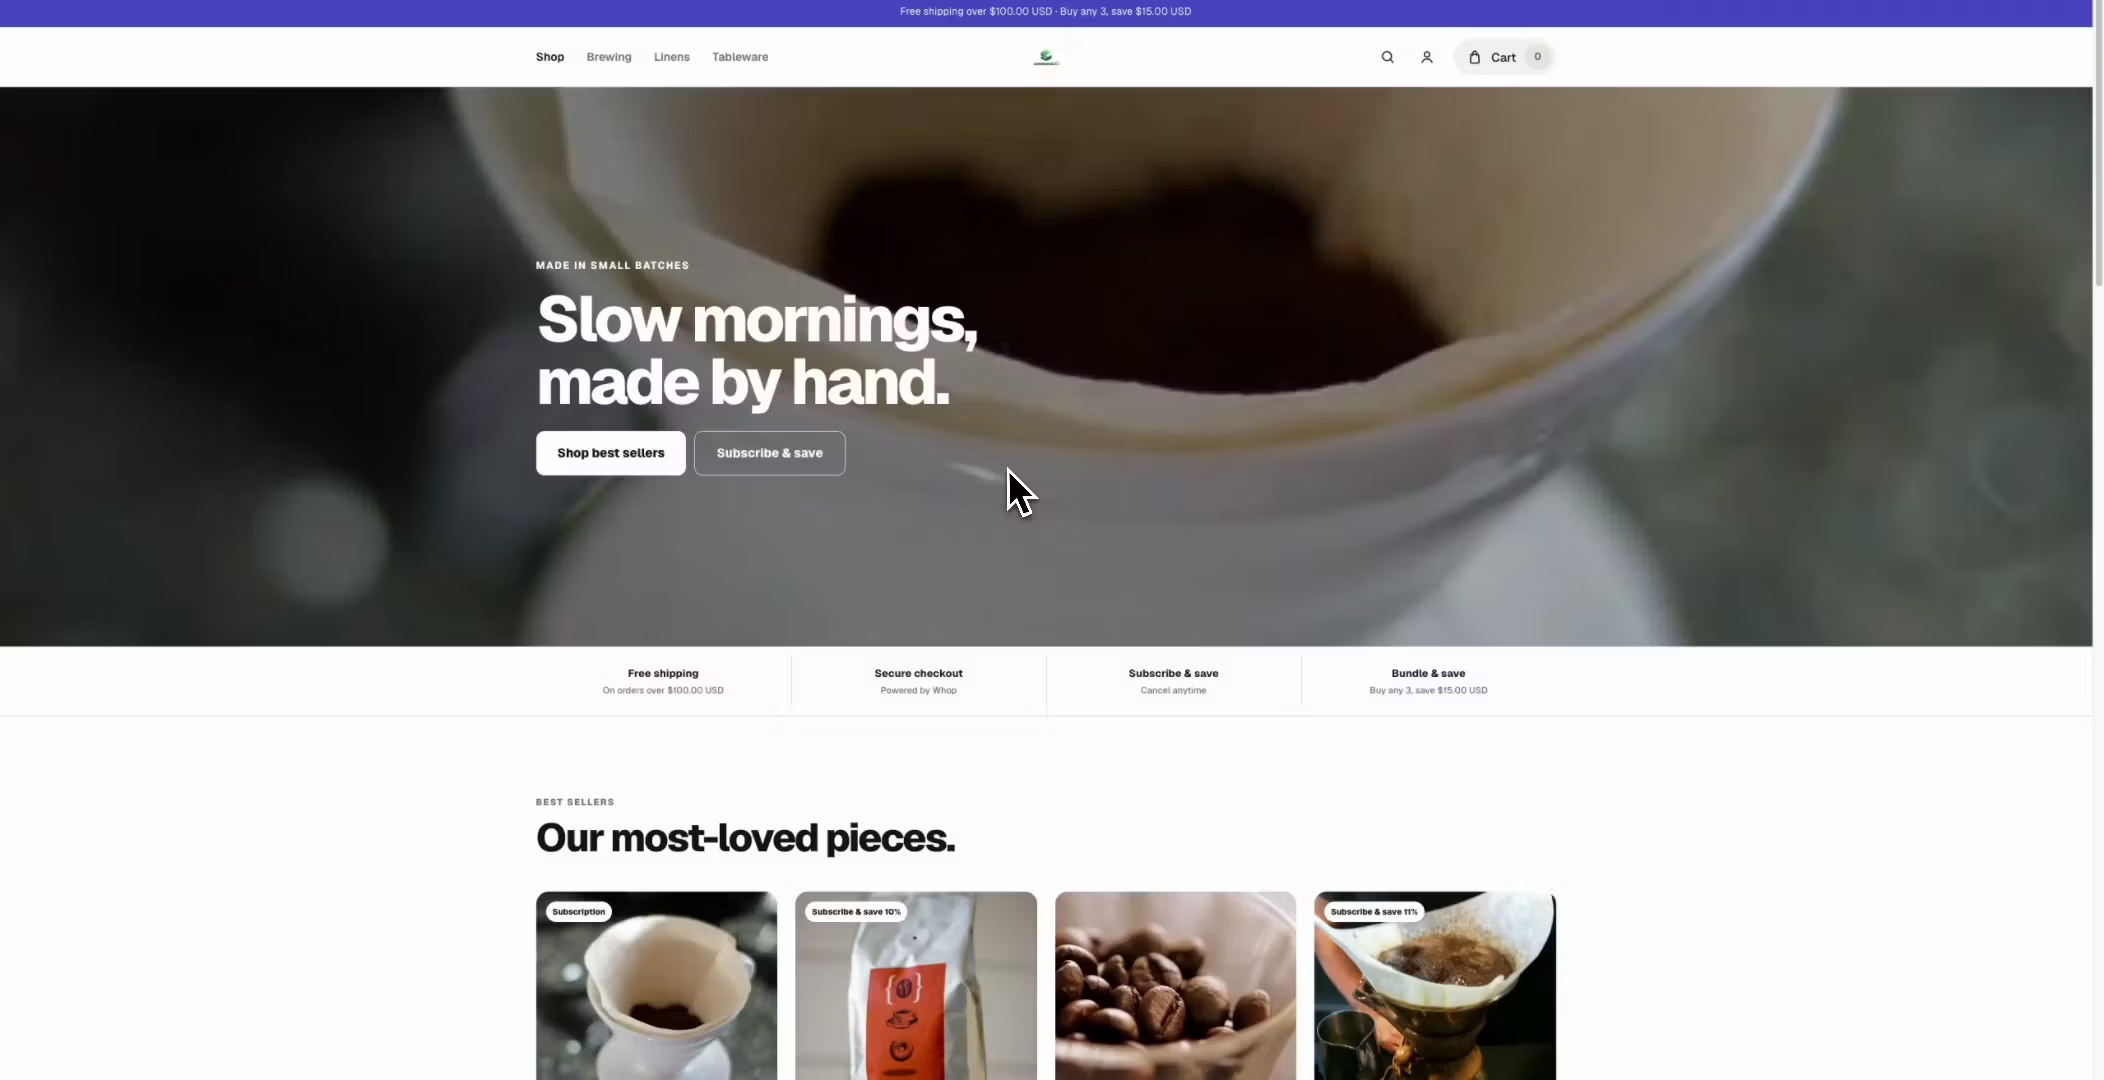
High-converting product pages
Multi-product cart
Custom cart drawer
Shopify-style checkout experience
One-time and subscription purchases
Cart upsells
One-click post-purchase upsells
Reviews
Brand customization
Multiple storefront themes
Full admin panel
Whop-powered payments
Mobile-responsive storefront
The idea is to let Whop handle the backend, products, customers, and payments while giving you much more control over the actual shopping experience.
Step 1: Apply the Blueprint
Go here:
https://whop.com/blueprints/app_j4l6X2c4V42VWn/?a=digitalnomadonline
Click Apply Blueprint.
Whop will create a full copy of the Blueprint inside your own Whop account.
From there, the site belongs to your business and you can customize it.
Step 2: Customize the Frontend
You can use Whop AI to change the website.
For example, you can ask it to:
Change the homepage
Update product-page layouts
Change fonts and colors
Add new sections
Change images
Modify navigation
Build new landing pages
But if you're running low on AI tokens, you don't need to use AI for the basic store settings.
Just visit:
yourwebsite.com/admin
Then click:
Sign in with Whop
This opens the commerce admin panel.
Step 3: Customize Your Store
Inside the admin panel you can manage things like:
Branding
Change your:
Brand colors
Logo
Store styling
Buttons
General appearance
Themes
You can choose between 6 different storefront themes depending on the style of business you're building.
For example, you can use different layouts for:
Health/wellness
Fashion
Tech
Digital products
General e-commerce
You can still use Whop AI afterward if you want to customize the design even further.
Step 4: Configure Your Upsell Flow
The admin also includes an upsell flow builder.
This lets you create offers that appear after the customer's initial checkout.
For example:
Customer buys Product A
→ Show Product B
Customer can click:
Yes, add this to my order
or:
No thanks
The goal is to increase AOV (Average Order Value) without forcing the customer to go through the entire checkout process again.
You can configure which products trigger which offers directly from the admin panel.
The Basic Flow
Your store ends up working like this:
Product Page
↓
Add to Cart
↓
Cart
↓
Whop Checkout
↓
Payment Successful
↓
One-Click Upsell
↓
Order Confirmation
Whop still handles the payment infrastructure underneath everything.
The Blueprint is mainly giving you the commerce experience around it.
Why I Built It
Whop is becoming capable of powering much more than digital memberships.
With Whop Sites, Whop Payments, multiple line items, subscriptions, and the ability to build custom frontend experiences, you can now use Whop as the infrastructure behind a proper e-commerce store.
Instead of paying separately for:
Store builder
Cart app
Upsell app
Checkout customization
Hosting
Payment infrastructure
the goal of this Blueprint is to put most of that into one system.
Once you apply the Blueprint, you get the full copy and can modify it however you want.
If you're trying to build an actual e-commerce business on Whop rather than just a basic Whop product page, this should give you a much better starting point.