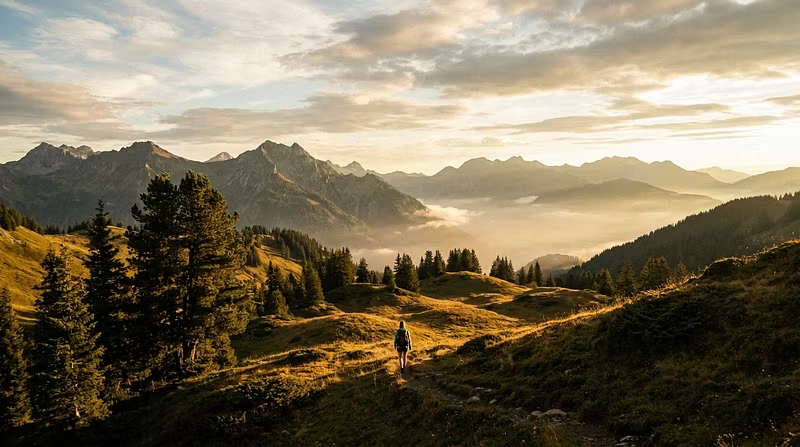


5 phone photography tricks that made my trail photos actually worth sharing
I used to come back from incredible hikes with photos that looked... flat. The mountains that took my breath away looked like wallpaper samples. The golden sunset that stopped me mid-stride? Just an orange smudge.
Turns out I was making the same 5 mistakes most hikers make. Fixing them took zero new gear and about 10 minutes of practice.
1. Stop centring everything
Turn on grid lines in your camera settings. Put the horizon on the top or bottom third line — never dead centre. Put your subject where the lines cross. Instant improvement.
2. Get low, add foreground
The biggest landscape photography mistake: standing at eye level, pointing at the horizon. Get your phone 30cm off the ground. Put a rock, wildflowers, or a puddle in the foreground. Now your photo has depth instead of being a flat postcard.
3. Lock your exposure on the sky
Tap and hold on the bright sky to lock focus there, then slide exposure down slightly. This stops the sky from being a white void and brings out cloud detail. Your foreground goes darker, but that's what editing is for.
4. Shoot in the first and last hour of daylight
The light at 6am and 7pm is warm, directional, and dramatic. Midday sun is harsh and flat. If you're wild camping, you're already in position for both — that's your unfair advantage over day hikers.
5. Edit for 60 seconds, not 60 minutes
Open Snapseed (free). Straighten the horizon. Lift shadows, drop highlights. Add a tiny contrast and saturation bump. Sharpen slightly. Done. Your phone flattens colours — you're just putting them back.
I built a full course covering composition, light, phone settings, and editing inside Freesoul — a community for hikers and wild campers who want to get more out of every trail. Course, community chat, trip planning, the lot.
If you're tired of coming home with photos that don't do the view justice, this might be your thing.