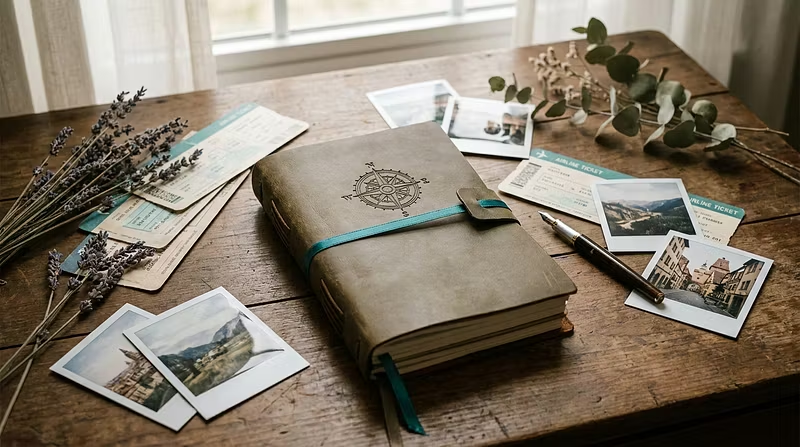


5 Things I Wish I Knew Before Making My First Travel Itinerary Book
I've made over 30 travel itinerary books in the past few years. Beautiful ones with hand-drawn maps, ticket pockets, receipt sleeves, and photo pages. But my first one? It was a mess.
Here's what I learned the hard way:
1. Start with a structure, not decorations.
Most beginners jump straight into washi tape and stickers. But a great travel book starts with a clear layout system — chronological sections, a supplies checklist, and consistent page formats.
2. Use loose-leaf, not bound notebooks.
Bound journals look pretty on Instagram, but they're terrible for travel books. You can't rearrange pages, add ticket sleeves, or expand sections. A simple A5 ring binder gives you infinite flexibility.
3. Collect as you go — don't wait until you're home.
Boarding passes fade. Receipts crumble. Museum tickets get lost. Dedicate a ziplock bag in your carry-on for daily paper collection. Future you will be grateful.
4. Templates save hours.
I used to hand-draw every page from scratch. Now I use printable templates for common layouts (daily itinerary, budget tracker, packing list, photo grid). It cuts my production time by 70% and looks more polished.
5. The best travel book is the one you actually finish.
Perfectionism kills more travel books than bad design. Set a rule: finish within 2 weeks of returning home. Done > perfect.
I put everything I know into a step-by-step system with ready-to-print templates. If you want to skip the trial-and-error phase, check out what we're building here at TripBound. ✈️