

The 3 Measurements That Make or Break a Collar Stand
Most collar stand fitting problems trace back to three measurements taken incorrectly — or not taken at all. Here's what they are and how to get them right.
1. Neck Circumference at the Base
Not the mid-neck. Not the Adam's apple line. The base — where the neck meets the shoulders. This is where the collar stand actually sits.
Wrap your tape measure snug but not tight, keeping it level all the way around. Add 1.5 cm for ease. That's your working measurement.
Common mistake: Measuring too high gives you a collar stand that rides up and chokes. Too loose and it gaps at the back.
2. Center Back Stand Height
This determines how tall the collar stand is at its highest point (center back). Standard dress shirts run 2.5 to 3.5 cm here.
Measure from the neckline seam straight up to where you want the top edge of the stand to sit. If you're drafting for a spread collar, lean toward 3 cm. For a button-down, 2.5 cm works.
3. Center Front Stand Height
The stand tapers as it moves toward the front. At center front, it's typically 1.5 to 2 cm shorter than the back height.
This taper is what gives the collar stand its characteristic curve and lets it follow the natural slope of the neck from back to front.
The Relationship Between Them
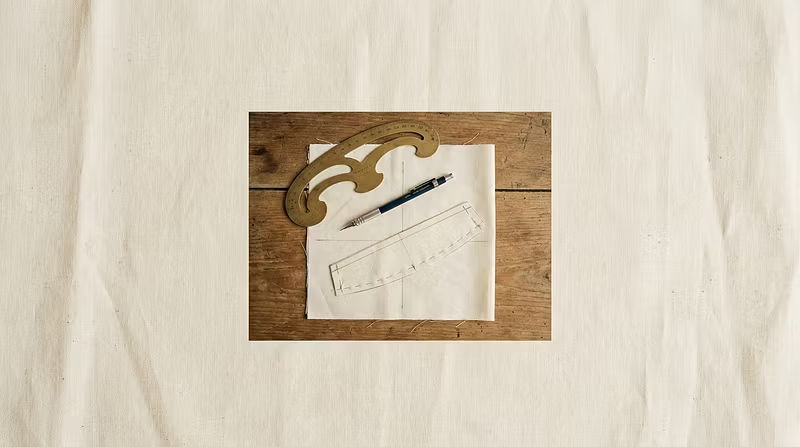
These three measurements create a curved trapezoid — not a rectangle. If you draft a collar stand as a straight rectangle (a surprisingly common shortcut), it will never sit properly against the neck.
The bottom edge follows the neckline curve. The top edge follows a gentler curve. The height difference between back and front creates the shape.
---
This is the foundation I teach in my Collar Stand Drafting Masterclass. If you want to go from measurements to production-ready patterns, the full course covers everything from anatomy through advanced variations like the Italian one-piece collar and stand.