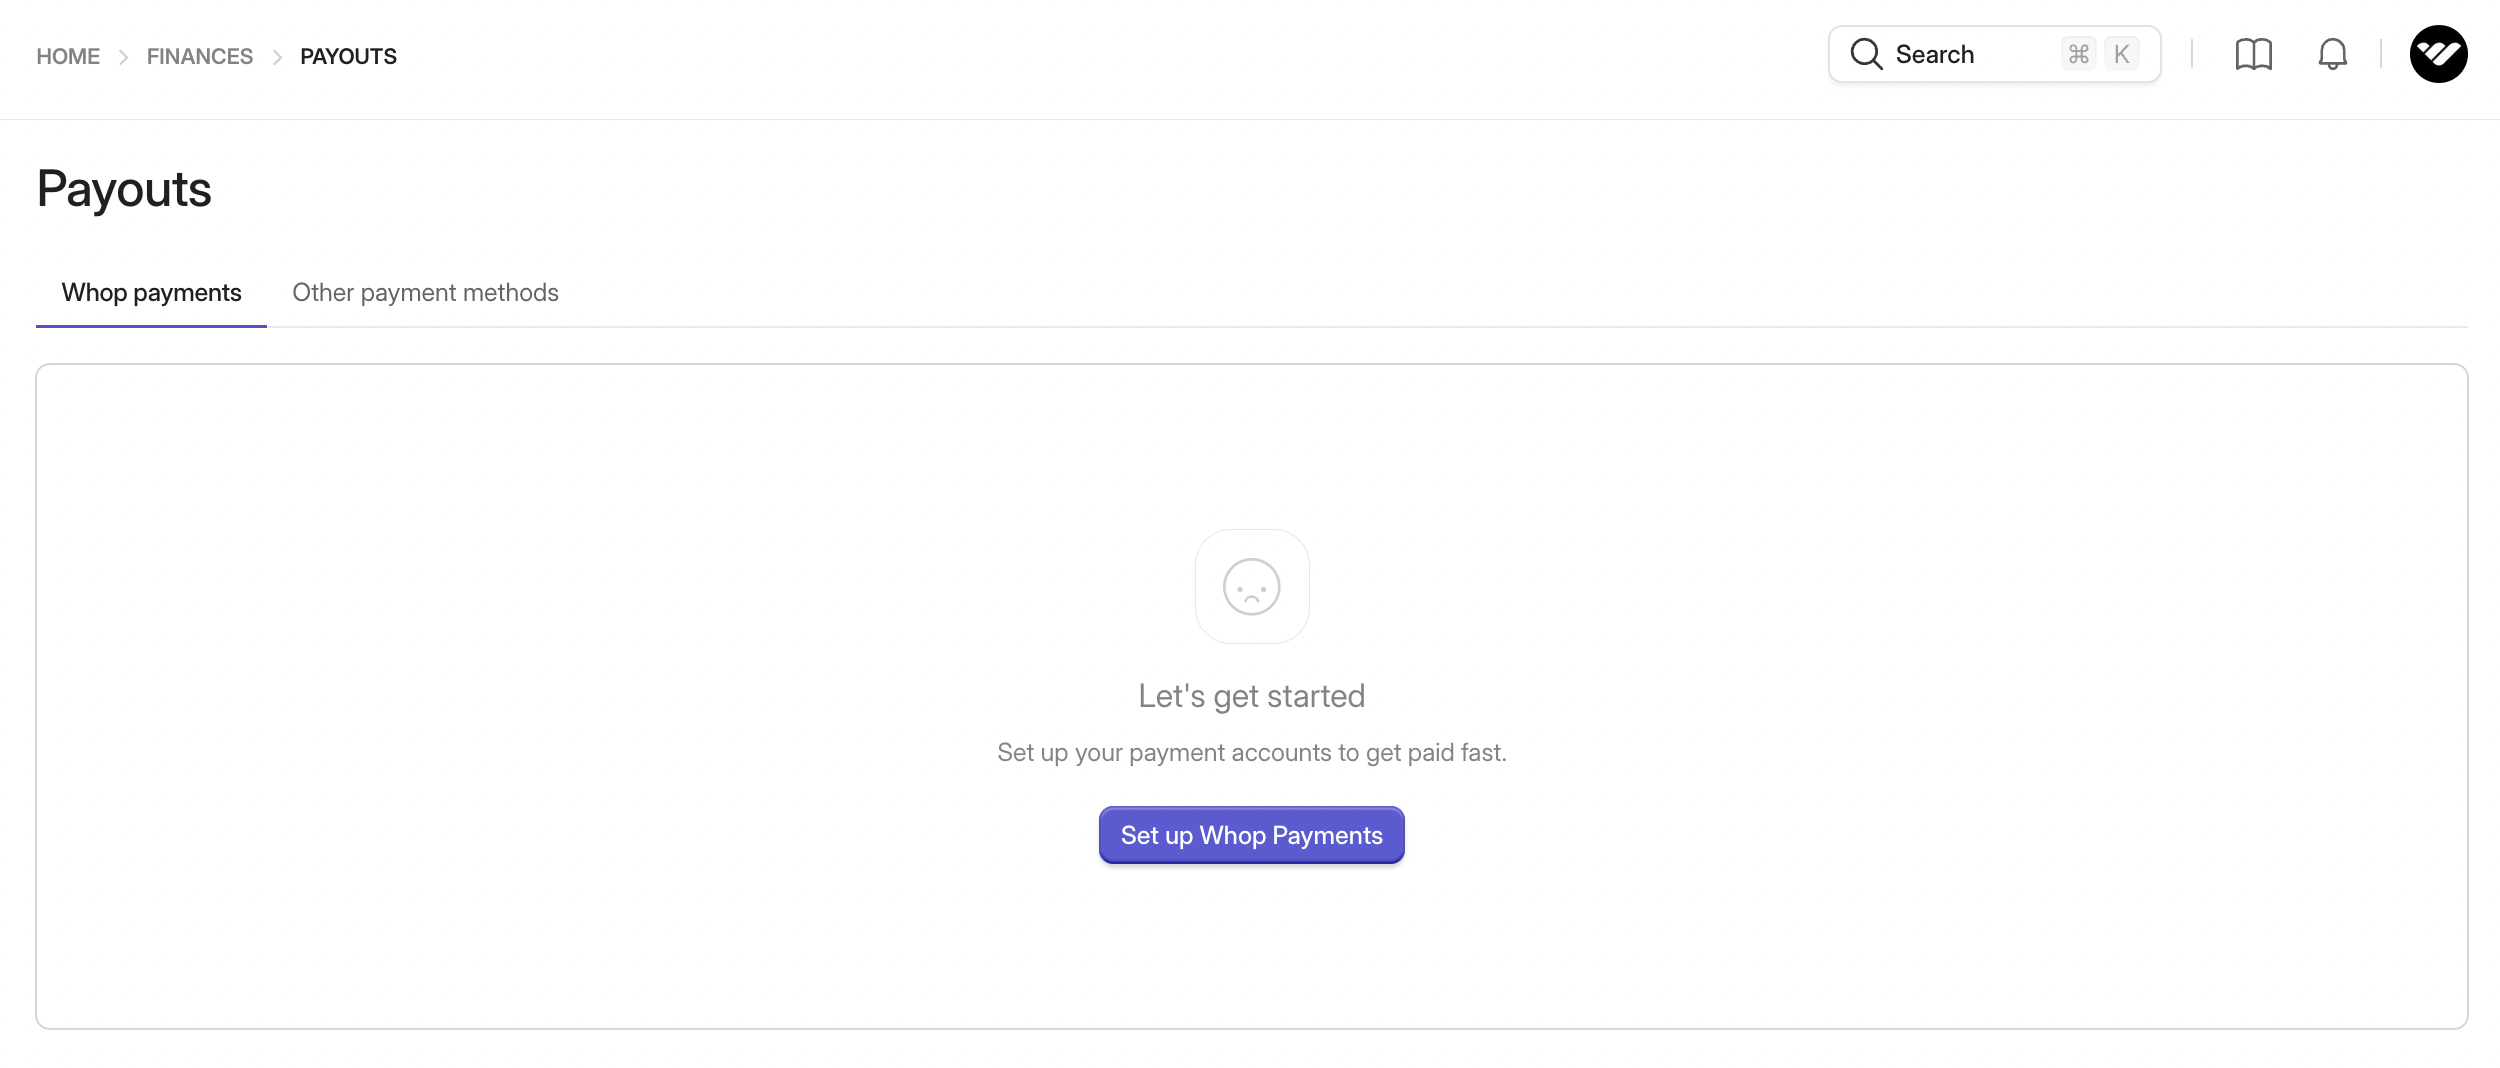
Introducing Whop Payments, our latest exciting feature designed to simplify the payment process for sellers, regardless of the digital product you're offering! This article will guide you through the seamless process of signing up for Whop Payments and provide you with all the essential information you need to know. Let's dive in and get started!
Discover our brand new Payouts table, providing instant access to crucial information and empowering you to customize columns according to your preferences. Your payments are accurately calculated and prominently displayed. Here's what you'll find:
To streamline card payments and business payouts, we've teamed up with Stripe, a trusted partner, to verify your personal and business details. Now, before any concerns arise, let's address the elephant in the room: "Wait, didn't I sign up for Whop Payments to avoid dealing with Stripe?" You're absolutely right! Rest assured, this process isn't about roping you into a separate Stripe account; it's all about getting better acquainted with you and your business.
Ready to dive in? Let's get started:

Let's talk taxes! As part of our commitment to compliance, we're obligated to collect taxes in select US states and the EU. But don't fret, because if you're using Whop Payments, we've got your back! We'll seamlessly handle the withholding and remittance of these taxes on your behalf.
Now, let's dive into the fun part: choosing your preferred tax collection methods and setting up your business details. It's time to get everything in order, so let's jump right in and make sure you're all set!
💡 Looking for more help? Reach-out to our 24/7 live chat support team here anytime.