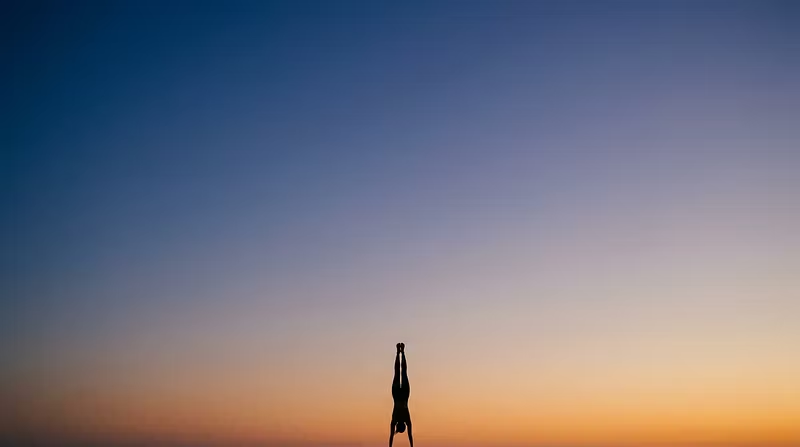
Inversion Flow

Master the handstand from zero to freestanding. Weekly live progressions from wall holds to kick-ups, with personal critique and feedback ev...
3 joined
Profile picture
@juanmfaisProfile pictureJun 13
Pinned post

Welcome to Handstand Mastery — Start Here

Welcome to the Handstand Mastery Program. Here's how to get the most out of your membership:


Your Weekly Structure


  • Course: Work through the chapters in order — each builds on the last. Don't skip ahead.

  • Live Critique (Weekly): Submit your training videos before the session. I review your form and give you specific corrections in real time.

  • Community Chat: Post wins, ask questions, share clips. The students who engage here progress fastest.


How to Submit Videos for Critique


  1. Film from the side at hip height

  2. Show 3 consecutive reps of whatever drill you're working on

  3. Upload to the community chat or DM me directly

  4. Include a note: what chapter/drill, what felt hard, what you want feedback on


Ground Rules


  • Follow the chapters in sequence — the progression is intentional

  • Train 3–4× per week for best results. More isn't better.

  • Always warm up your wrists. Always.

  • Ask questions freely in the community chat. No such thing as a dumb question here.


Let's get you inverted. 🤸

Profile picture
@juanmfaisProfile pictureJun 13

The 3 Wall Drills That Actually Build a Freestanding Handstand

Most people practice handstands wrong. They kick up against a wall, hold for time, and hope that one day they'll magically balance without it.


That's like learning to swim by holding onto the pool wall.


Here are the 3 wall drills that actually transfer to freestanding — and why most programs skip them.


1. Heel Pulls (Overbalance Correction)


Get into a chest-to-wall handstand with your fingertips about 4 inches from the wall. Press through the heels of your hands and slowly peel your feet away — just 1 to 2 inches. Hold for 1–2 seconds, then return.


Why it works: This teaches your palms to push you back from an overbalance. In a freestanding hold, this is the correction you'll use 70% of the time.


Most people skip this because: They think the wall hold itself is the drill. It's not. The wall hold is just the setup. The pull-away IS the drill.


2. Toe Pulls (Underbalance Correction)


Now face away from the wall in a back-to-wall handstand. Grip the floor with your fingertips and pull your feet away — again, just 1–2 inches.


Why it works: This trains finger grip strength for underbalance corrections. Without it, you'll always fall back toward the wall.


The key detail: Fingers spread wide, actively gripping. Think "claw the floor."


3. Controlled Floats


Chest-to-wall, close to the wall. Heel-pull your feet away, and instead of returning to the wall — try to stay. Even 1 second counts.


Why it works: This is the actual transition from wall-dependent to freestanding. Every second you float is a second of real balance training.


The progression: 1 sec → 3 sec → 5 sec → 8 sec. Once you hit 8 seconds consistently, you're ready for full freestanding work.


The Timeline


Most people who train these 3 drills consistently (3–4× per week) go from wall-dependent to a 10-second freestanding hold in 6–10 weeks. That's not a guarantee — it's what I see with students who actually do the work.


If you want the full structured program with weekly live critique sessions, that's what we do inside Handstand Mastery.

Profile picture
@juanmfaisProfile pictureJun 13

The 3 Wall Drills That Actually Build a Freestanding Handstand

Most people practice handstands wrong. They kick up against a wall, hold for time, and hope that one day they'll magically balance without it.


That's like learning to swim by holding onto the pool wall.


Here are the 3 wall drills that actually transfer to freestanding — and why most programs skip them.


1. Heel Pulls (Overbalance Correction)


Get into a chest-to-wall handstand with your fingertips about 4 inches from the wall. Press through the heels of your hands and slowly peel your feet away — just 1 to 2 inches. Hold for 1–2 seconds, then return.


Why it works: This teaches your palms to push you back from an overbalance. In a freestanding hold, this is the correction you'll use 70% of the time.


Most people skip this because: They think the wall hold itself is the drill. It's not. The wall hold is just the setup. The pull-away IS the drill.


2. Toe Pulls (Underbalance Correction)


Now face away from the wall in a back-to-wall handstand. Grip the floor with your fingertips and pull your feet away — again, just 1–2 inches.


Why it works: This trains finger grip strength for underbalance corrections. Without it, you'll always fall back toward the wall.


The key detail: Fingers spread wide, actively gripping. Think "claw the floor."


3. Controlled Floats


Chest-to-wall, close to the wall. Heel-pull your feet away, and instead of returning to the wall — try to stay. Even 1 second counts.


Why it works: This is the actual transition from wall-dependent to freestanding. Every second you float is a second of real balance training.


The progression: 1 sec → 3 sec → 5 sec → 8 sec. Once you hit 8 seconds consistently, you're ready for full freestanding work.


The Timeline


Most people who train these 3 drills consistently (3–4× per week) go from wall-dependent to a 10-second freestanding hold in 6–10 weeks. That's not a guarantee — it's what I see with students who actually do the work.


If you want the full structured program with weekly live critique sessions, that's what we do inside Handstand Mastery.

Profile picture
@juanmfaisProfile pictureJun 13

The 3 Wall Drills That Actually Build a Freestanding Handstand

Most people practice handstands wrong. They kick up against a wall, hold for time, and hope that one day they'll magically balance without it.


That's like learning to swim by holding onto the pool wall.


Here are the 3 wall drills that actually transfer to freestanding — and why most programs skip them.


1. Heel Pulls (Overbalance Correction)


Get into a chest-to-wall handstand with your fingertips about 4 inches from the wall. Press through the heels of your hands and slowly peel your feet away from the wall — just 1 to 2 inches. Hold for 1–2 seconds, then return.


Why it works: This teaches your palms to push you back from an overbalance. In a freestanding hold, this is the correction you'll use 70% of the time.


Most people skip this because: They think the wall hold itself is the drill. It's not. The wall hold is just the setup. The pull-away IS the drill.


2. Toe Pulls (Underbalance Correction)


Now face away from the wall in a back-to-wall handstand. Grip the floor with your fingertips and pull your feet away — again, just 1–2 inches.


Why it works: This trains finger grip strength for underbalance corrections. Without it, you'll always fall back toward the wall.


The key detail: Fingers spread wide, actively gripping. Think "claw the floor."


3. Controlled Floats


Chest-to-wall, close to the wall. Heel-pull your feet away, and instead of returning to the wall — try to stay. Even 1 second counts.


Why it works: This is the actual transition from wall-dependent to freestanding. Every second you float is a second of real balance training.


The progression: 1 sec → 3 sec → 5 sec → 8 sec. Once you hit 8 seconds consistently, you're ready for full freestanding work.


The Timeline


Most people who train these 3 drills consistently (3–4× per week) go from wall-dependent to a 10-second freestanding hold in 6–10 weeks. That's not a guarantee — it's what I see with students who actually do the work.


If you want the full structured program with weekly live critique sessions, that's what we do inside Handstand Mastery.