
Apple Pay is now available on Whop embedded checkouts, follow our internal guidelines to verify your domain and enable the payment method.
Key takeaways
- Whop's embedded checkout now supports Apple Pay through a one-time domain verification process.
- Domain verification closes the gap for users on site builders like ClickFunnels and Kajabi who previously lacked Apple Pay access.
- Apple Pay eliminates manual card entry at checkout, reducing friction and abandoned carts on supported Apple devices.
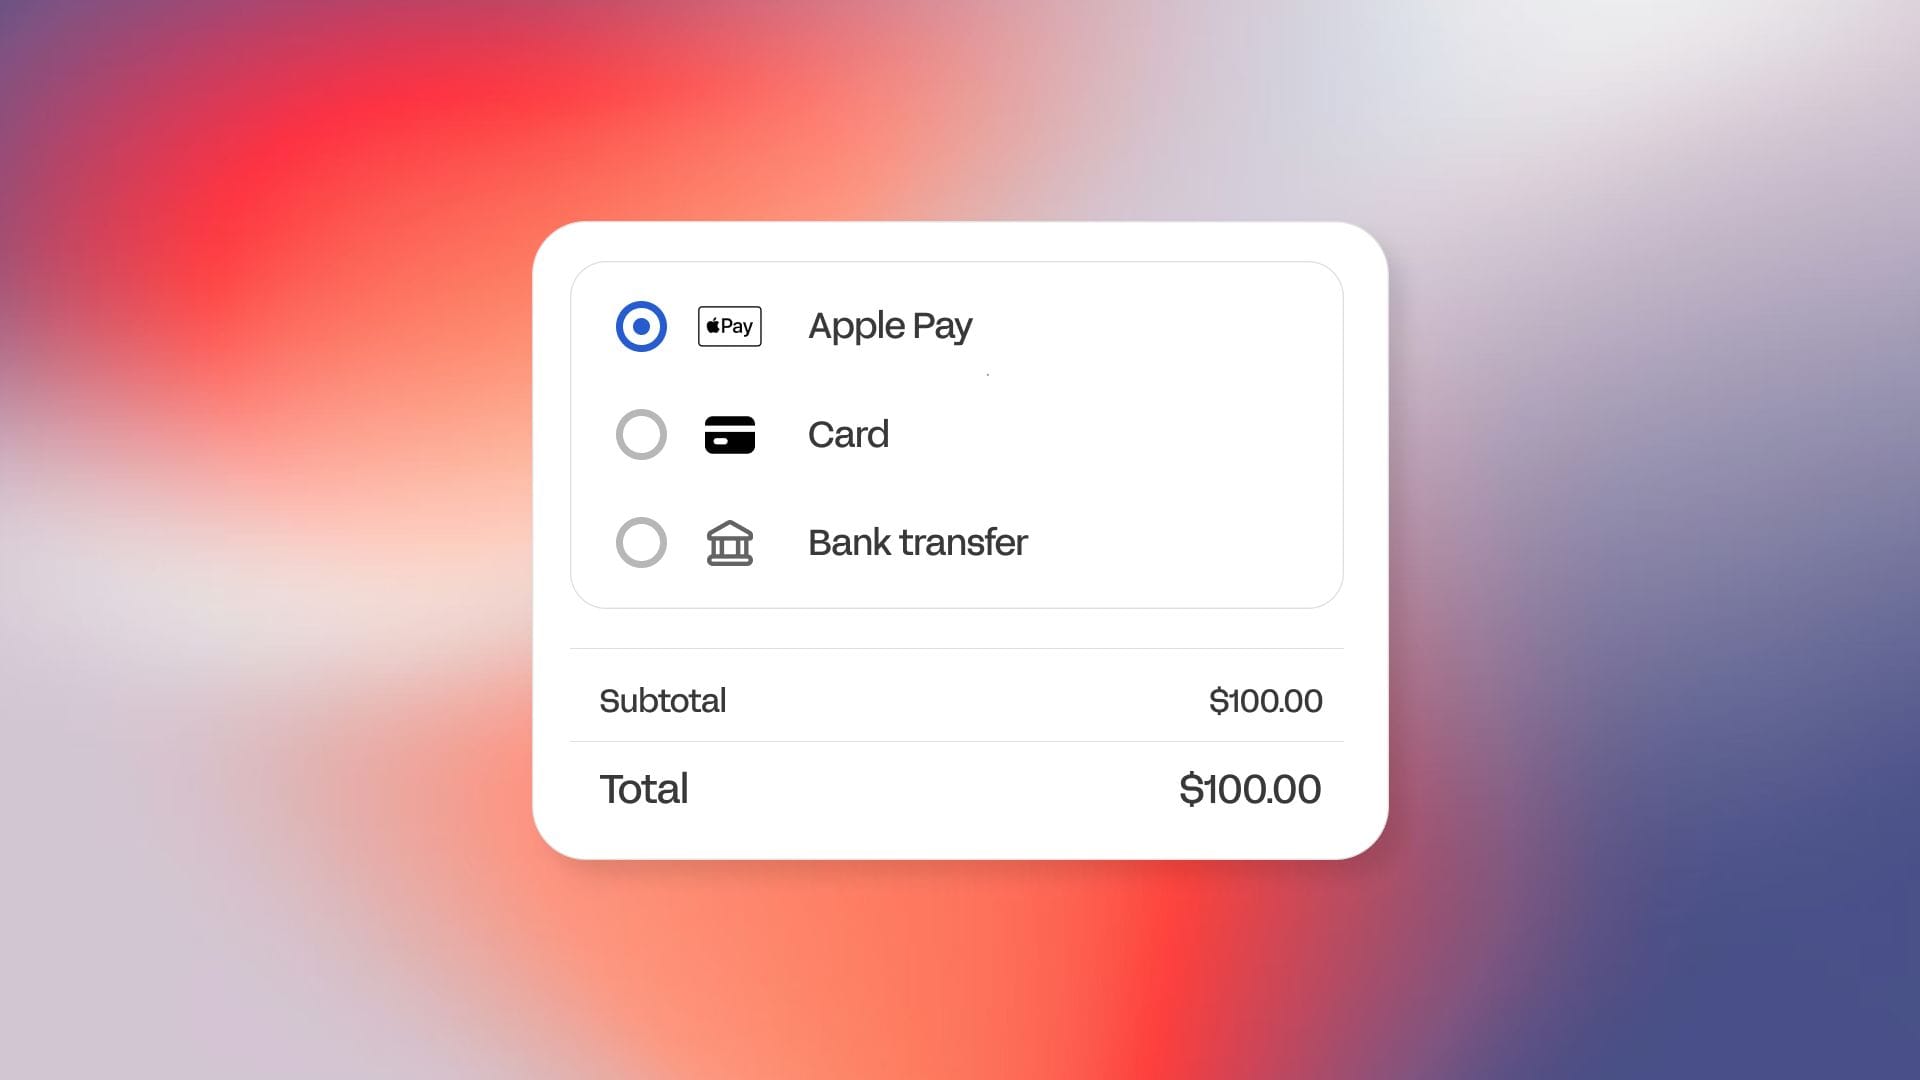
Apple Pay is now available on Whop embedded checkout, reducing friction and increasing payment acceptance.
If you embed Whop’s checkout directly into your own frontend (inside a SaaS app, marketplace, or branded ecommerce store), you can now enable Apple Pay by verifying your domain in your checkout settings.
After verification, Apple Pay will appear automatically for customers using supported Apple devices and browsers.
What changed
Until now, Apple Pay on embedded checkout meant uploading a verification file to your site’s root folder.
If you controlled your hosting, no problem.
But if you were using builders like ClickFunnels, GoHighLevel, or Kajabi, you don’t get access to that folder. That meant Apple Pay wasn’t available, even though the tech itself supported it.
That gap is now closed.
Why Apple Pay support matters at checkout
Apple Pay allows customers to complete purchases using the cards saved in their Apple Wallet.
Instead of manually entering card details, switching between apps, and having autofill fail (again), customers confirm the payment using Face ID or Touch ID.
Plus, it’s the king of digital wallets: Apple Pay has a 54% share of in-store mobile wallet transactions in the US.
Once your domain is verified:
- The Apple Pay button will render inside your embedded checkout component.
- It will appear on supported Apple devices and browsers (Safari on iOS and macOS).
- Payments are processed through the same infrastructure as card transactions.
Operationally, nothing changes on your side. Reporting, payouts, webhooks, and fulfillment flows remain the same.
Apple Pay simply becomes an additional payment method available to eligible customers.
Why Apple requires domain verification
Apple requires domain verification whenever Apple Pay is used on a custom domain.
Because embedded checkout runs on your own website (not a Whop-hosted domain), Apple has to confirm you control that domain before they’ll allow the Apple Pay button to render.
This is an Apple security requirement.
Verification is completed once, and Apple Pay remains enabled after that. You won’t need to repeat the process unless you change domains.
Enabling Apple Pay on embedded checkout

First, double check you’re using embedded checkout (i.e, the checkout is rendered on your own domain).
Whop-hosted checkout links and store pages already support Apple Pay automatically, so you don’t need to do anything there.
Once you’re ready to verify, there are two ways to go about it:
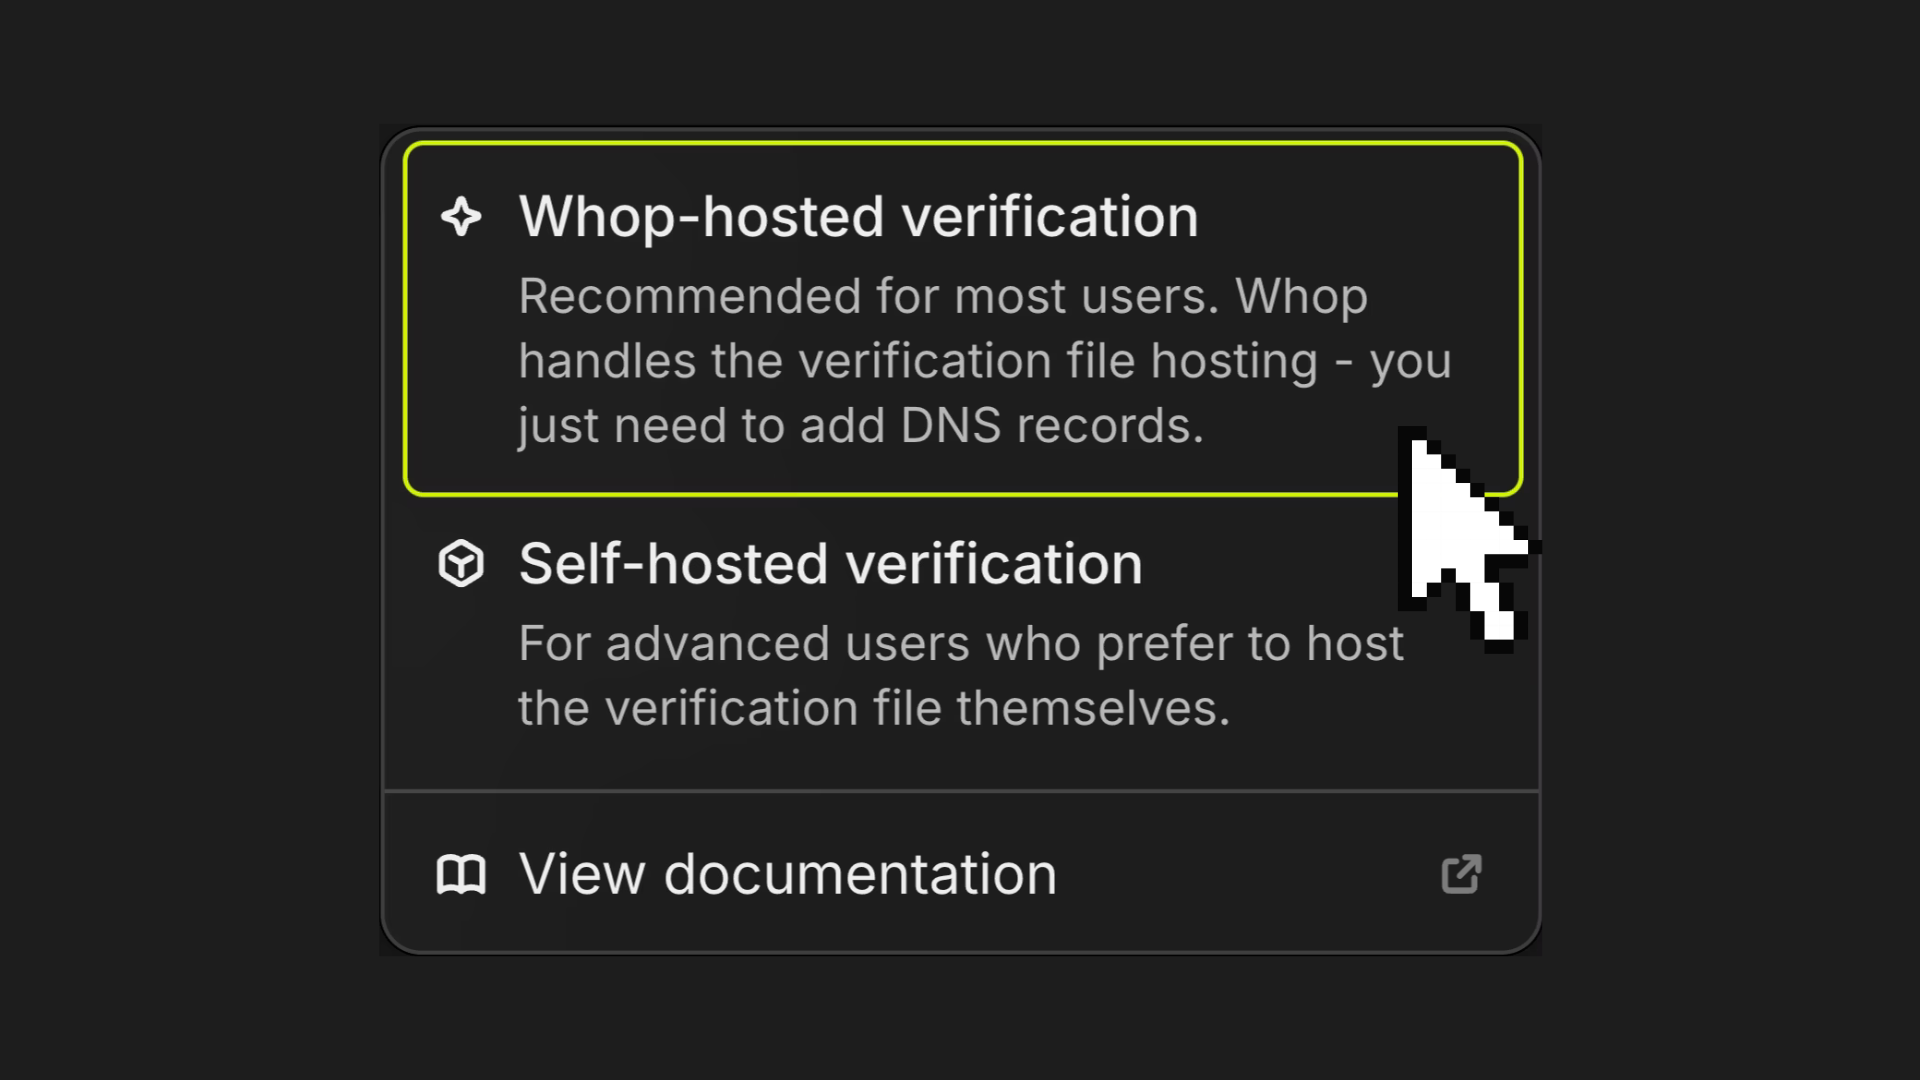
- Whop-hosted verification: Whop handles the verification file hosting, you just need to add DNS records.
- Self-hosted verification: For advanced users who prefer to host the verification file themselves.
Most teams should use Whop-hosted verification. Below is the simplified flow.
For self-hosted verification, check out our Whop docs.
Step 1: Open your checkout settings
Go to Checkout settings in your Whop dashboard, and find Apple Pay for embedded checkout. Click Configure.

Step 2: Add your domain
Click Add payment domain, and select Whop-hosted verification.
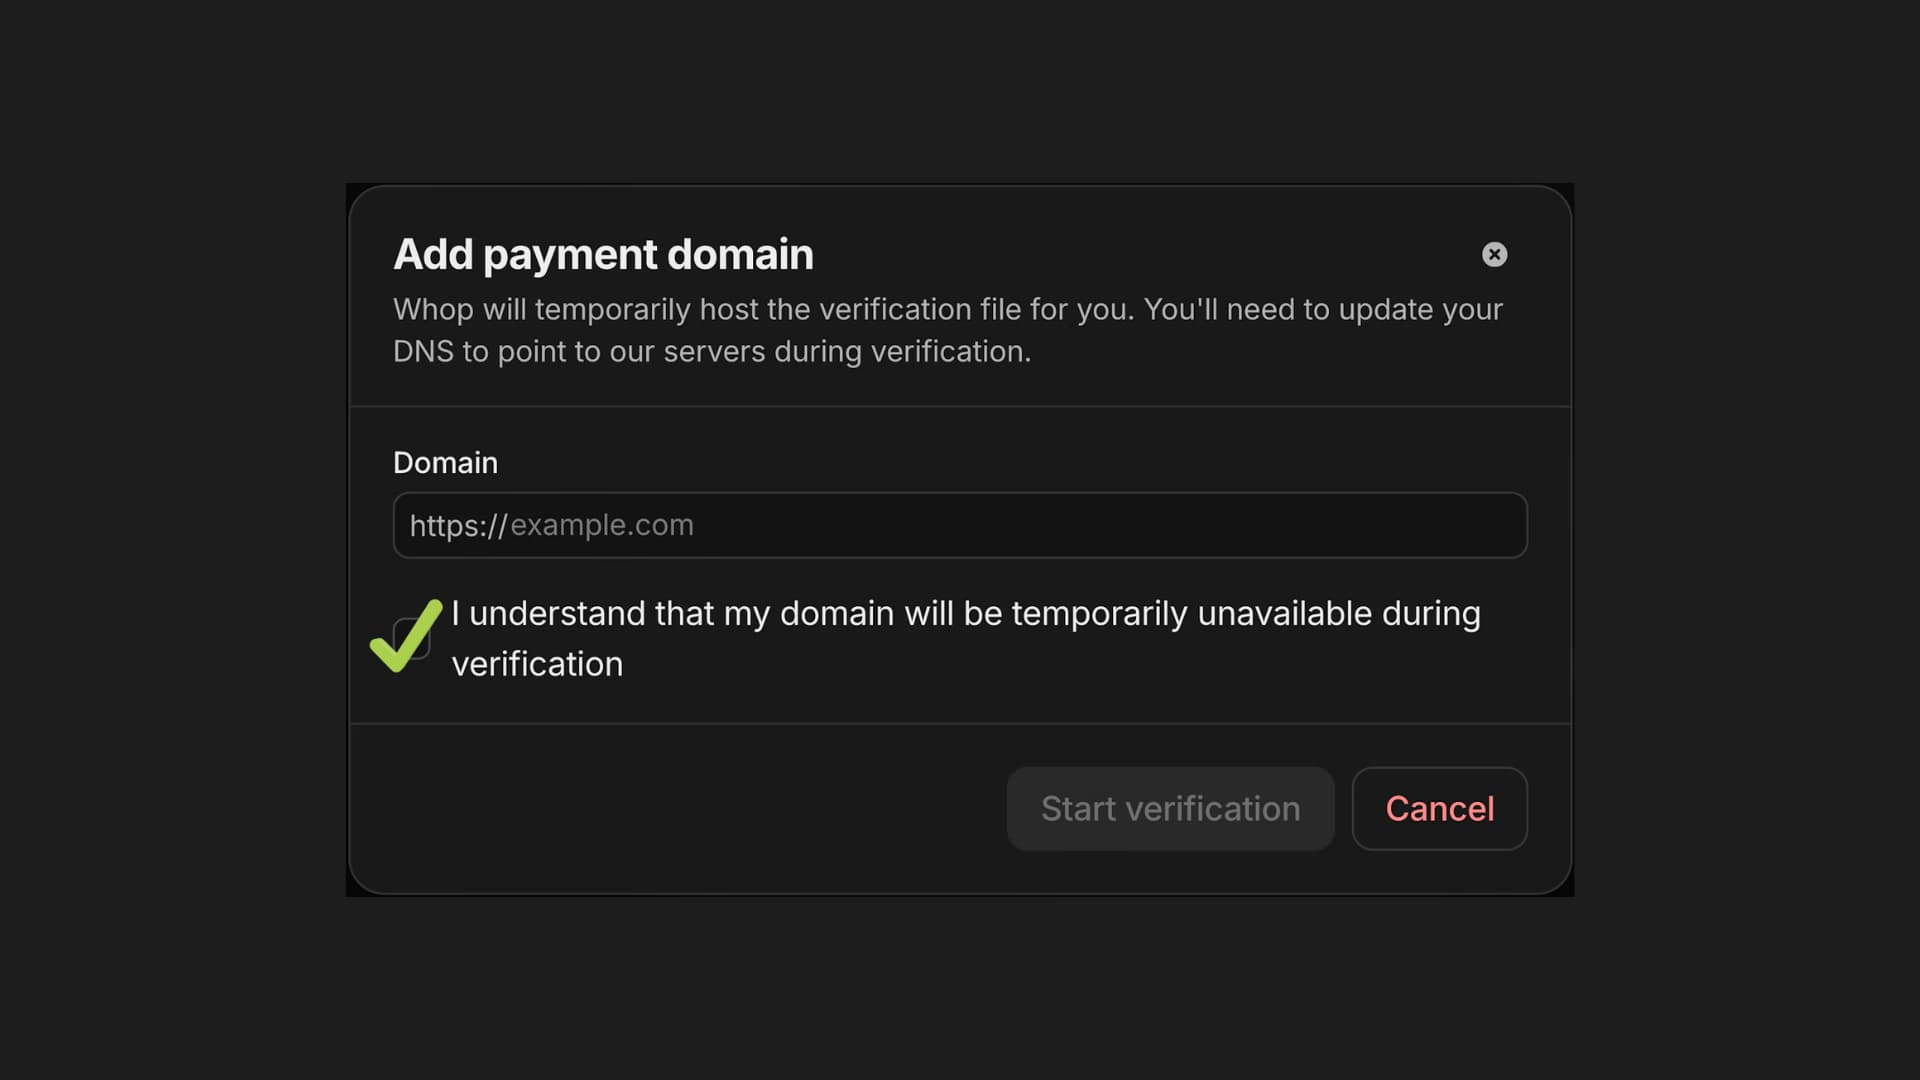
Enter the domain where embedded checkout is running (e.g. checkout.yoursite.com)
Acknowledge that temporary downtime will occur, as your domain will point to Whop’s servers until you revert the DNS records after verification.
PSA: If you haven’t already, take a screenshot of your current DNS settings now before making any changes.
Click Start verification.
Step 3: Update your DNS records
You will be shown DNS records to configure, typically this includes:
- An A record or CNAME pointing your domain to Whop
- Occasionally a TXT record for ownership confirmation
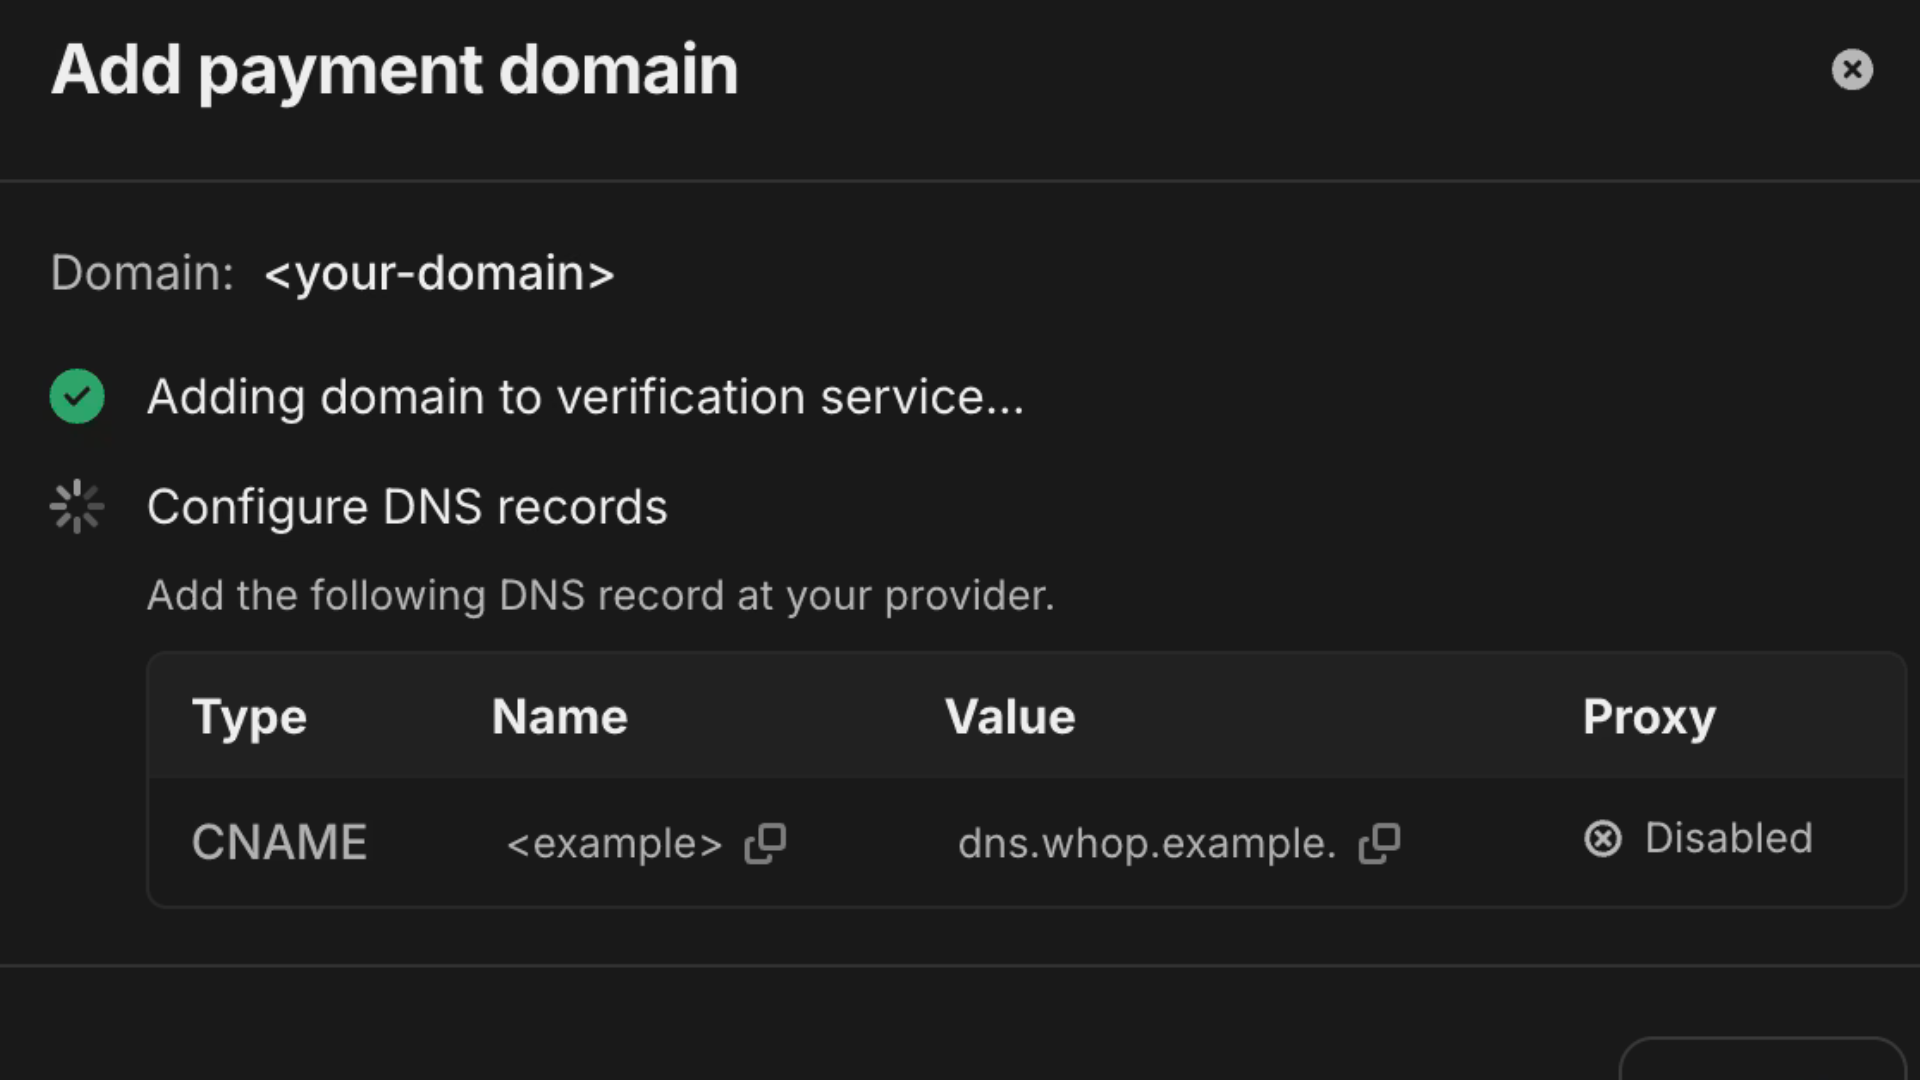
In your DNS provider (Cloudflare, GoDaddy, Route 53, etc.), locate the existing A or CNAME record for that hostname, and replace it with the value shown in the verification wizard.
Do not add a second record alongside the existing one. DNS does not merge them and doing so may cause resolution issues.
If possible, use a low TTL (60-300 seconds). This helps changes propagate faster and makes reverting smoother.
Step 4: Wait for verification
DNS changes usually propagate within 5 to 15 minutes, but in some cases, propagation can take longer.
The verification wizard automatically detects when records are correct, so no manual confirmation is needed.
Step 5: Revert your DNS records
Once verification completes, restore your original DNS configuration and confirm your domain points back to your normal hosting. Apple Pay will remain enabled after you revert.
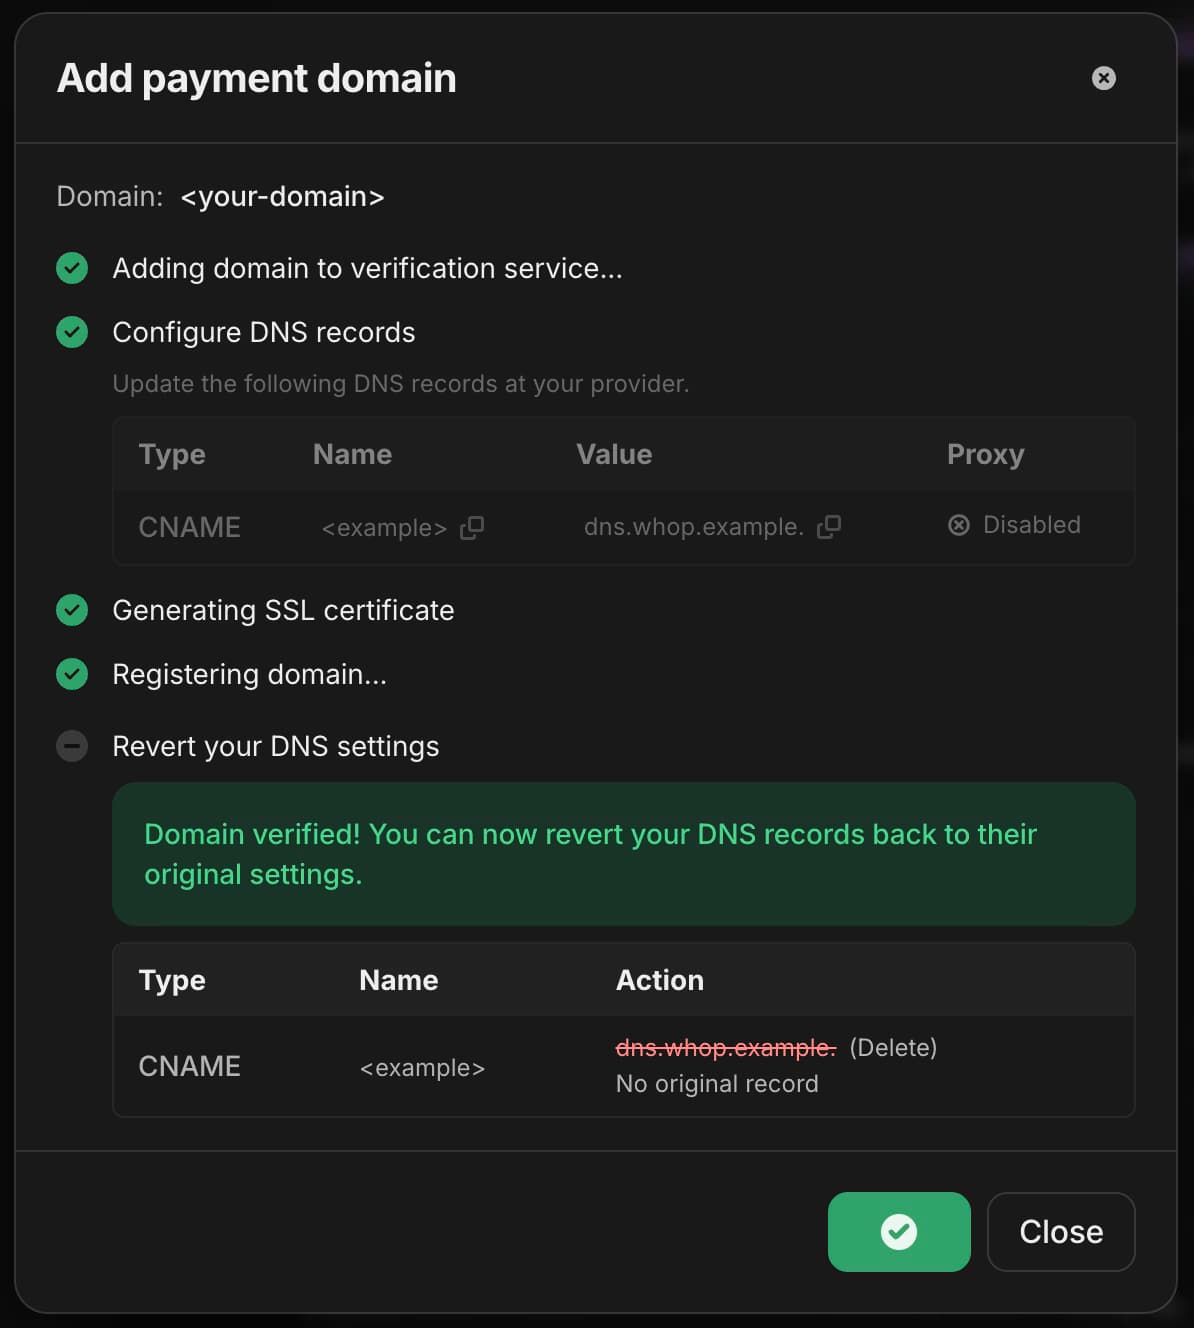
Note: The revert instructions shown in the wizard are best-effort and may not be 100% accurate.
Always refer to your own DNS backup (screenshot or export) to ensure you restore the correct values.
After verification
Once your domain shows as verified, Apple Pay will render automatically inside embedded checkout (on supported Apple devices). No further setup is needed.
Need detailed instructions?
For full technical documentation, as well as the guide to self-hosted verification, see our documentation.
Common mistakes during verification
Most Apple Pay verification issues stem from DNS misconfiguration.
Common problems include:
- Replacing the wrong DNS record
- Editing the root domain instead of the checkout subdomain
- Adding a second A record instead of replacing the existing one
- Forgetting to revert DNS after verification
- Using Cloudflare in “Proxied” mode during verification
If verification seems stuck:
- Confirm records were added to the correct DNS zone
- Ensure Cloudflare records are set to “DNS only” (gray cloud)
- Use a DNS propagation tool to check global resolution
Testing Apple Pay at checkout
After verification is complete and you’ve reverted your DNS settings, it’s important to confirm everything is working as expected.
The simplest way to test is by using an iPhone with Apple Pay enabled, navigating to a page where embedded checkout is live on your verified domain, and loading the checkout component.
If Apple Pay is configured correctly, the Apple Pay button will appear as an available payment option.
You can then run a full test transaction using Face ID or Touch ID to confirm end-to-end function.
Apple Pay will only appear when certain conditions are met:
- The customer is using a supported Apple device (iPhone, iPad, or Mac)
- Apple Pay is set up on that device with at least one valid card in Apple Wallet
- The browser supports Apple Pay for online payments
- Your embedded checkout is loading from the verified domain
If any of these conditions aren’t met, the Apple Pay button simply won’t render. There’s no error state inside checkout, it just won’t appear.
Apple Pay: Pros and cons
Apple Pay can meaningfully reduce friction on supported devices, but it isn’t a universal payment method. That’s why offering it alongside other payment methods like cards and crypto is key.
Here’s a clear breakdown of its strengths (and weaknesses):
| Pros | Cons |
|---|---|
| Faster checkout | Only on Apple devices |
| Face ID or Touch ID approval | Not available to all users |
| Fewer form errors | Requires domain verification |
| Trusted wallet UI | Browser dependent |
| Secure tokenized payments | Region adoption varies |
| Uses existing Whop setup | Must test on real devices |
Upgrade your embedded checkout experience with Apple Pay
If you’re running checkout on your own domain, it’s because you want payment to feel like part of your product. Not a redirect, and not a separate experience.
Apple Pay now works inside that same embedded flow.
Once your domain is verified, eligible customers will see the Apple Pay button directly in your checkout, using the same infrastructure you’re already on.
For customers with Apple Wallet configured? Checkout becomes a single click.
Through thousands of conversations, we’ve learned our customers really only care about two things: getting paid and paying out. Our mission is to be the best in the world at solving those problems.
– Hunter Dickinson, Partnerships at Whop
Increase conversions, reduce drop-offs, and boost customer experience with Whop checkouts.
Apple Pay FAQs
1. Does Apple Pay cost extra to accept?
Apple does not charge merchants an additional fee to accept Apple Pay.
When used with Whop, Apple Pay transactions are processed the same way as standard card payments. There’s no separate Apple Pay pricing tier.
2. Is Apple Pay secure for online payments?
Yes, Apple Pay uses tokenization, which means the customer’s actual card number is not shared with the merchant. Instead, a device-specific token is used for the transaction.
Authentication happens through Face ID, Touch ID, or device passcode, adding an additional layer of security beyond standard card entry.
3. What devices support Apple Pay?
Apple Pay works on supported Apple devices, including iPhones, iPads, and Macs. The user must have Apple Wallet set up with a valid card. If Apple Pay is not yet configured on the device, the button will not appear at checkout.
4. Does Apple Pay improve checkout conversion?
Yes, Apple Pay can reduce friction at checkout by removing manual card entry, especially on mobile devices. Wallet-based payments often lead to faster checkout completion and fewer abandoned carts.


