Creating the app of your dreams has never been easier. Check out our guide on creating your no-code app, publishing it on Whop, and monetizing it.
Key takeaways
- AI tools enable anyone to build functional web apps without coding knowledge in 2026.
- Publishing apps on Whop's App Store provides instant distribution to thousands of creators seeking new tools.
- Web apps offer a low-barrier entry to making money online through subscriptions, usage fees, or ad revenue.
If you’re using any social media app and interested in making money online, there’s a high chance you’ve heard about web apps.
They are a great way to get started on making money online as they’re relatively easy to make, easy to use, and can be monetized.
In this guide, we’re going to take a look at what web apps are, why they’re so popular, five web app ideas, and how you can actually make a web app and monetize it on Whop.
What are web apps, and why are they so popular?
Web apps can simply be explained as apps that you don’t have to download to your PC or mobile.
Unlike other traditional apps, developers build them using languages like JavaScript, TypeScript, CSS, and other web-focused languages.
These apps can be on their own websites, which requires the developer, you, to market them and work hard for Google to rank it.
Sounds hard? There's a better way: creating apps on Whop. We'll get to this later down the article.
In 2025, web apps gained popularity among people who’re interested in making money online, especially within the SaaS scene. They’re easier to build than regular software and they can be scaled much more quickly.
5 web app ideas for you to create
There are countless web apps that you can create, and the only limit is your creativity.
While coming up with the perfect web app idea can be hard, creating web apps in 2026 is easy, so you shouldn't be afraid to keep trying out your ideas until you find the perfect one.
Pro tip: If you want to find an app idea that will actually work, join Whops, talk to creators, and identify pain points.
Let's take a look at five web app ideas for you to create:
- Trading wins: By creating an app that allows users to post their trading wins with images or videos, you can create boards that communities can use to create a place where their members can see each other's accomplishments.
- Personalized flash card generator: Imagine a course that focuses on a subject that requires memorization - now add a flash card feature to it. Sounds good, right? To address this pain point, you can create an app that uses AI to fetch the course content and creates unique flash cards based on the user's learning type.
- Collaborative calendars: Many communities struggle with event organization. If you create an app that multiple people can edit, segment, and allow their members to see it, you'll be able to tap into the online community market.
- Simple video editor: You can create an app that allows users to easily crop, cut, and reduce the size of videos. Since this will attract many users, you can add Google Sense ads and generate ad revenue
- AI supported onboarding: Let's say you join a trading community where everyone seems to know what's going on, but you have no clue - you have to talk to someone to get help. Well, with the AI supported onboarding app, the creator can customize an AI to help new members get onboarded into their community super easily.
How you can create no-code web apps with any AI and Whop
You shouldn't be worried about not knowing how to code. Of course, it's a huge help if you do, but most AIs nowadays can help you get an app up and running in no time.
But before we start, there are two things you have to decide on: what kind of an app you're going to make and where you're going to publish it.
Why you should publish your apps on Whop
As we mentioned it before, most web apps are published on their own website and their creators spend a lot of time optimizing their apps for SEO and marketing it on social media.
When you publish an app on Whop, your app appears on the Whop App Store where tens of thousands of creators go to when they want to add an app to their whop.
This means creators will see your app, and countless members will use it.
Can it get better? Yes.
Whop's software development kit (SDK) allows you to access the Whop system itself - purchases, joins, user details, and more. This allows you to monetize your app.
Made an app where users can generate personalized flash cards based on the course in the whop? Charge them $9.99 for monthly access to unlimited cards.
Developing the app yourself
If you want to develop your app by doing all the coding, our developer documentation can help you with introductions, getting an API key, permissions, connecting to websockets, and more.
Want to code yourself but fine with getting help from AI about finding the right resource on our documentation? Use the 'Ask a question...' field to talk to our documentation AI at the bottom of your screen.
Developing with AI
On the other hand, if you want to develop your app with AI you can install our MCP and use it on your local LLMs or AIs that live on your CLI. You can use the command below to install our MCP or ask the app you're using (like Cursor, Claude Code, Droid, etc.) to install it for you.
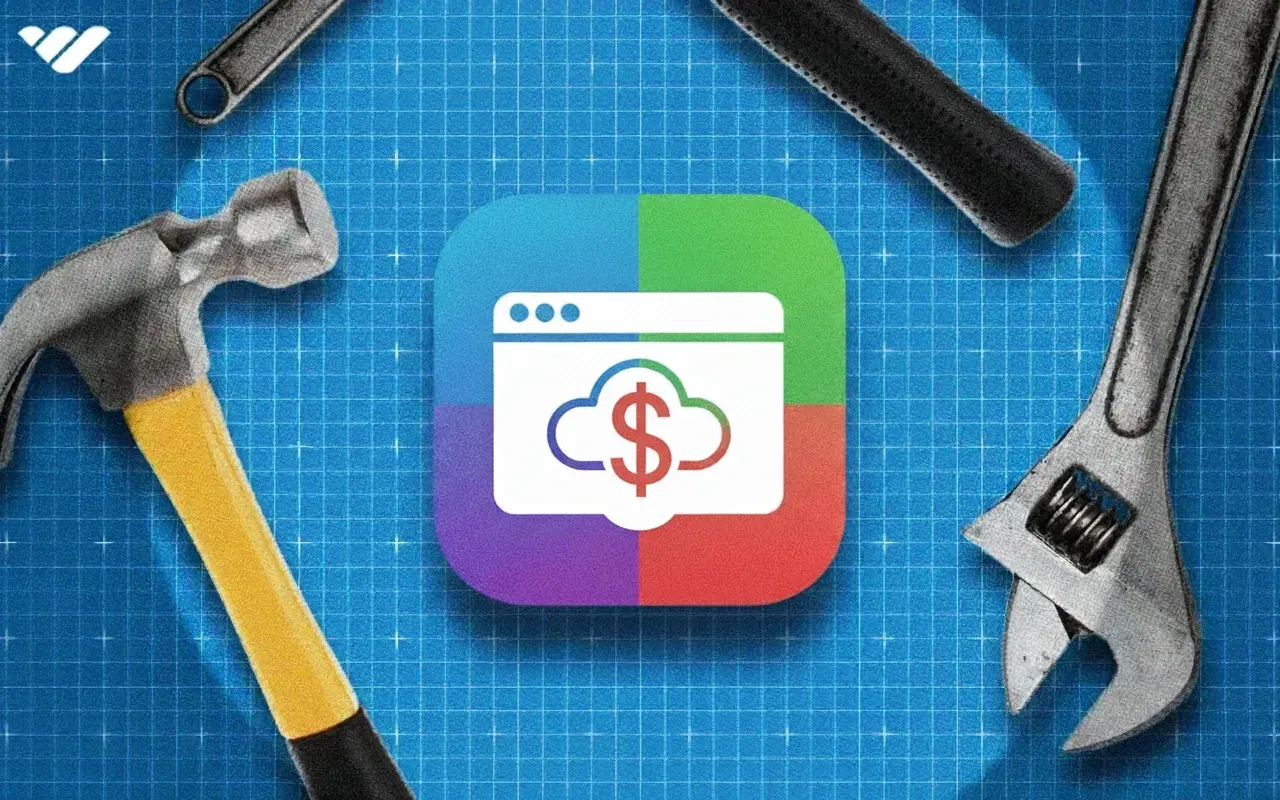
npx mint-mcp add whopMonetize your apps with Whop
Ready to start making money with apps? First, create your app.
Next, create your whop. Blake Anderson has made over $10 million with his no-code apps - you could be next.