Read this guide and learn how to optimize your YouTube videos.
Key takeaways
- Use 1920x1080 resolution with 16:9 aspect ratio for regular YouTube videos, and 1080x1920 with 9:16 for Shorts.
- Export videos in MP4 format with H.264 codec for the best balance of quality, file size, and compatibility.
- Match frame rate to your content type: 24-30 FPS for vlogs and tutorials, 60 FPS for gaming and action videos.
Creating high-quality, engaging, and successful videos for YouTube isn’t just about interesting ideas and good editing. It’s also about making sure your content meets YouTube’s technical requirements.
While they can be easy to overlook for the “bigger picture,” these seemingly minor technical details matter. Factors like aspect ratios and dimensions not only impact your video’s visual quality, but also its compatibility with YouTube's platform.
In the long run, these factors have an influence on audience retention and even your search discoverability on the platform.
This guide breaks down everything you need to know about YouTube video sizes, aspect ratios, resolution, dimensions, and more.
If you feel like you have some room for improvement in the specs department, we’ve got you covered.
Whether you’re a current or aspiring YouTuber, these insights will help you optimize your videos for stronger visuals, higher audience engagement, and an overall better-performing channel.
Want to understand YouTube's massive reach and impact? Check out our comprehensive YouTube Statistics.
Understanding YouTube video dimensions and resolution
Let's start with the two most important technical specs for your YouTube videos: dimensions and resolution. These settings determine whether viewers see your content in crisp HD or fuzzy, unwatchable quality.
Dimensions refer to your video’s width and height in pixels. They dictate the size of the video frame, which is essentially the rectangular area that displays your content on screen. YouTube supports a variety of dimensions, including:
- 426 x 240 pixels: Suitable for slower internet connections.
- 640 x 360 pixels: Basic resolution for smartphones or embedded website videos.
- 854 x 480 pixels: Standard definition, works for mobile but looks dated elsewhere.
- 1280 x 720 pixels: The minimum for high-definition (HD) playback.
- 1920 x 1080 pixels: The standard for most YouTube videos.
- 2560 x 1440 pixels: Offers sharp visuals for larger screens.
- 3840 x 2160 pixels: Ideal for professional or cinematic projects.
- 7680 x 4320 pixels: The highest resolution for ultra-detailed displays.
Resolution, on the other hand, defines the quality of your video. It’s the level of detail viewers see, determined by the number of pixels in each video frame. Common resolutions include:
- 240p: Works for smaller screens or slow internet.
- 360p: Great for embedded videos or basic viewing.
- 480p: Standard definition suited for mobile use.
- 720p (HD): Entry-level HD for smaller screens and general use.
- 1080p (Full HD): Standard for YouTube content with balanced quality and file size.
- 1440p: Sharp visuals for larger screens.
- 2160p (4K): High resolution for professional or cinematic use.
- 4320p (8K): Ultra-detailed quality for advanced devices and specialized use.
For best results, aim for at least 1080p resolution. It’s the sweet spot between quality and file sizes.
YouTube video aspect ratios
Aspect ratio determines how wide and tall your video appears on screen. Getting this right before you record means avoiding black bars or stretched content that makes your channel look unprofessional.
Common aspect ratios include:
- 16:9 (Widescreen): Start with this for regular YouTube videos. Hold your phone horizontally when recording, and your video will look perfect on any device.
- 9:16 (Vertical): The format for YouTube Shorts and mobile-first content. Like TikTok and Instagram Stories, your videos will fill phone screens perfectly.
- 1:1 (Square): Some creators use this square format to share content across social media, but on YouTube, viewers will see black space on the sides.
- 4:3 (Old School): This is the old TV format. You can use it, but you'll get black bars at the top and bottom of widescreen displays.
Tips for using aspect ratios:
- Record regular videos in 16:9 to avoid black bars on desktop
- Use 9:16 if you're making Shorts to match other vertical platforms
- Test your video on both phone and desktop before uploading
- Plan ahead—fixing aspect ratio after recording usually means losing quality
Supported YouTube video formats
When it comes to file formats, YouTube works with quite a few options, but MP4 is your best bet. Most editing tools export in this format, as it provides the best balance of quality and file size.
Here are the formats that work with YouTube:
- MP4: The top choice for YouTube uploads. You'll get fast upload times and great quality.
- MOV: If you record on an iPhone or Mac, you'll probably get this format. It also works well on YouTube.
- AVI: Creates high-quality videos but with larger files. Fine to use if your editing software exports in this format.
- WMV: Works well if you're editing on Windows. Good at keeping file sizes small.
- FLV: Not as common now, but still works for small file sizes.
- WebM: Great for web videos, especially if you want fast loading times.
- MPEG-1/2: Basic video formats that still work fine on YouTube.
- 3GPP: You might get this format from older phones. YouTube can handle it.
- HEVC: A newer format that's great at keeping quality while reducing file size.
In your editing software's export settings, you'll see options for video and audio codecs. For MP4, choose H.264 for video and AAC-LC for audio. These are the most widely supported settings and will ensure your viewers can watch your videos without any playback issues.
YouTube video frame rate
Frame rate, or frames per second (FPS), determines how smooth your videos appear on YouTube. If you’ve ever noticed gaming videos looking extra crisp or wondered why some videos seem choppy during fast movements, that’s frame rate at work.
YouTube supports a variety of frame rates:
- 24 FPS: If you’re creating vlogs, tutorials, or general content, this is a reliable choice. It’s widely used and gives your videos a professional look.
- 30 FPS: Use this if you want smoother motion. It’s ideal for content where movement is noticeable, like interviews or casual action.
- 48 FPS: If you’re working on sports or fast-paced action, this rate captures quick movements with better clarity.
- 50 FPS: Consider this if your audience is outside the U.S. It’s commonly used in regions with PAL standards, like Europe, and handles fast-paced scenes well.
- 60 FPS: Use this for gaming or sports videos to showcase every detail. It offers the smoothest motion but results in larger file sizes.
When choosing your frame rate:
- Use 24 to 30 FPS for vlogs, tutorials, and regular content
- Use 60 FPS for gaming and action videos to capture smooth movement
- Check what frame rates your camera supports before recording
- Remember that higher frame rates will increase your upload time
Image sizes for YouTube: Profile, banner, and thumbnails
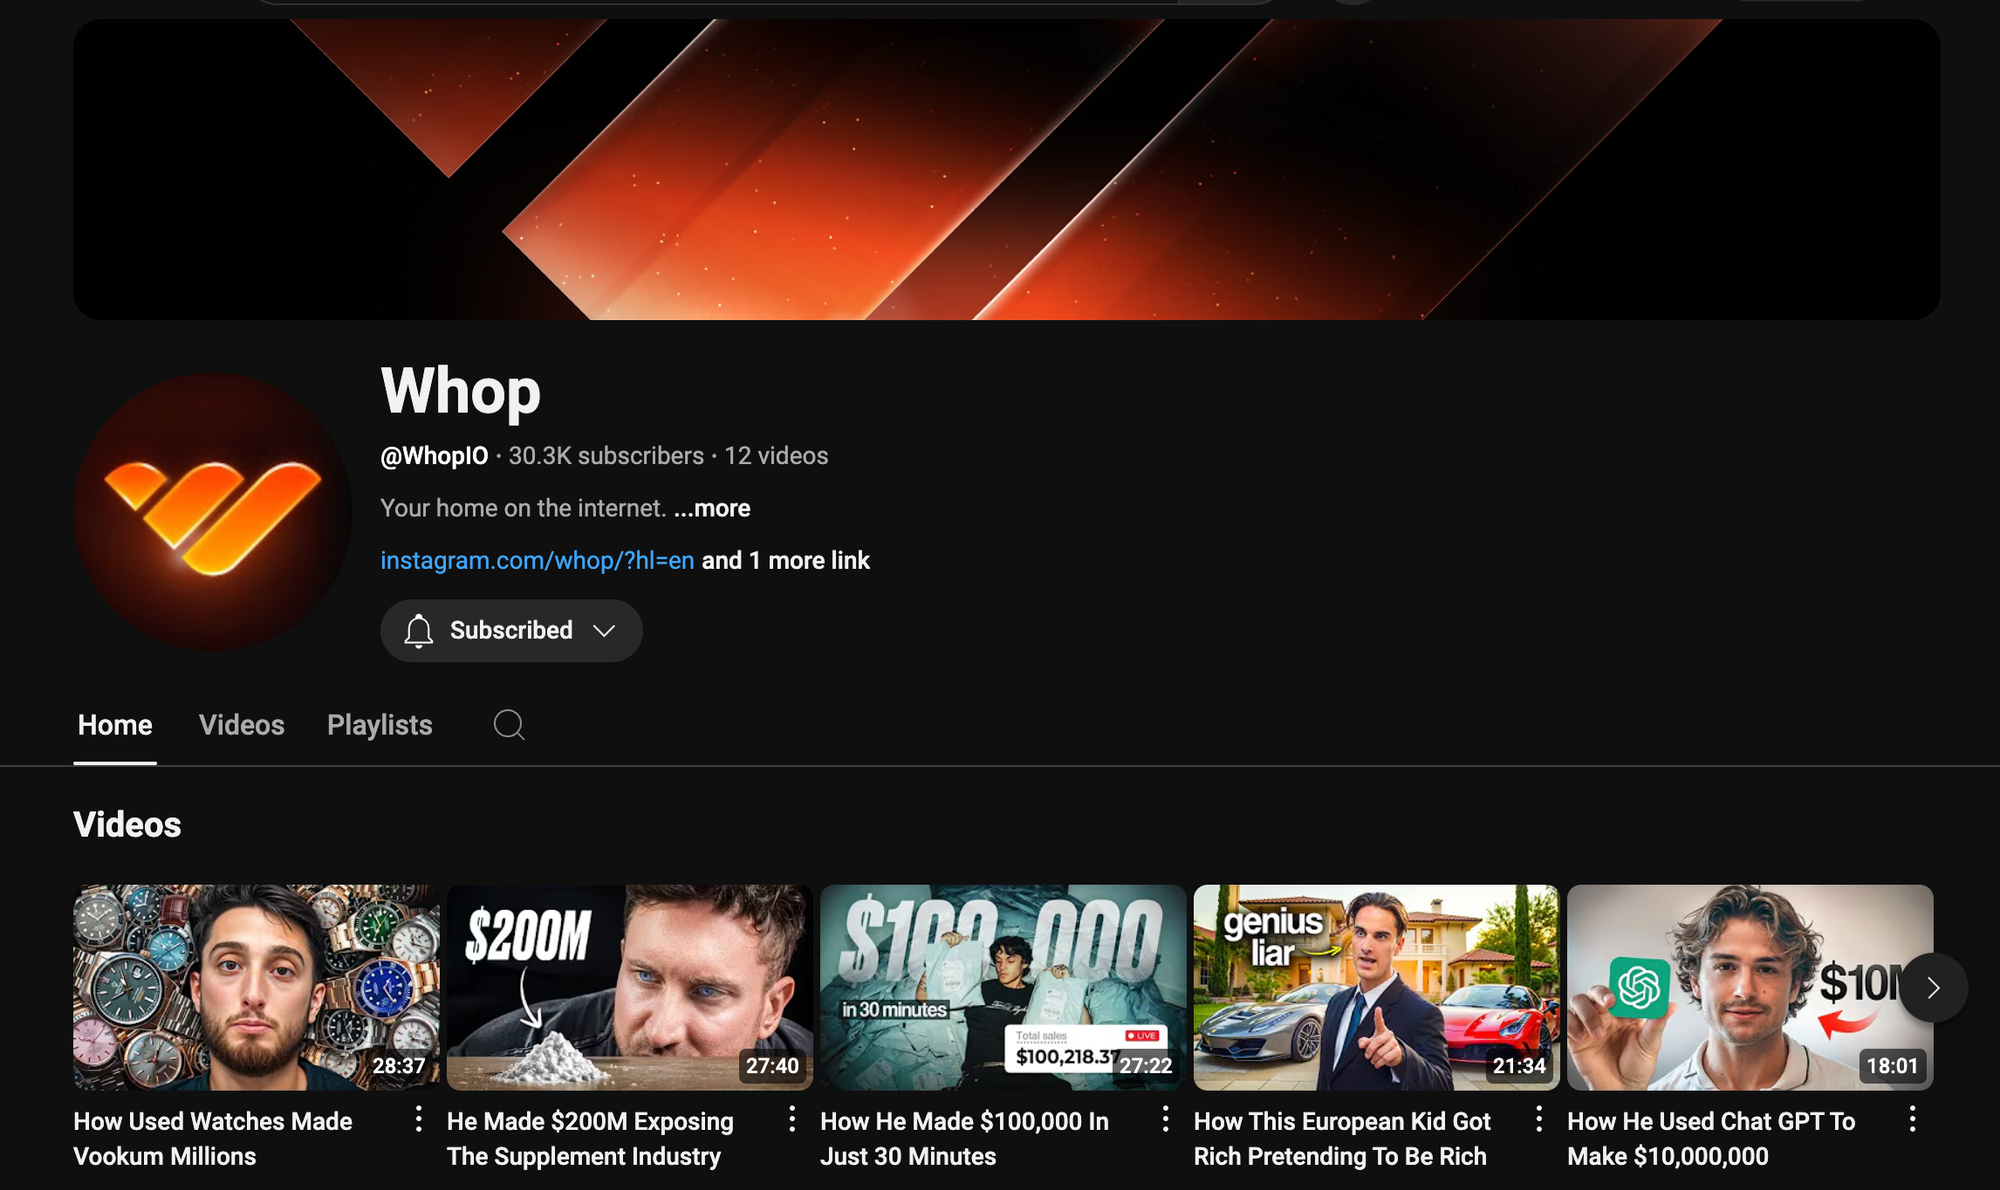
On YouTube, you'll need to upload three types of images to represent your channel and content. Here are the specific sizes for each one:
- Profile picture: Your channel's icon appears next to every video and comment. Make it 800 x 800 pixels using JPG or PNG format.
- Channel banner: This header spans your channel page. Create it at 2560 x 1440 pixels and keep important content in the middle area (1546 x 423 pixels).
- Video thumbnails: These preview images show up in search results. Design them at 1280 x 720 pixels (16:9 aspect ratio) and use JPG, PNG, GIF, or BMP format.
Quick tip: Always preview your images on both phone and computer screens before publishing. Small text that's readable on your desktop might be impossible to see on mobile.
How to optimize video quality for upload
Before you upload your video to YouTube, make sure you export it correctly. This involves two key steps:
Editing for the right dimensions
Set your export dimensions to 1920 x 1080 pixels for clear playback on YouTube. Keep your video's original aspect ratio during resizing—changing it will stretch or squish your content. Your editing software should have preset options for this.
Compressing large files
Your editing software's export options will let you compress the video file while keeping it clear. Look for a "YouTube" export preset, or adjust the quality settings manually until you find a good balance between file size and clarity.
YouTube Studio is a powerful tool for managing uploads, analytics, and more. Learn how to make the most of it with our YouTube Studio guide.
How to change YouTube video sizes
Uploaded a video only to find it looks stretched, blurry, or framed with black bars? Changing its size or resolution can fix these problems and give viewers a much better experience.
Adjust playback settings on YouTube
You can tweak the video quality directly on YouTube to match your preferred resolution.
On desktop:
- Open the video you want to watch.
- Click the gear icon at the bottom-right corner of the player.
- Select "Quality" from the menu.
- Pick your resolution (e.g., 720p for HD or 1080p for Full HD).
On mobile:
- Tap the video to reveal playback options.
- Tap the three vertical dots (menu icon) in the top-right corner.
- Select "Quality" from the dropdown menu.
- Choose your preferred resolution, or use "Auto" to let YouTube pick the best option for your connection.
Optimize video size before uploading
If your video doesn’t meet YouTube’s size guidelines, resizing it beforehand helps avoid cropping or low-quality playback.
- Use editing tools like Descript or Riverside to resize your video.
- Set the dimensions to 1920x1080 pixels (16:9 aspect ratio) for standard YouTube uploads.
- Keep the aspect ratio consistent to avoid stretching.
- Export the video in MP4 format, which works best on YouTube.
- Play back the resized video to check its quality before uploading.
Pro Tip: Save your upload settings as a preset in your editing software. It’ll save time for future uploads and keep your video quality consistent across your channel.
YouTube Shorts specs
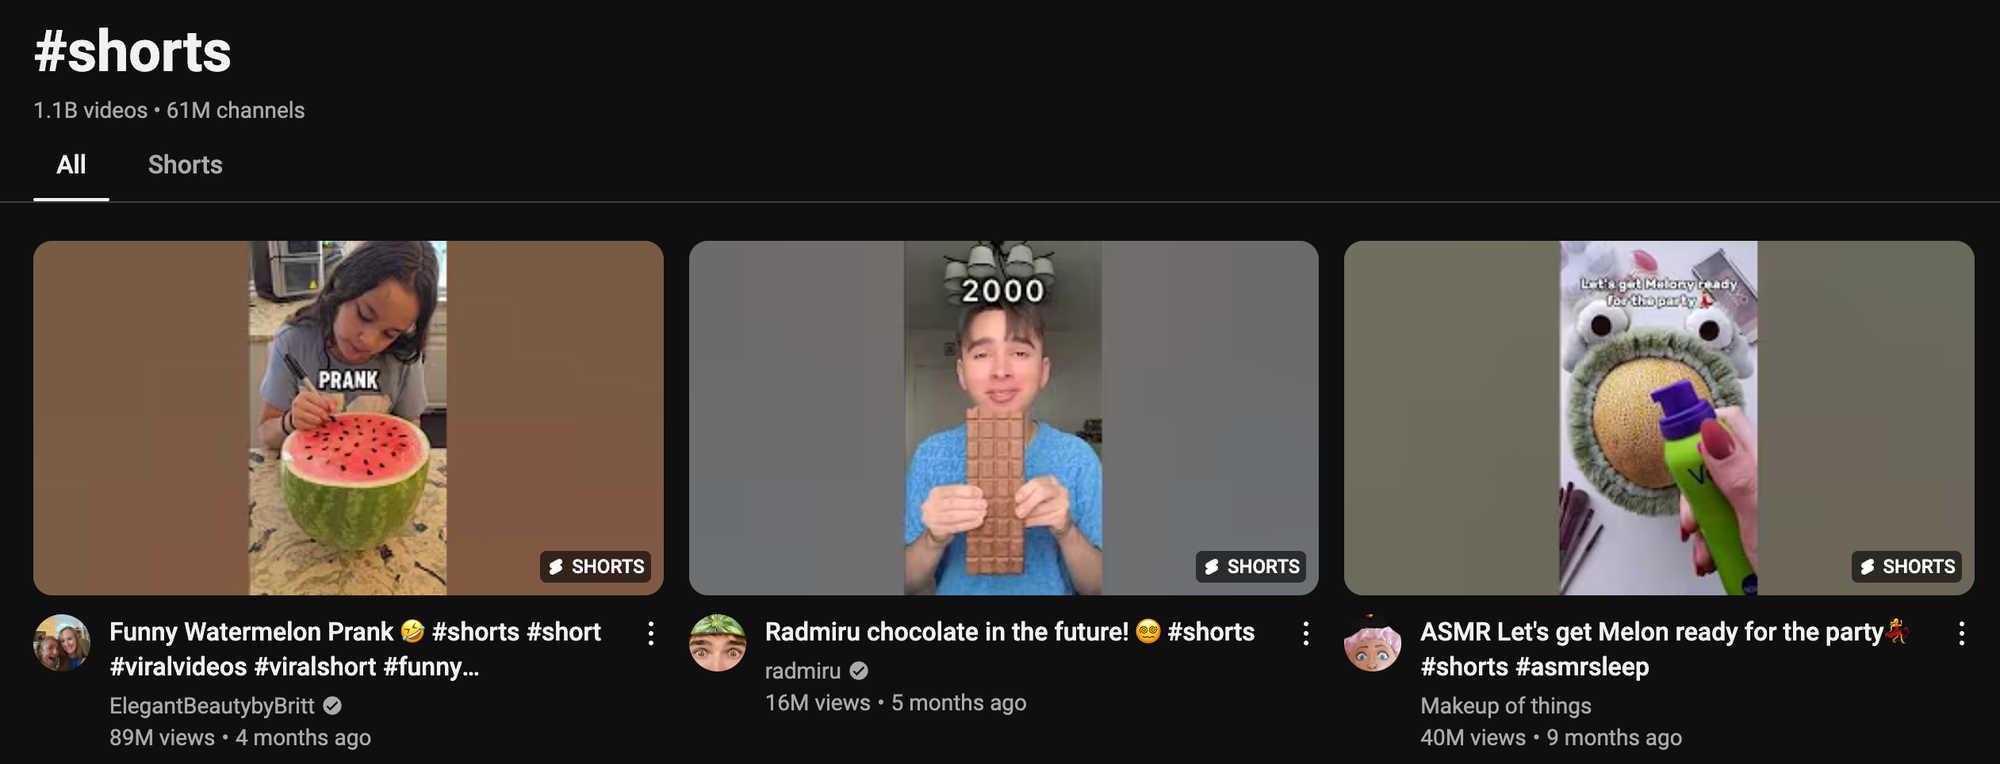
YouTube Shorts are like espresso shots of content creation—small, concentrated, and packing a punch. These bite-sized videos cater perfectly to short attention spans and are ideal for connecting with your audience quickly. You can use them to grow your reach, share valuable content, and even make money along the way (learn how to monetize Shorts).
To create Shorts that stand out (and earn), you’ll need to understand their unique format and optimize them for maximum impact.
Key specifications:
Aspect ratio: 9:16 (vertical format).
Resolution: 720 x 1280 (minimum) or 1080 x 1920 (recommended for better clarity).
Length: Up to 60 seconds.
Optimization tips:
1. Stay concise: Capture attention in the first few seconds. Shorts are short for a reason—make every second count.
2. Vertical layout: Shoot directly in vertical mode to avoid cropping or black bars.
3. Engage early: Use bold visuals or quick transitions to hook viewers right away.
4. Use captions: Many users watch videos on mute. Adding captions improves accessibility and engagement.
5. Leverage trends: Incorporate trending audio or challenges to increase discoverability.
Whether you're promoting a product, sharing quick tips, or hopping on trends, Shorts offer an excellent way to grow your channel and reach new viewers.
5 tips for better YouTube thumbnails
Your thumbnail is your first chance to grab attention and entice clicks. Instead of throwing something up quickly, take some time to make sure they’re compelling and eye-catching.
Here are some tips to help you get there.
1. Highlight key elements with bold colors
Colors can make or break your thumbnail. Bright, bold colors help your video stand out in a crowded feed. Choose contrasts like yellow and black or red and white, which naturally catch the human eye.
Try using complementary colors from the color wheel to create engaging visuals. For example, pair blue with orange or green with pink for standout contrast.
2. Use large, readable text

If there’s text on your thumbnail, keep it short, bold, and readable. Viewers should be able to process it at a glance, even on a small mobile screen.
As a rule of thumb, try limiting to 3-5 words max. Use thick, sans-serif fonts like Impact or Montserrat to ensure readability.
Instead of writing, "How to improve your thumbnail designs for better YouTube performance," try something snappier like, "Better thumbnails, more clicks."
3. Include faces with emotion

People are drawn to emotions, so use visually expressive photos that reflect surprise, curiosity, or excitement.
Research suggests that thumbnails featuring faces with strong emotional expressions tend to get more clicks. Enhance this effect by zooming in so the facial features are clearly visible.
4. Keep a consistent brand style
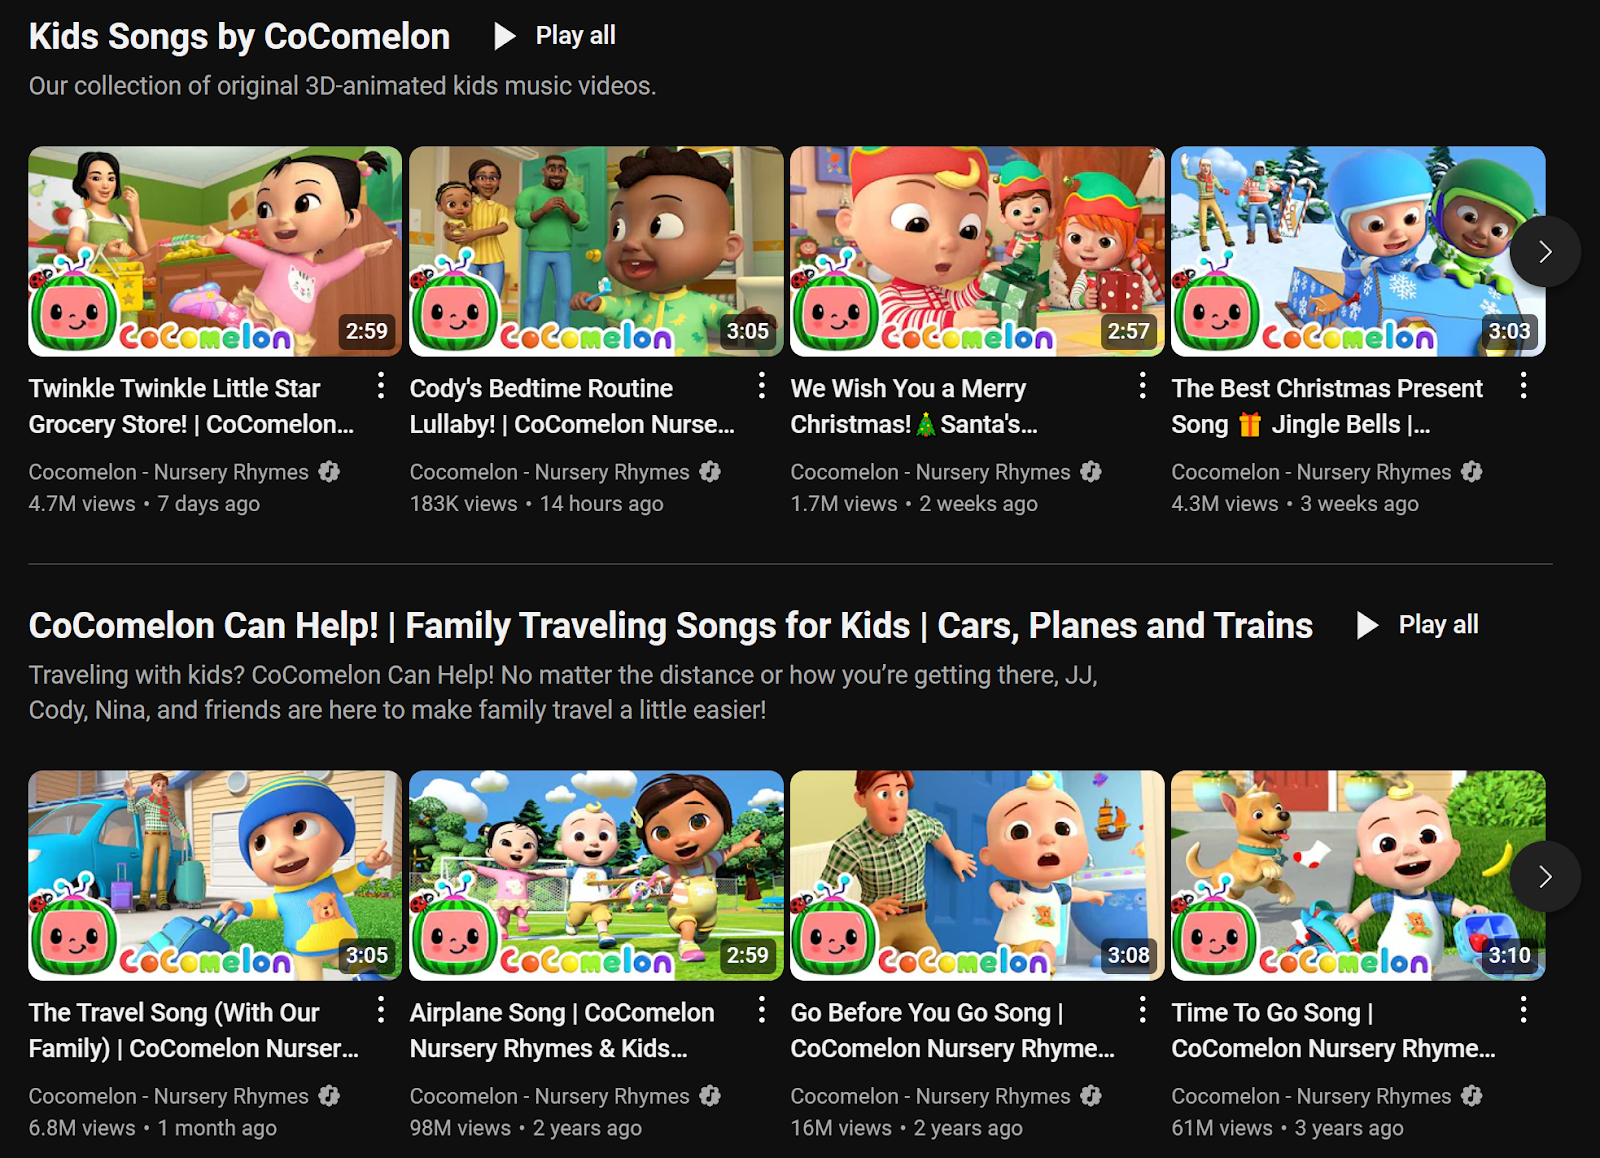
Brand consistency helps build trust and recognition over time. Use similar colors, fonts, and layouts across your thumbnails so that viewers can instantly identify your videos.
Try using a tool like Canva or Adobe Photoshop, which let you create templates you can reuse. This saves you time and effort.
5. Test, analyze, and improve

Great thumbnails are a blend of creativity, design, and data. YouTube analytics can show you how well your thumbnails are performing by monitoring your click-through rate (CTR).
Try an A/B testing (also called split or bucket testing) tool like TubeBuddy. These tools let you see which style resonates best with your audience.
Use this data to refine and improve your future designs.
Important YouTube guidelines to keep in mind
Let’s look at some key guidelines to keep in mind, including YouTube’s policies as well as general best practices.
YouTube policies
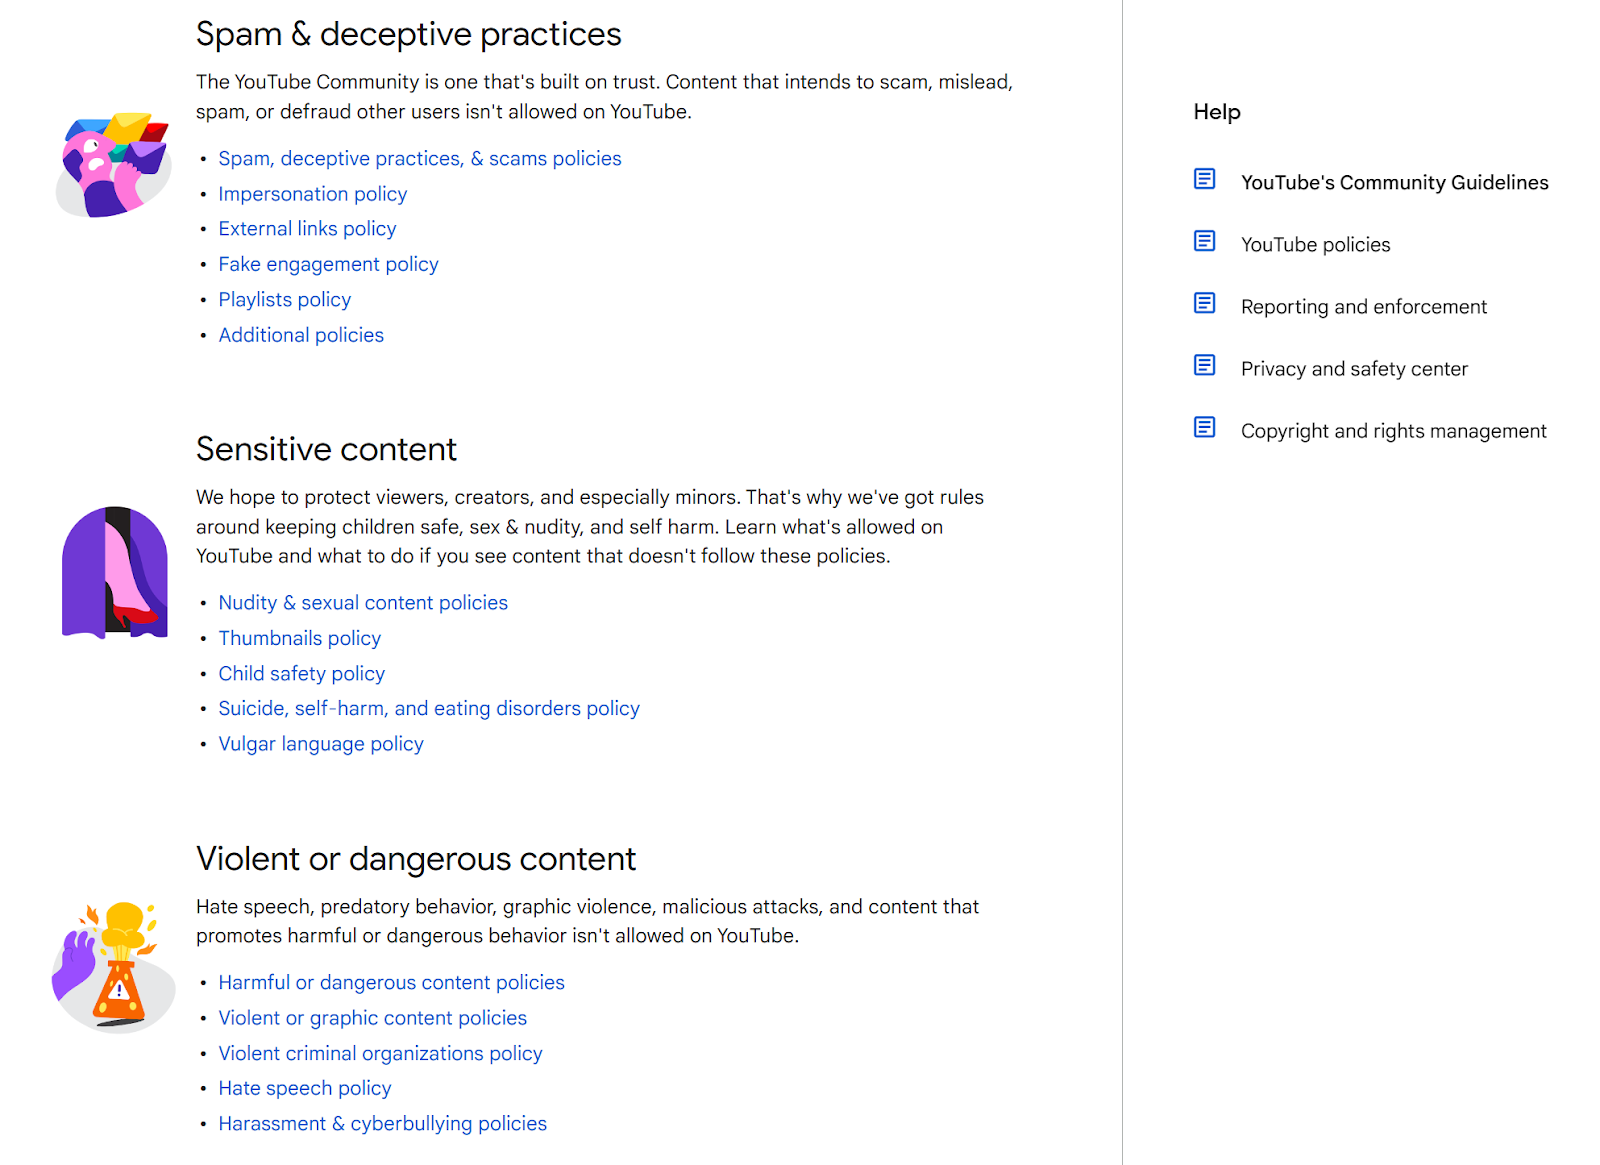
Accurate thumbnails and titles. Your thumbnail and title always need to accurately represent the content of the video. If you post misleading thumbnails or titles, you’re violating YouTube’s Misrepresentation Policies, which can harm your channel’s credibility and performance.
Community guidelines. Be sure to follow YouTube’s Community Guidelines, which prohibit harmful, hateful, or misleading content. If you violate the guidelines, even by accident, you might have your videos removed or your account suspended.
Copyright policy. Only use content you own or have permission to use. If you use copyrighted music, footage, or images without authorization, you can be demonetized, or unable to earn ad revenue. You might also get a copyright strike from the content’s owner, which is a legal request to remove the content.
Privacy policies. Respect viewer privacy by avoiding the inclusion of personal information about others without consent. Videos violating privacy laws or YouTube’s policies may be removed.
Best practices
File size and length. Videos can be up to 256GB or 12 hours in length, whichever is smaller. For very large files, consider compressing them without sacrificing quality by using professional video editing software like the ones we discussed above.
Audio quality. High-quality audio is crucial for a professional presentation. Use a sample rate of 48kHz and ensure your audio is clear and balanced. Avoid audio clipping or distortion—nobody wants to listen to nails on a chalkboard.
Closed captions and subtitles. When you include accurate closed captions, it not only improves accessibility for your viewers, but can also boost your video’s SEO. YouTube allows you to upload your own subtitle files or use its auto-captioning feature.
Monetize your YouTube channel with Whop
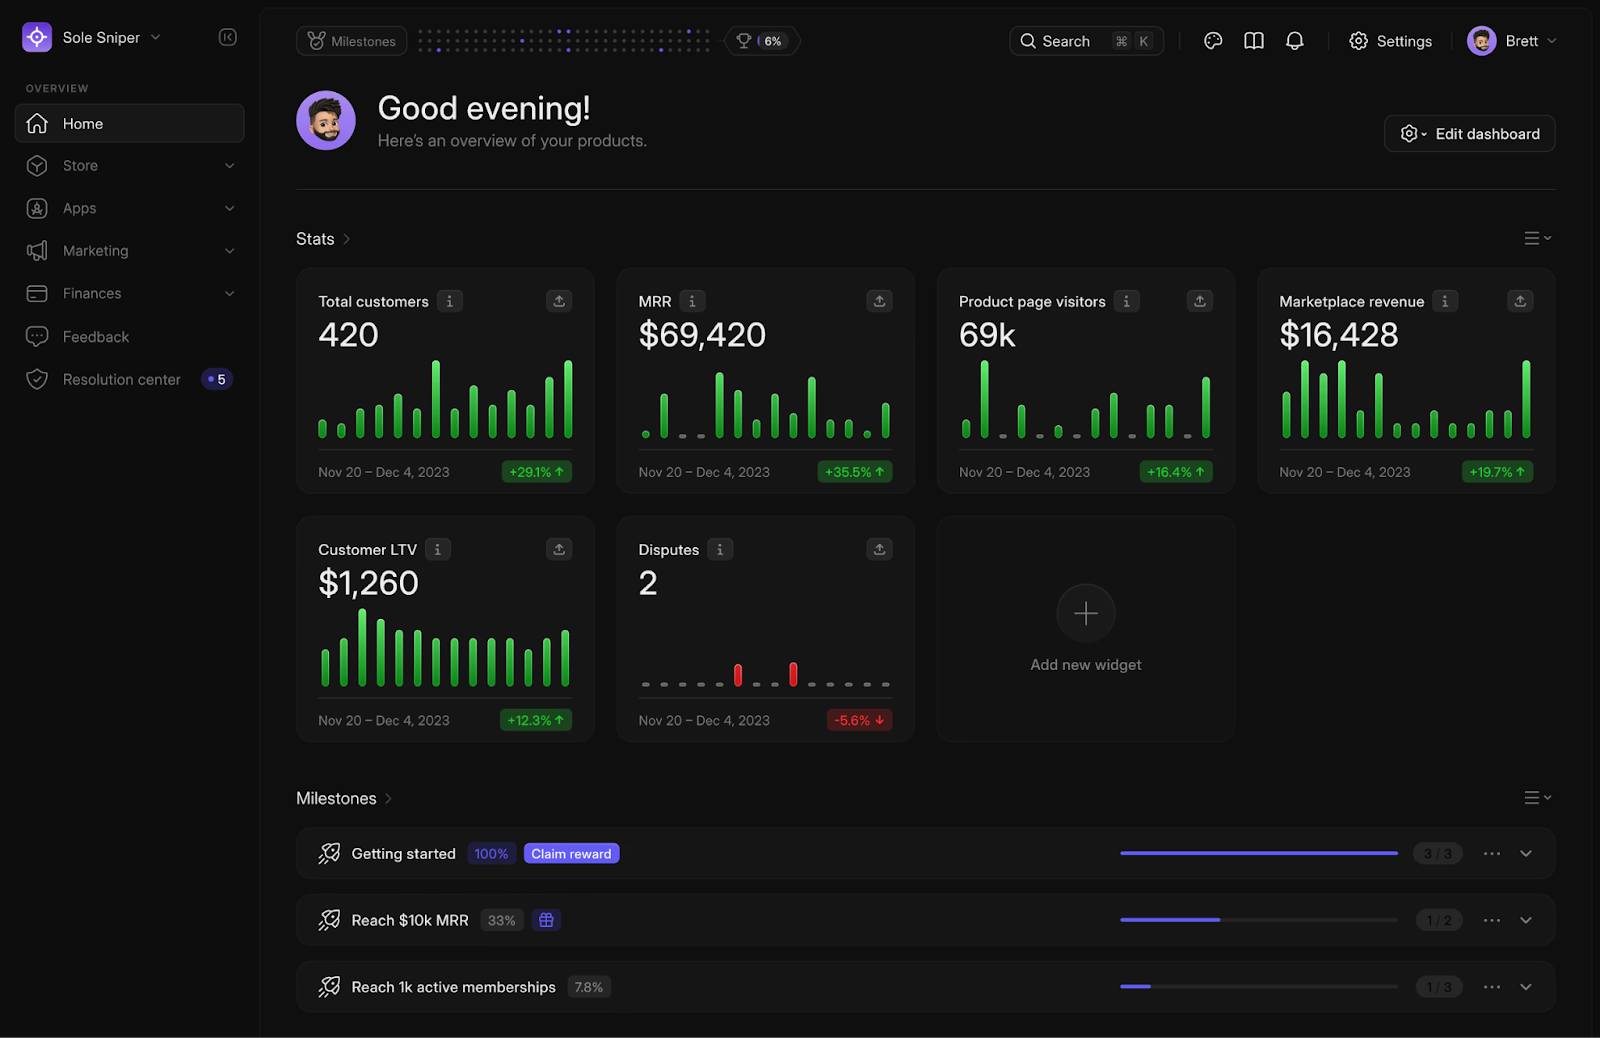
While YouTube Studio gives creators built-in options to monetize their channel, it also takes a significant cut of your earnings. In fact, 2025 statistics show that YouTubers only earned 55% of the revenue that their channels generated.
That’s why many of today’s most successful creators avoid YouTube’s fees by guiding their audience to external platforms, where they can offer exclusive content, subscriptions, and more. This strategy lets them keep a larger share of their income.
That’s where Whop comes in.
With Whop, you can transform your YouTube audience into a thriving revenue stream by:
- Selling digital products like eBooks, courses, templates, and tutorials.
- Offering premium memberships for fans who want special perks or access to exclusive content.
- Managing subscriptions and payments directly, bypassing your dependency on YouTube’s ad revenue.
Whop integrates seamlessly with your YouTube content. It’s an easy way to redirect your audience to a platform that gives you more options to earn while letting you keep more of those earnings.
We’ve got a complete guide on how to monetize YouTube with Whop, so don’t miss it!
Ready to move beyond ad revenue?
Sign up as a creator on Whop today to turn your audience into your biggest asset.
YouTube video FAQs
What is the best aspect ratio for YouTube videos?
The ideal aspect ratio for YouTube videos is 16:9. It’s the standard for most modern displays and ensures your video looks great on desktops, smartphones, and tablets.
What happens if my video isn’t 16:9?
YouTube adjusts videos with different aspect ratios by adding black bars to fit the player (also called pillarboxing or letterboxing). But this can detract from the viewing experience, so 16:9 is better.
Why does my video look blurry on YouTube?
Your video might look blurry if it’s still processing higher resolutions. If it stays blurry, it could be from uploading a low-quality video or watching on a device with poor internet. To avoid this, upload high-resolution videos (like 1080p or 4K) and check the playback quality settings.
What’s the maximum file size for YouTube uploads?
You can upload files up to 256GB or 12 hours long, whichever is less.
Does YouTube compress my videos?
Yes, YouTube compresses videos during processing to optimize streaming quality across various devices and internet speeds. It’s best to upload videos in the highest quality to minimize the effects of compression.
Should I use 4K resolution for all my YouTube videos?
While 4K resolution has excellent quality, it’s not always necessary. Consider your audience’s devices and internet speeds. If your viewers mostly watch on mobile, full HD (1080p) will often do the job.
What’s the recommended file format for uploading to YouTube?
YouTube recommends using MP4 format with H.264 video codec and AAC-LC audio codec for the best balance of quality and file size.
Can I change the aspect ratio of my video after uploading it?
No, you can’t change the aspect ratio after uploading. To fix aspect ratio issues, you’ll need to edit your video using software and re-upload it.
Are there different size requirements for YouTube Shorts?
Yes, YouTube Shorts are optimized for a vertical 9:16 aspect ratio and typically have a resolution of 1080x1920. Keep your video under 60 seconds for it to qualify as a Short.


