Content Rewards is a very powerful feature of Whop, and it's easier to set up than you might think. Learn how to use Content Rewards as a creator in this guide.
Key takeaways
- Content Rewards lets you run performance-based ad campaigns with zero upfront costs and pay only for verified results.
- You can create and launch a content reward campaign in under three minutes with flexible budget options.
- AI automatically reviews submissions against your requirements, auto-approving content after 48 hours if not manually rejected.
Content Rewards is one of the most powerful growth tools on Whop. With content rewards you can run performance-based ad campaigns that outperform traditional ads, with zero upfront costs and guaranteed results.
In this guide, we’re going to walk you through creating a content reward in under 3 minutes, and how to handle user submissions.
Creating a content reward on Whop
Creating a content reward is much easier than most people think. Let’s take a look at the steps of creating one:
- First, go to the Earn tab of your whop. This is where bounties and content rewards are listed.
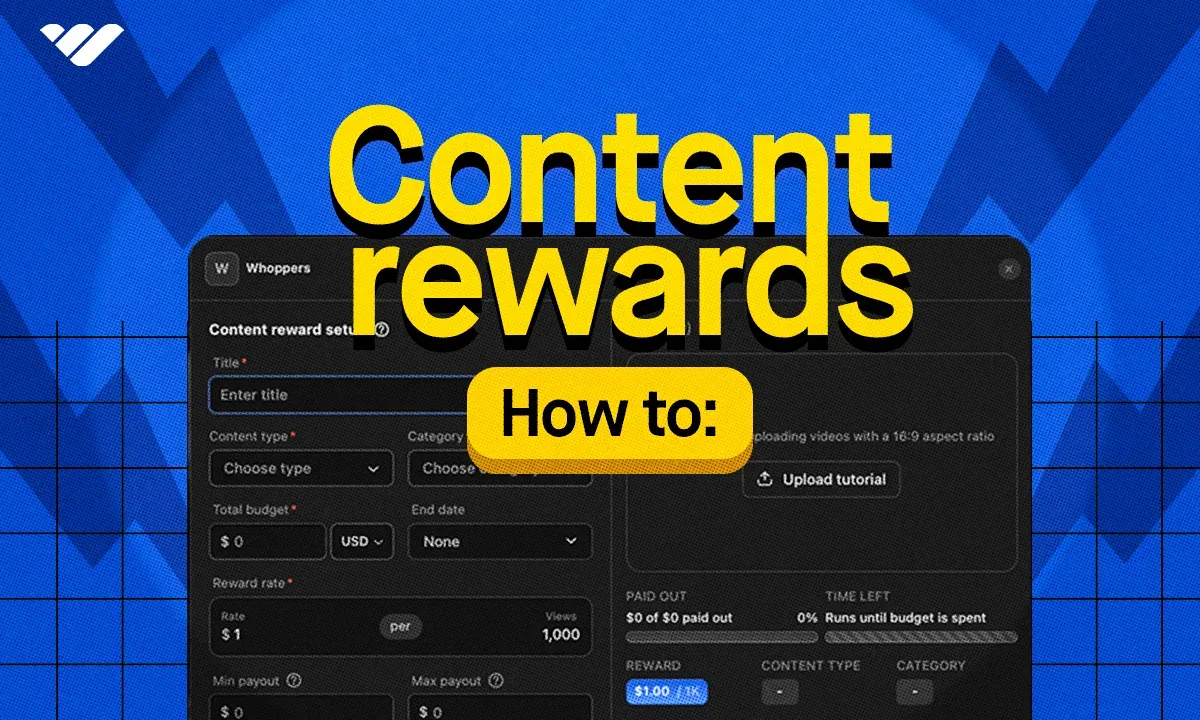
Then, click on the Add app button at the bottom of the section. This is going to display a popup with apps under the Earn category. There, select the Content Rewards app. - Once you select Content Rewards, you’ll see the Content reward setup popup. The setup has six mandatory fields: title, content type (clipping, other, UGC), category, total budget, reward rate (per 1k views), and the allowed platforms.
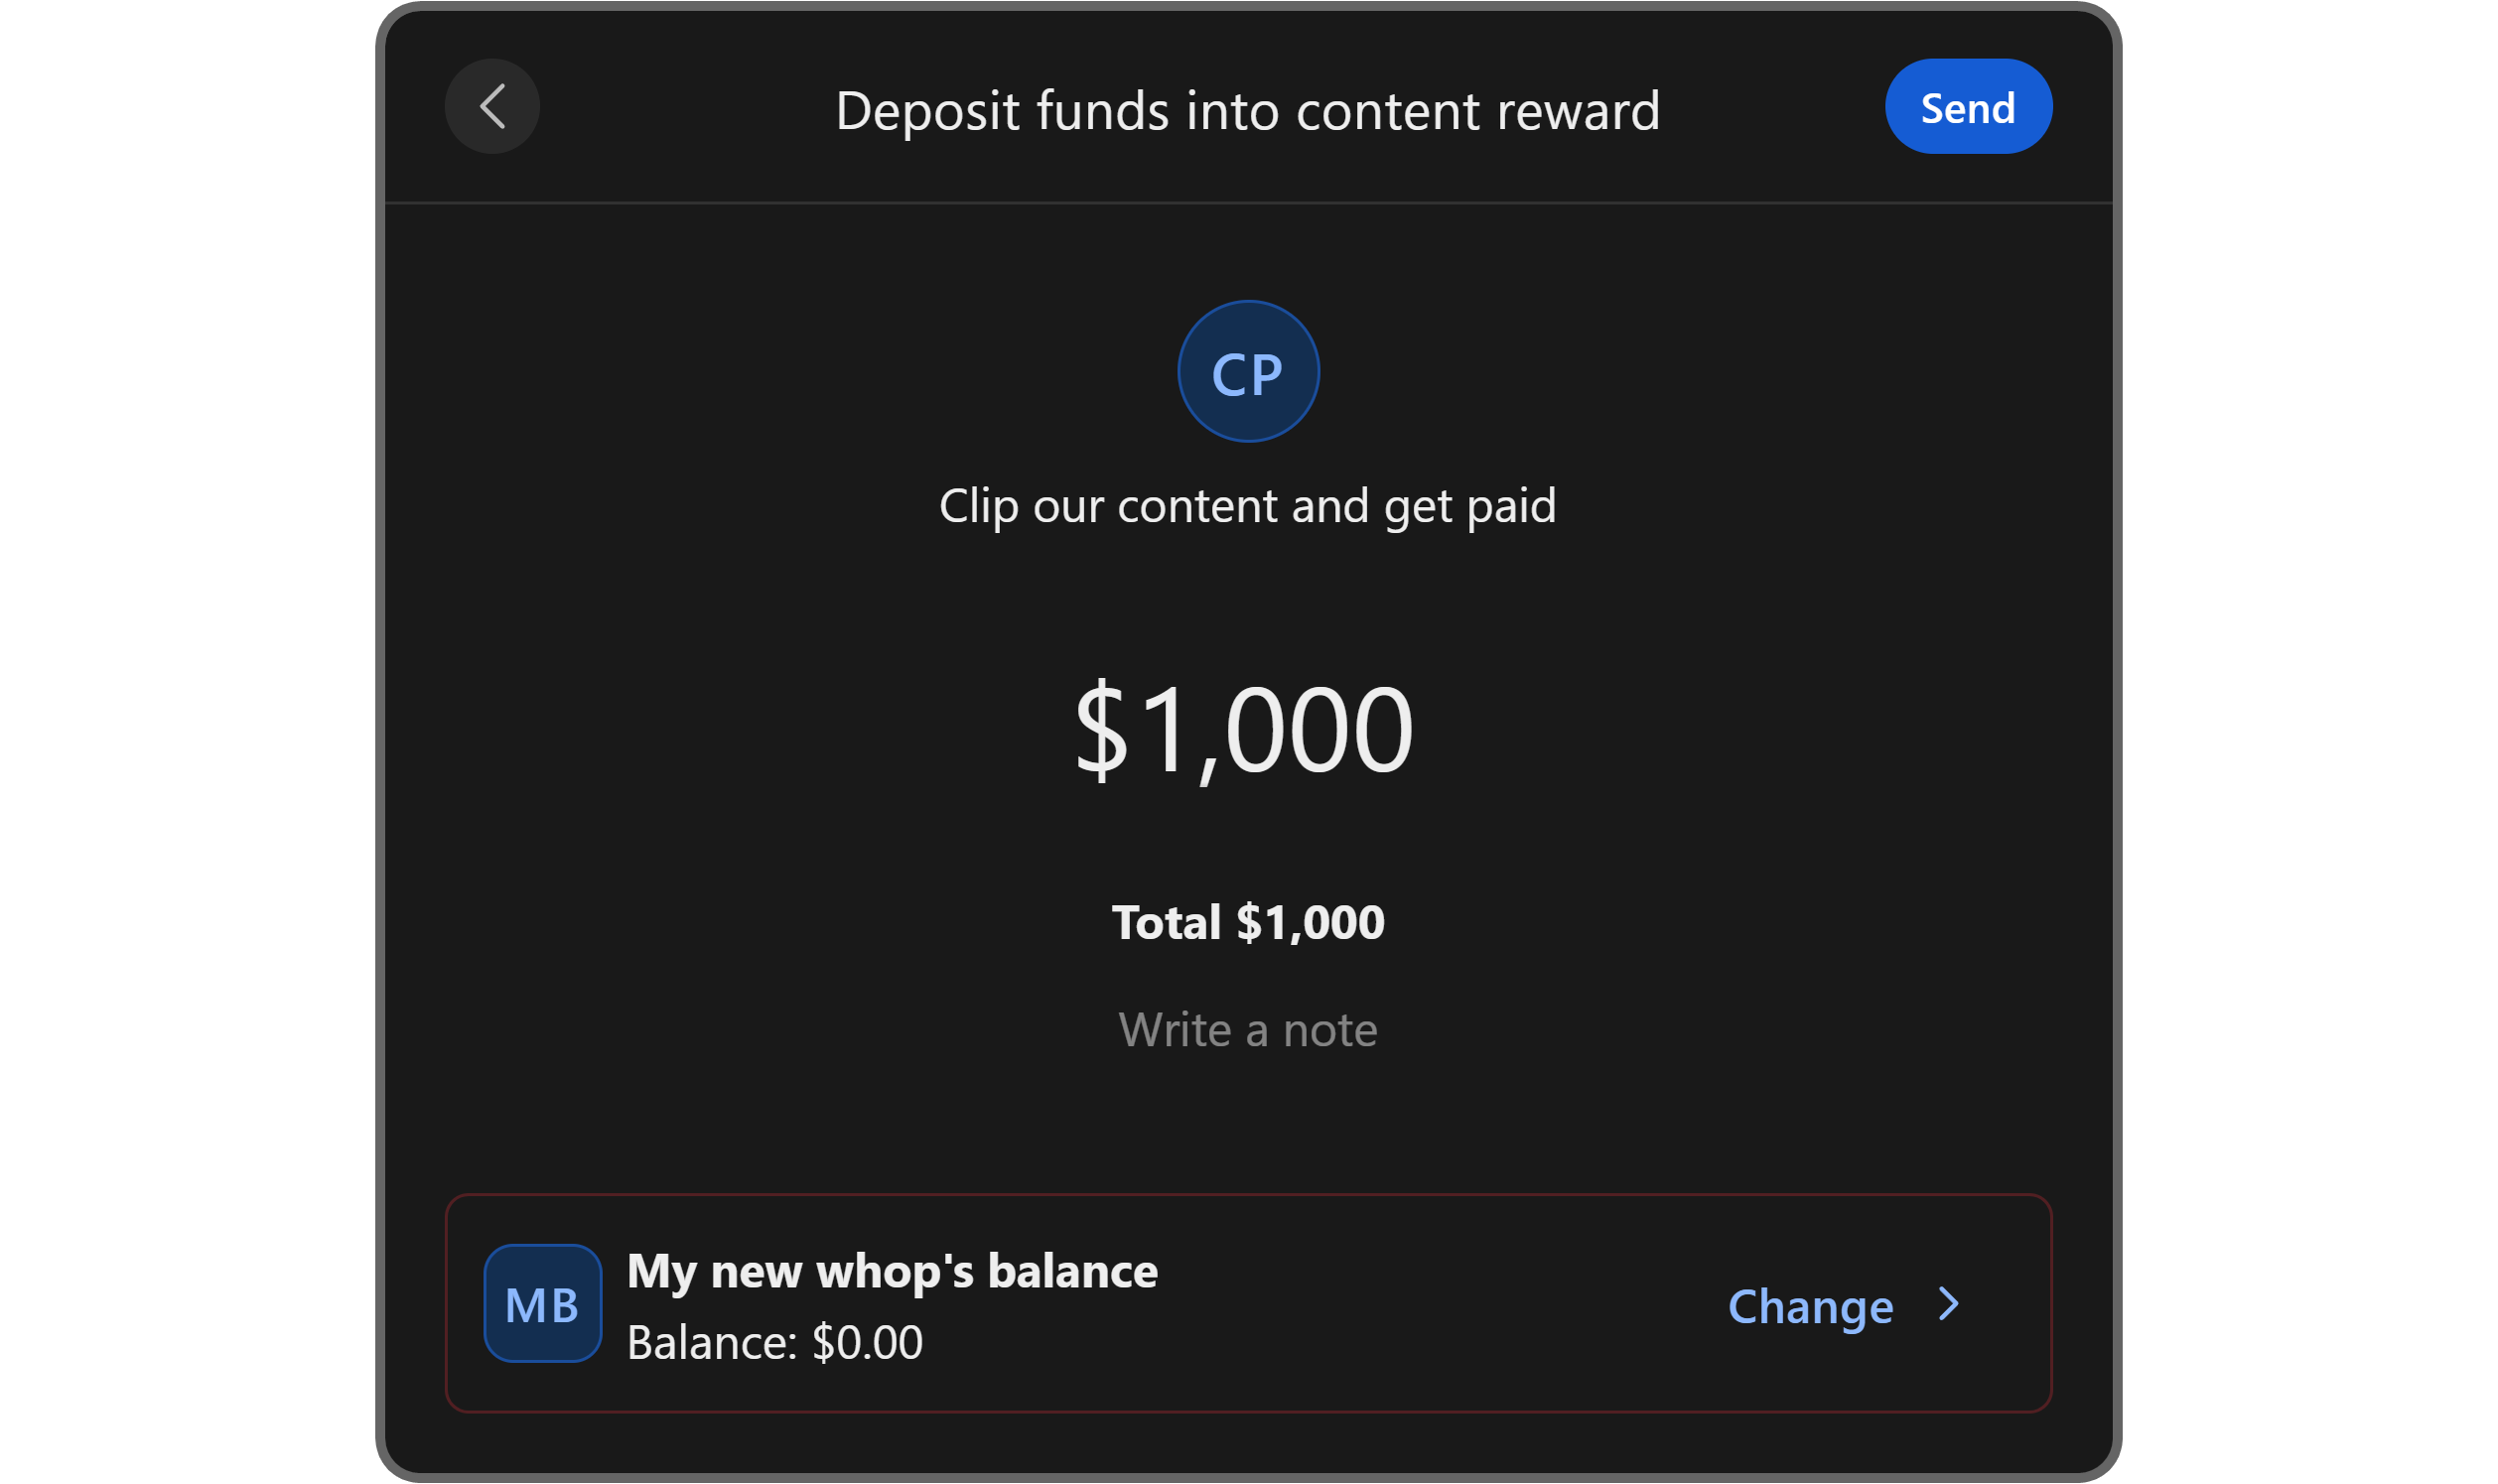
All other fields, like the tutorial video or maximum payouts, are optional. You can always edit the content reward you create to change these settings (except total budget, reward rate, and flat fee bonus). Once you’re done filling out the fields you want, click the Continue button at the bottom right of the popup to proceed. - The following popup you’ll see after clicking the Continue button is the deposit prompt. The system will require you to top up the balance of the content reward so it can go live - until then, the content reward will have the "Pending" status, and your members won’t be able to see it.
We recommend you take a look at each individual field in the popup so that you can make the most of the Content Rewards app.
For example, if you have requirements like ‘the content has to be positive about our business’ or ‘video content must be 20 seconds minimum,’ then include this in the Requirements section.
Same with the Asset links section. Here, upload any assets that might help your members create content, and the audio requirements section for Instagram and TikTok audio links.
Requirements in? It's now time to add your budget.
Once you deposit the total budget amount of your content reward, it will instantly go live, and your members will receive a notification about the new content reward.
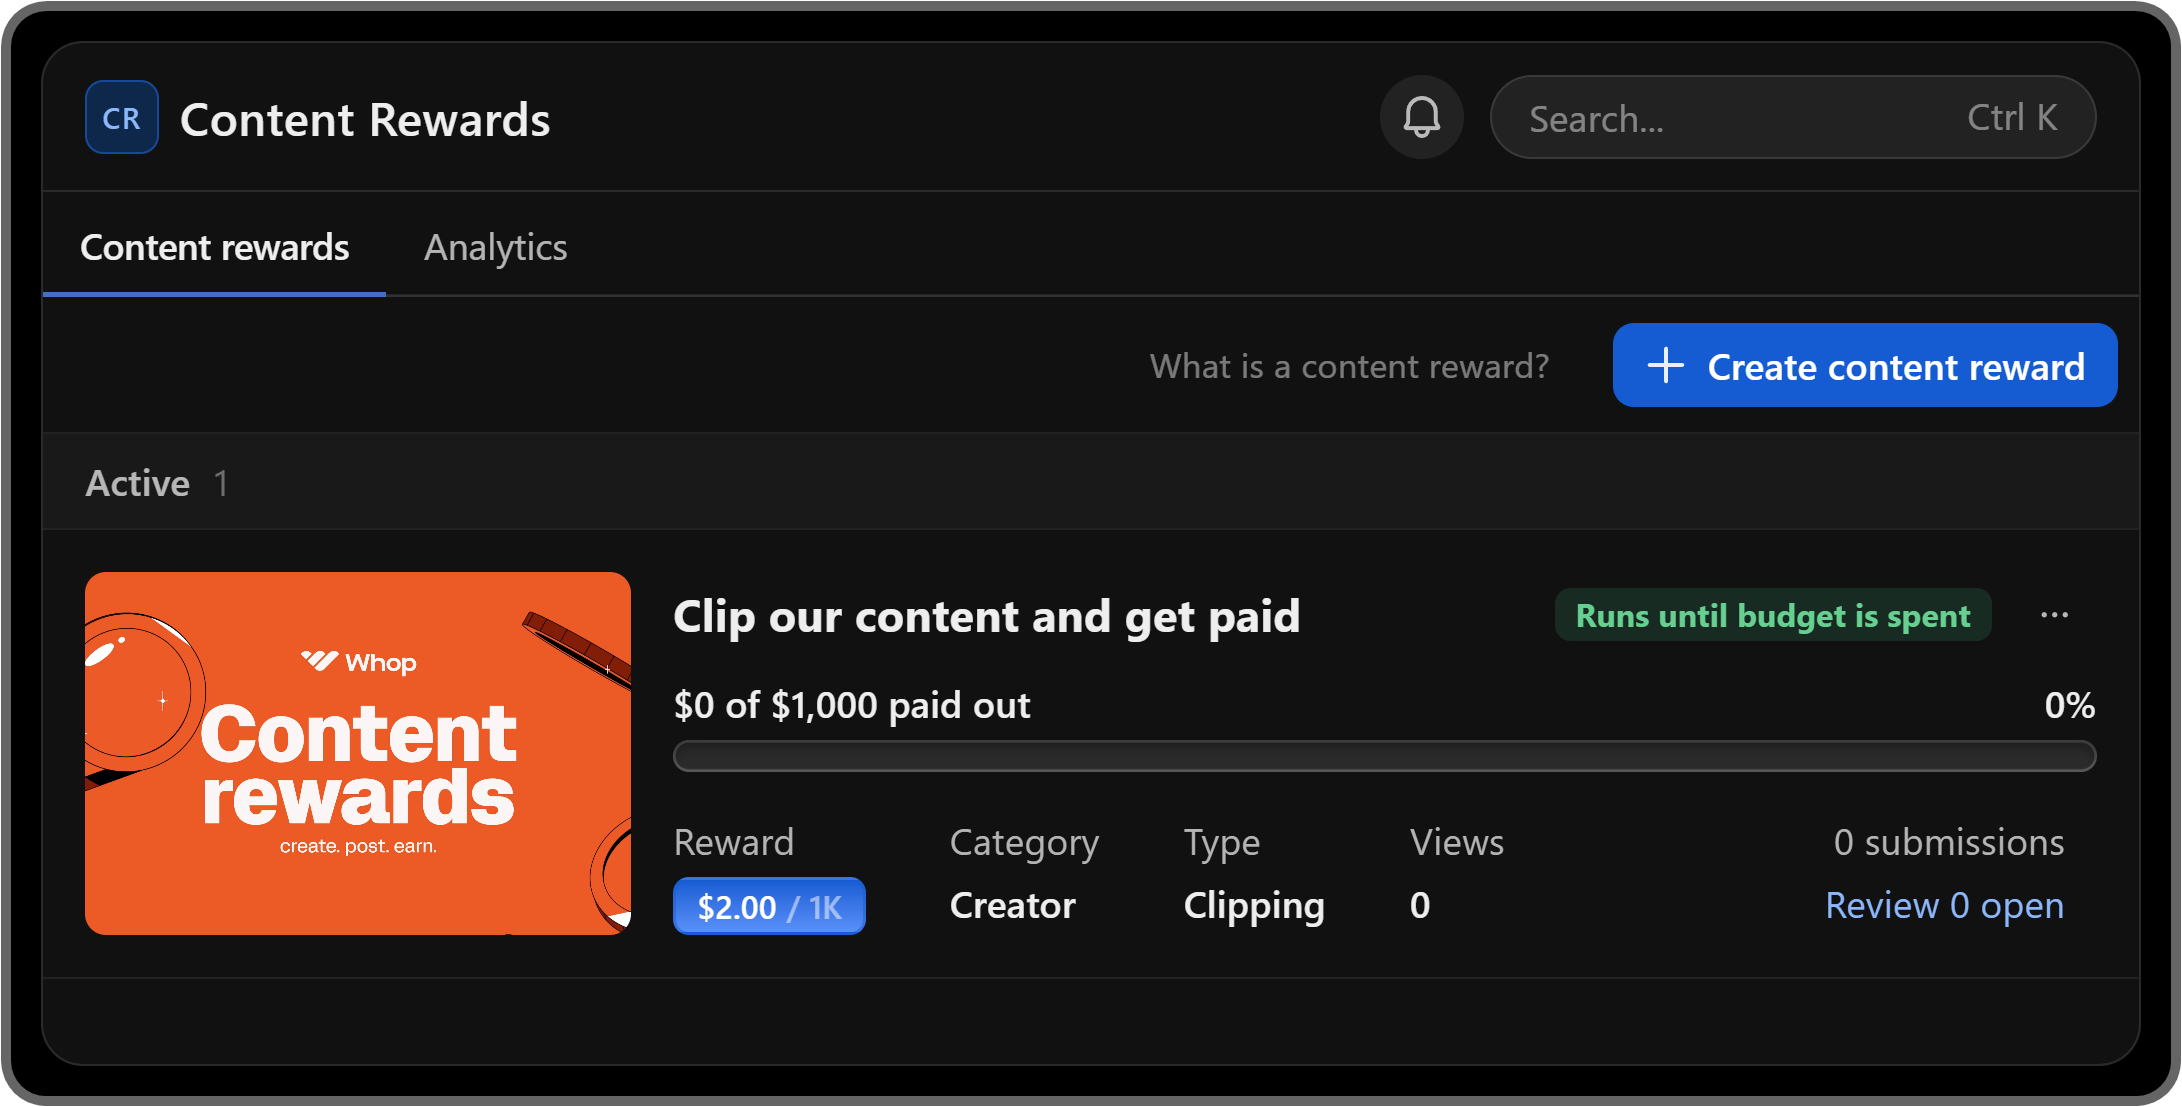
After completing the top up, you’ll be directed to the main view of the Content Rewards app where you can see all the content rewards you’ve created so far.
Clicking on any of them will open the detailed view of the specific content reward.
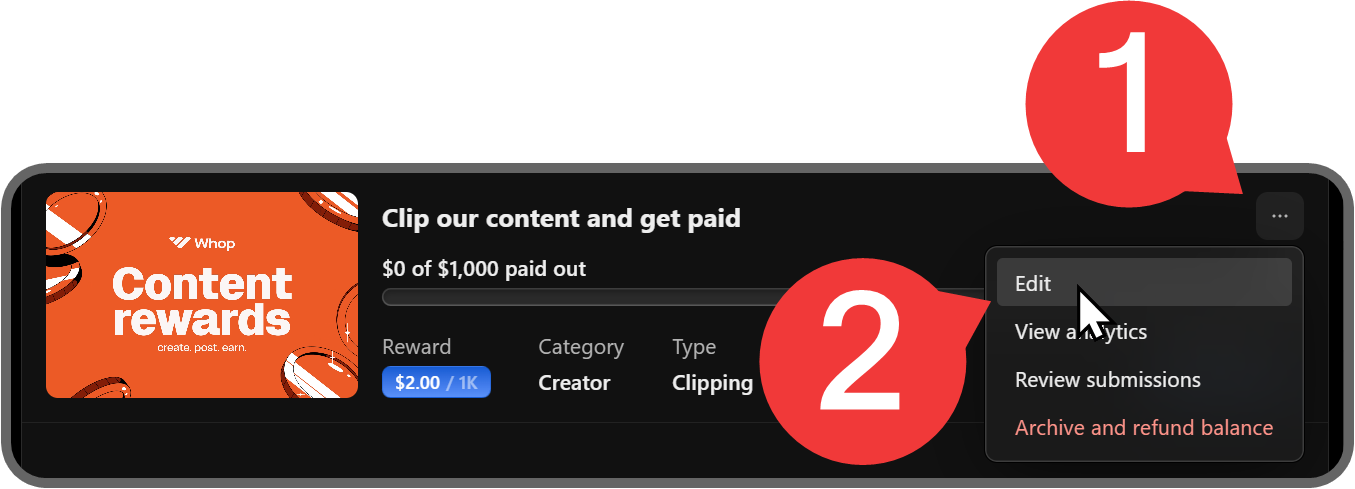
If you ever want to change the details of a content reward you’ve created, you can always click on the context menu of the content reward and select Edit.
This will display the same popup you’ve seen when creating the content reward, and you’ll be able to change its settings (except total budget, reward rate, and flat fee bonus).
How to promote your content reward campaigns and get more submissions
Now that you've created a content reward, it's time to promote it both on your whop and social media. You can do this by creating promotion campaigns on your social media accounts, emailing your customers, or even creating QR codes and putting them directly on your physical products.
The first thing you will want to do is add the Chat app to your whop and post announcements. This will allow your members to get in touch with you without flooding your DMs.
To add the Chat app to your whop, let's go to the Chat tab of your whop and click the Add app button at the bottom right of the section. This is going to display the popup to add the Chat app to your whop. After giving your chat a name, click the Create button at the bottom of the popup.
That's it - now, your members can go to the Chat section of your whop and start talking to each other, and you.
Another way to get more submissions is to post announcements on your whop about new content reward campaigns.
When you post an announcement on your whop, your members are going to get a notification, prompting them to engage with the post and its contents.
Creating announcement posts on whop is super simple. All you have to do is click on the Home section of your whop and use the post field.
After you're done writing the post, you can attach files or GIFs to it, lock it behind a price, or add a poll.
Outside of your whop, you should also promote your content reward campaign on social media, email your users, and try to spread the word as much as possible.
Since content rewards are a win-win for both you and the people who submit content, the more people who know about your campaign, the better.
Getting listed on Whop Discover
Now, to make sure our whop is accessible to everyone and benefits from its traffic, you will want to get it listed on Discover.
First, we need to check what the requirements are, and how many of them you're actually meeting.
Let's click on the Store page button on our whop. There, you're going to see a progress section titled Set up your whop at the bottom of your screen. Clicking on it will display the requirements.
Now, let's go over each of the requirements together.
1. Add title, headline, and description
To meet the first requirement, you're going to need to add a title, headline, and description to your whop. You'll be prompted to add the first two while creating your whop, so you're most likely going to add just the description in this step.
Clicking the requirement in the progress section will display the Edit details popup on the right side of your screen. That's where you can manage some of your whop's settings.
There, make sure you have the title, headline, and description fields filled out. Then, click the Save button at the bottom of the popup to complete the first requirement.
2. Add logo
The second requirement of getting listed on Discover is adding a logo to your whop. To do so, let's click on the second requirement to see the same popup as we did on the previous step. There, you'll see the Add logo button at the top of the popup.
Clicking on it will display a file selection window, which will differ based on the browser you're using (the example below is Opera), and the file you select will start uploading.
Once you're fine with the logo, click the Save button at the bottom of the popup to complete the requirement.
3. Add gallery images
When you click on the Add gallery images requirement, you're going to see the Edit gallery popup on the right side of your screen. This is where you can customize the gallery that appears at the top of your store page - so make sure you get some interesting images, or even better, videos.
The recommended aspect ratio for the images and videos for the gallery is 16:9. If your media exceeds the recommended aspect ratio, you'll be prompted to crop it. While images are great for galleries, we recommend you to add videos for even better results.
After uploading images or videos to your gallery, click the Save button at the bottom of the popup to save the changes.
4. Choose category
You're almost done with the requirements. In this step, you're going to click on the Choose category requirement which will display the Edit details popup. There, you should select which category your whop fits into from the dropdown menu.
Once you've selected the category, click the Save button to proceed.
5. Add available pricing option
Lastly, you need to create a pricing option. The default pricing option of whops is free, but you can change that quite easily. Let's take a look at the steps:
- Click either the Add available pricing option requirement or the Manage pricing option in your whop's context menu. This will take you to the Manage pricing popup.
- In the popup, click the Create pricing option button to start creating one. In the next popup, select the pricing mode. As an example, we're going to select the Paid option. Then, based on which option you've selected, you'll see a few more steps like the payment frequency, payment options, and more.
- Once you've created the pricing option, you'll be able to copy its checkout link using the Copy link button.
Your whop is now listed on Discover
After meeting every single item in the requirements list, your whop will undergo an automatic check that will scan your whop to see if it's okay to be listed on Discover.
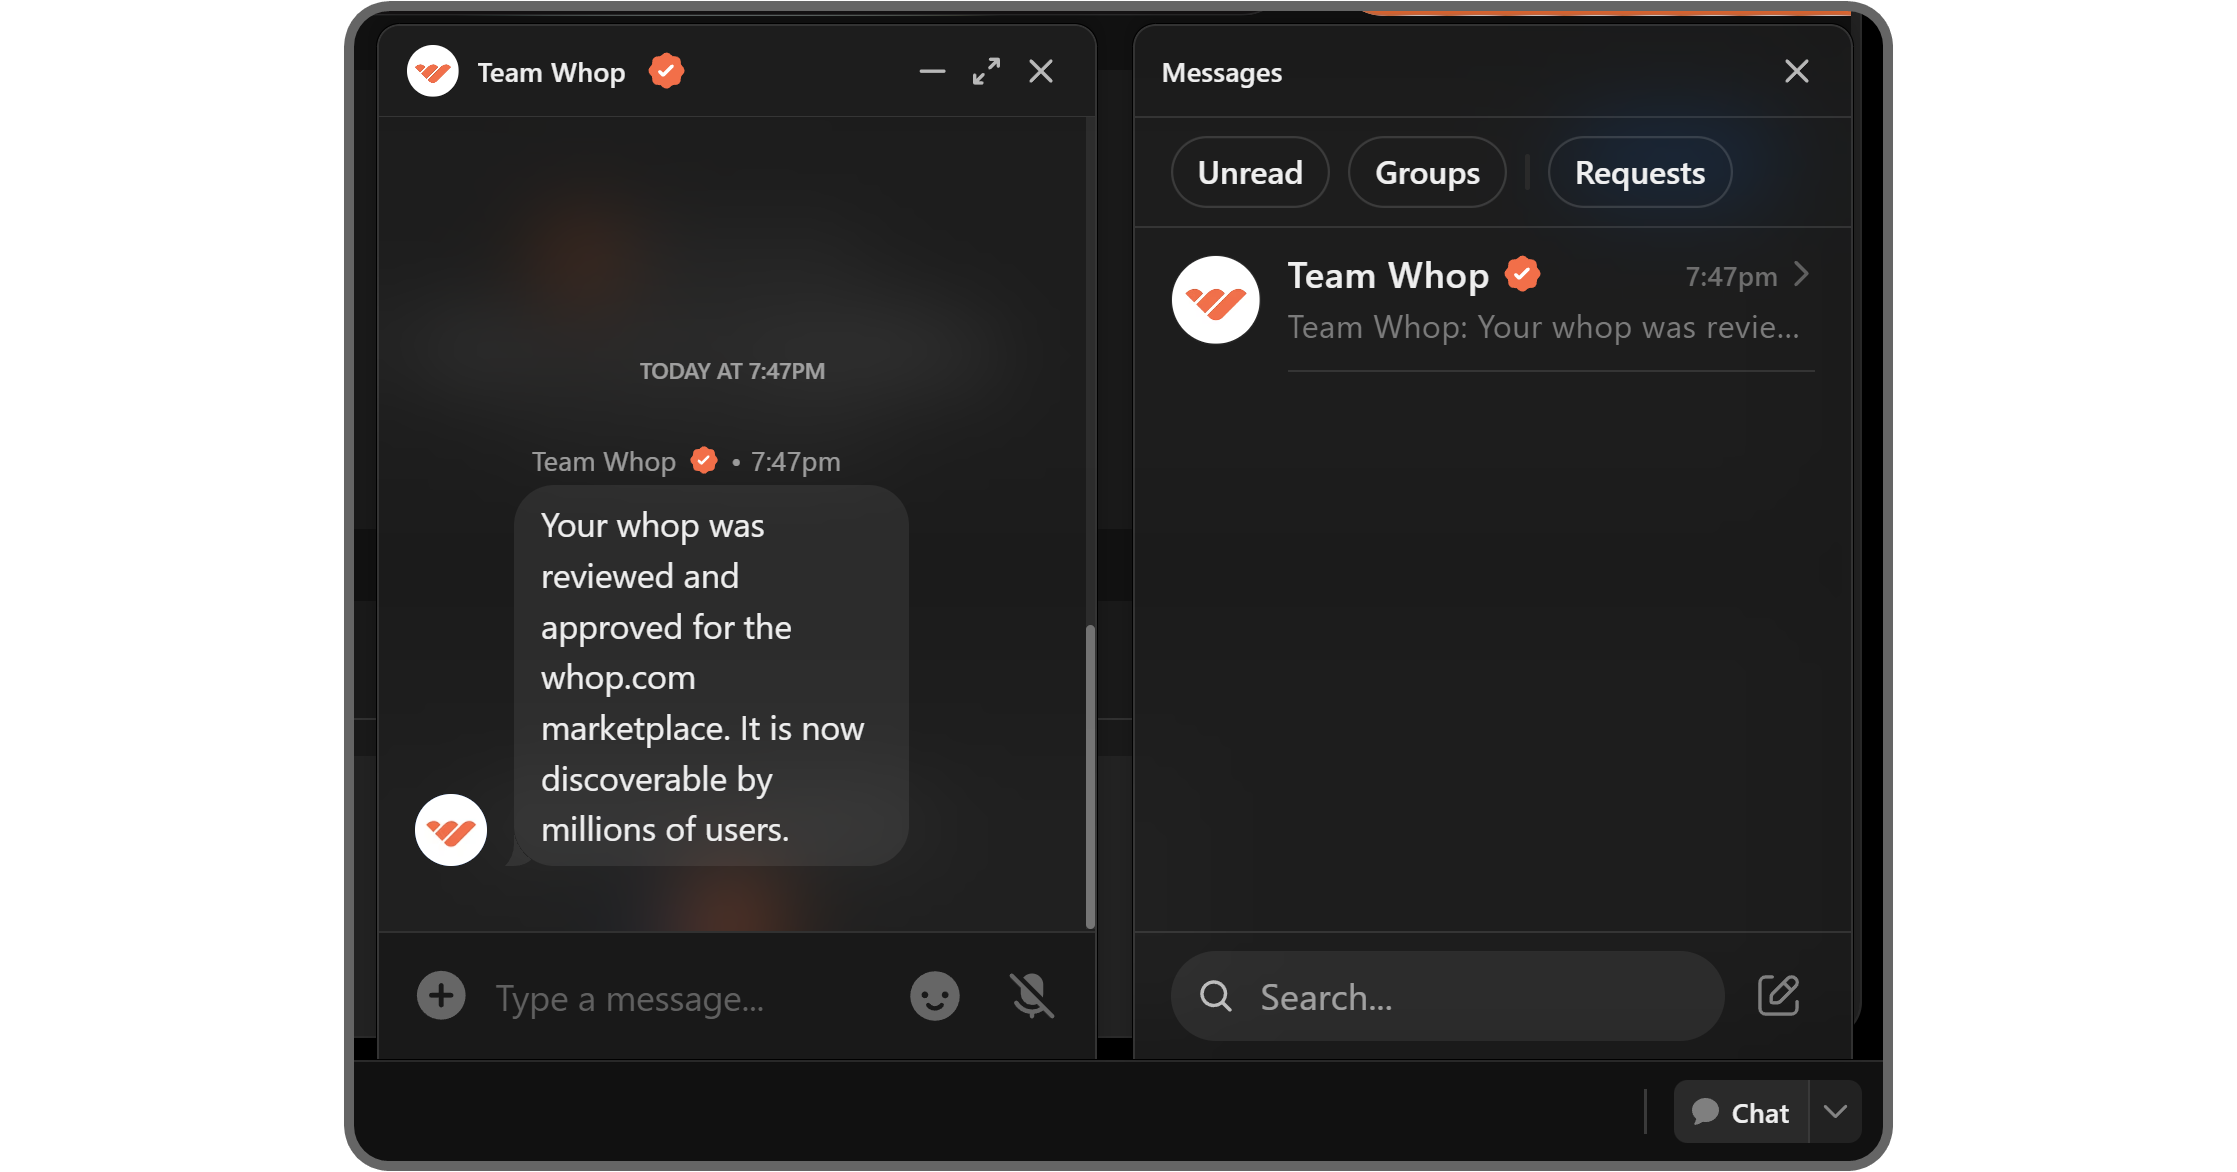
If everything is fine, you will receive a DM from Team Whop, letting you know of the status.
You can also see the status of your listing by visiting the Edit details popup by clicking on the Manage store button in your whop's context menu.
Checking your content reward submissions
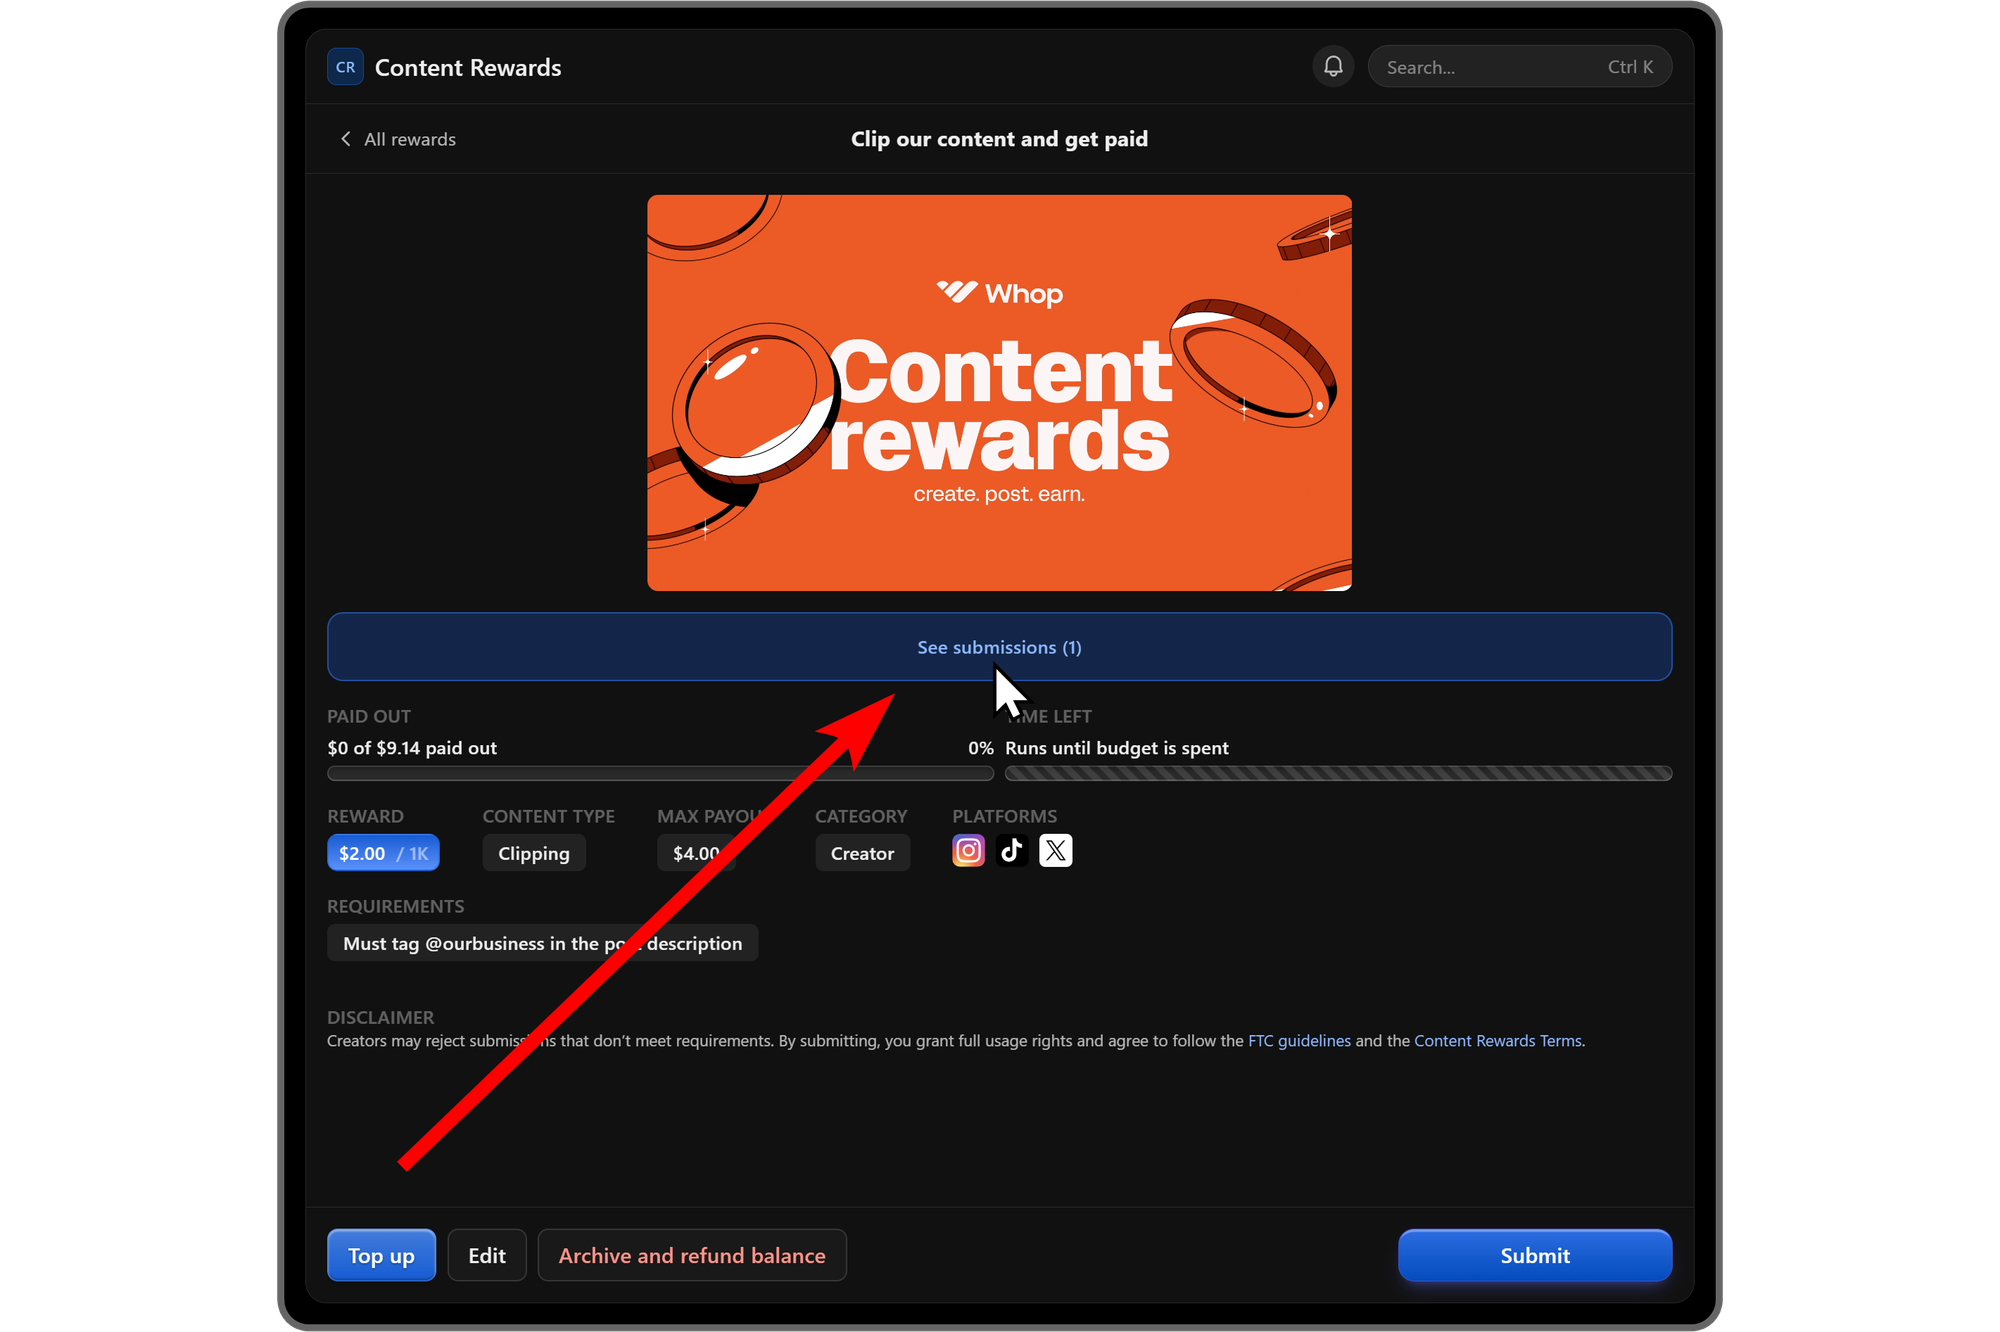
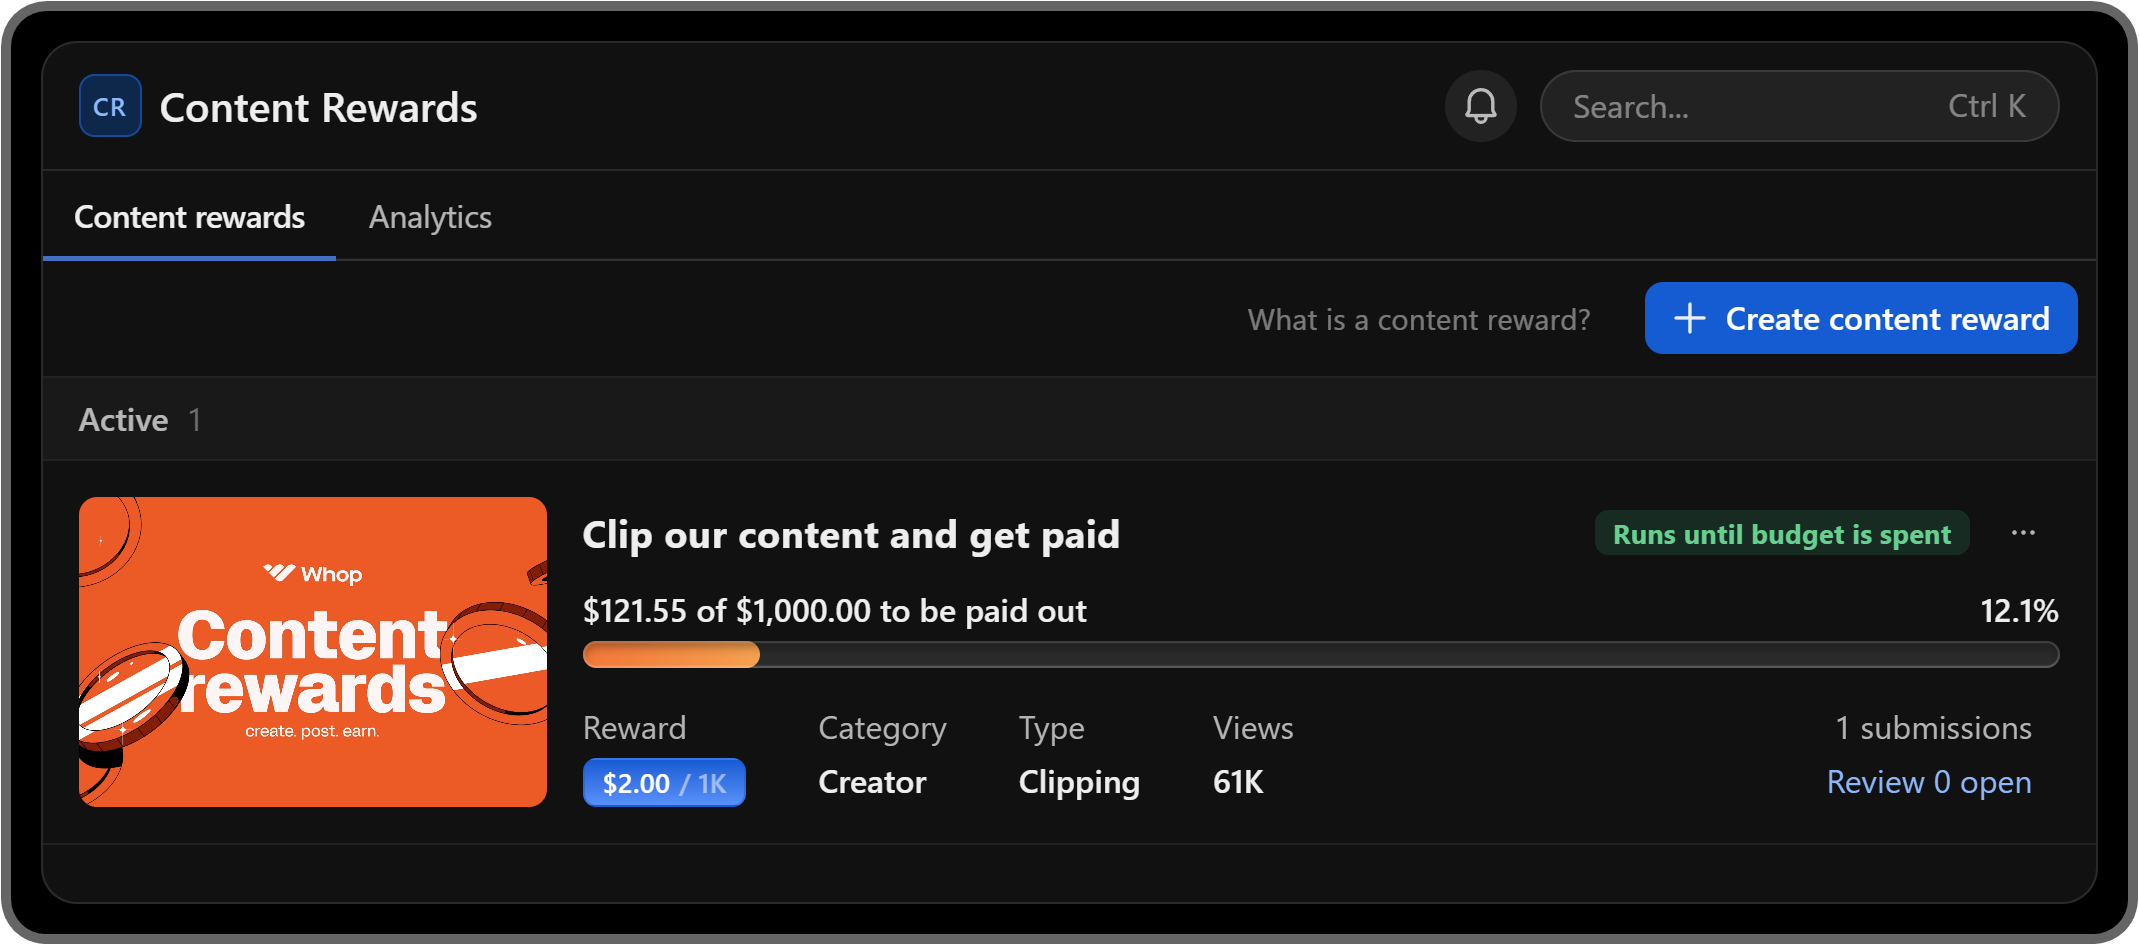
As users submit content to your content reward, you’ll be able to see submissions by clicking the See submissions button in the detailed view of it.
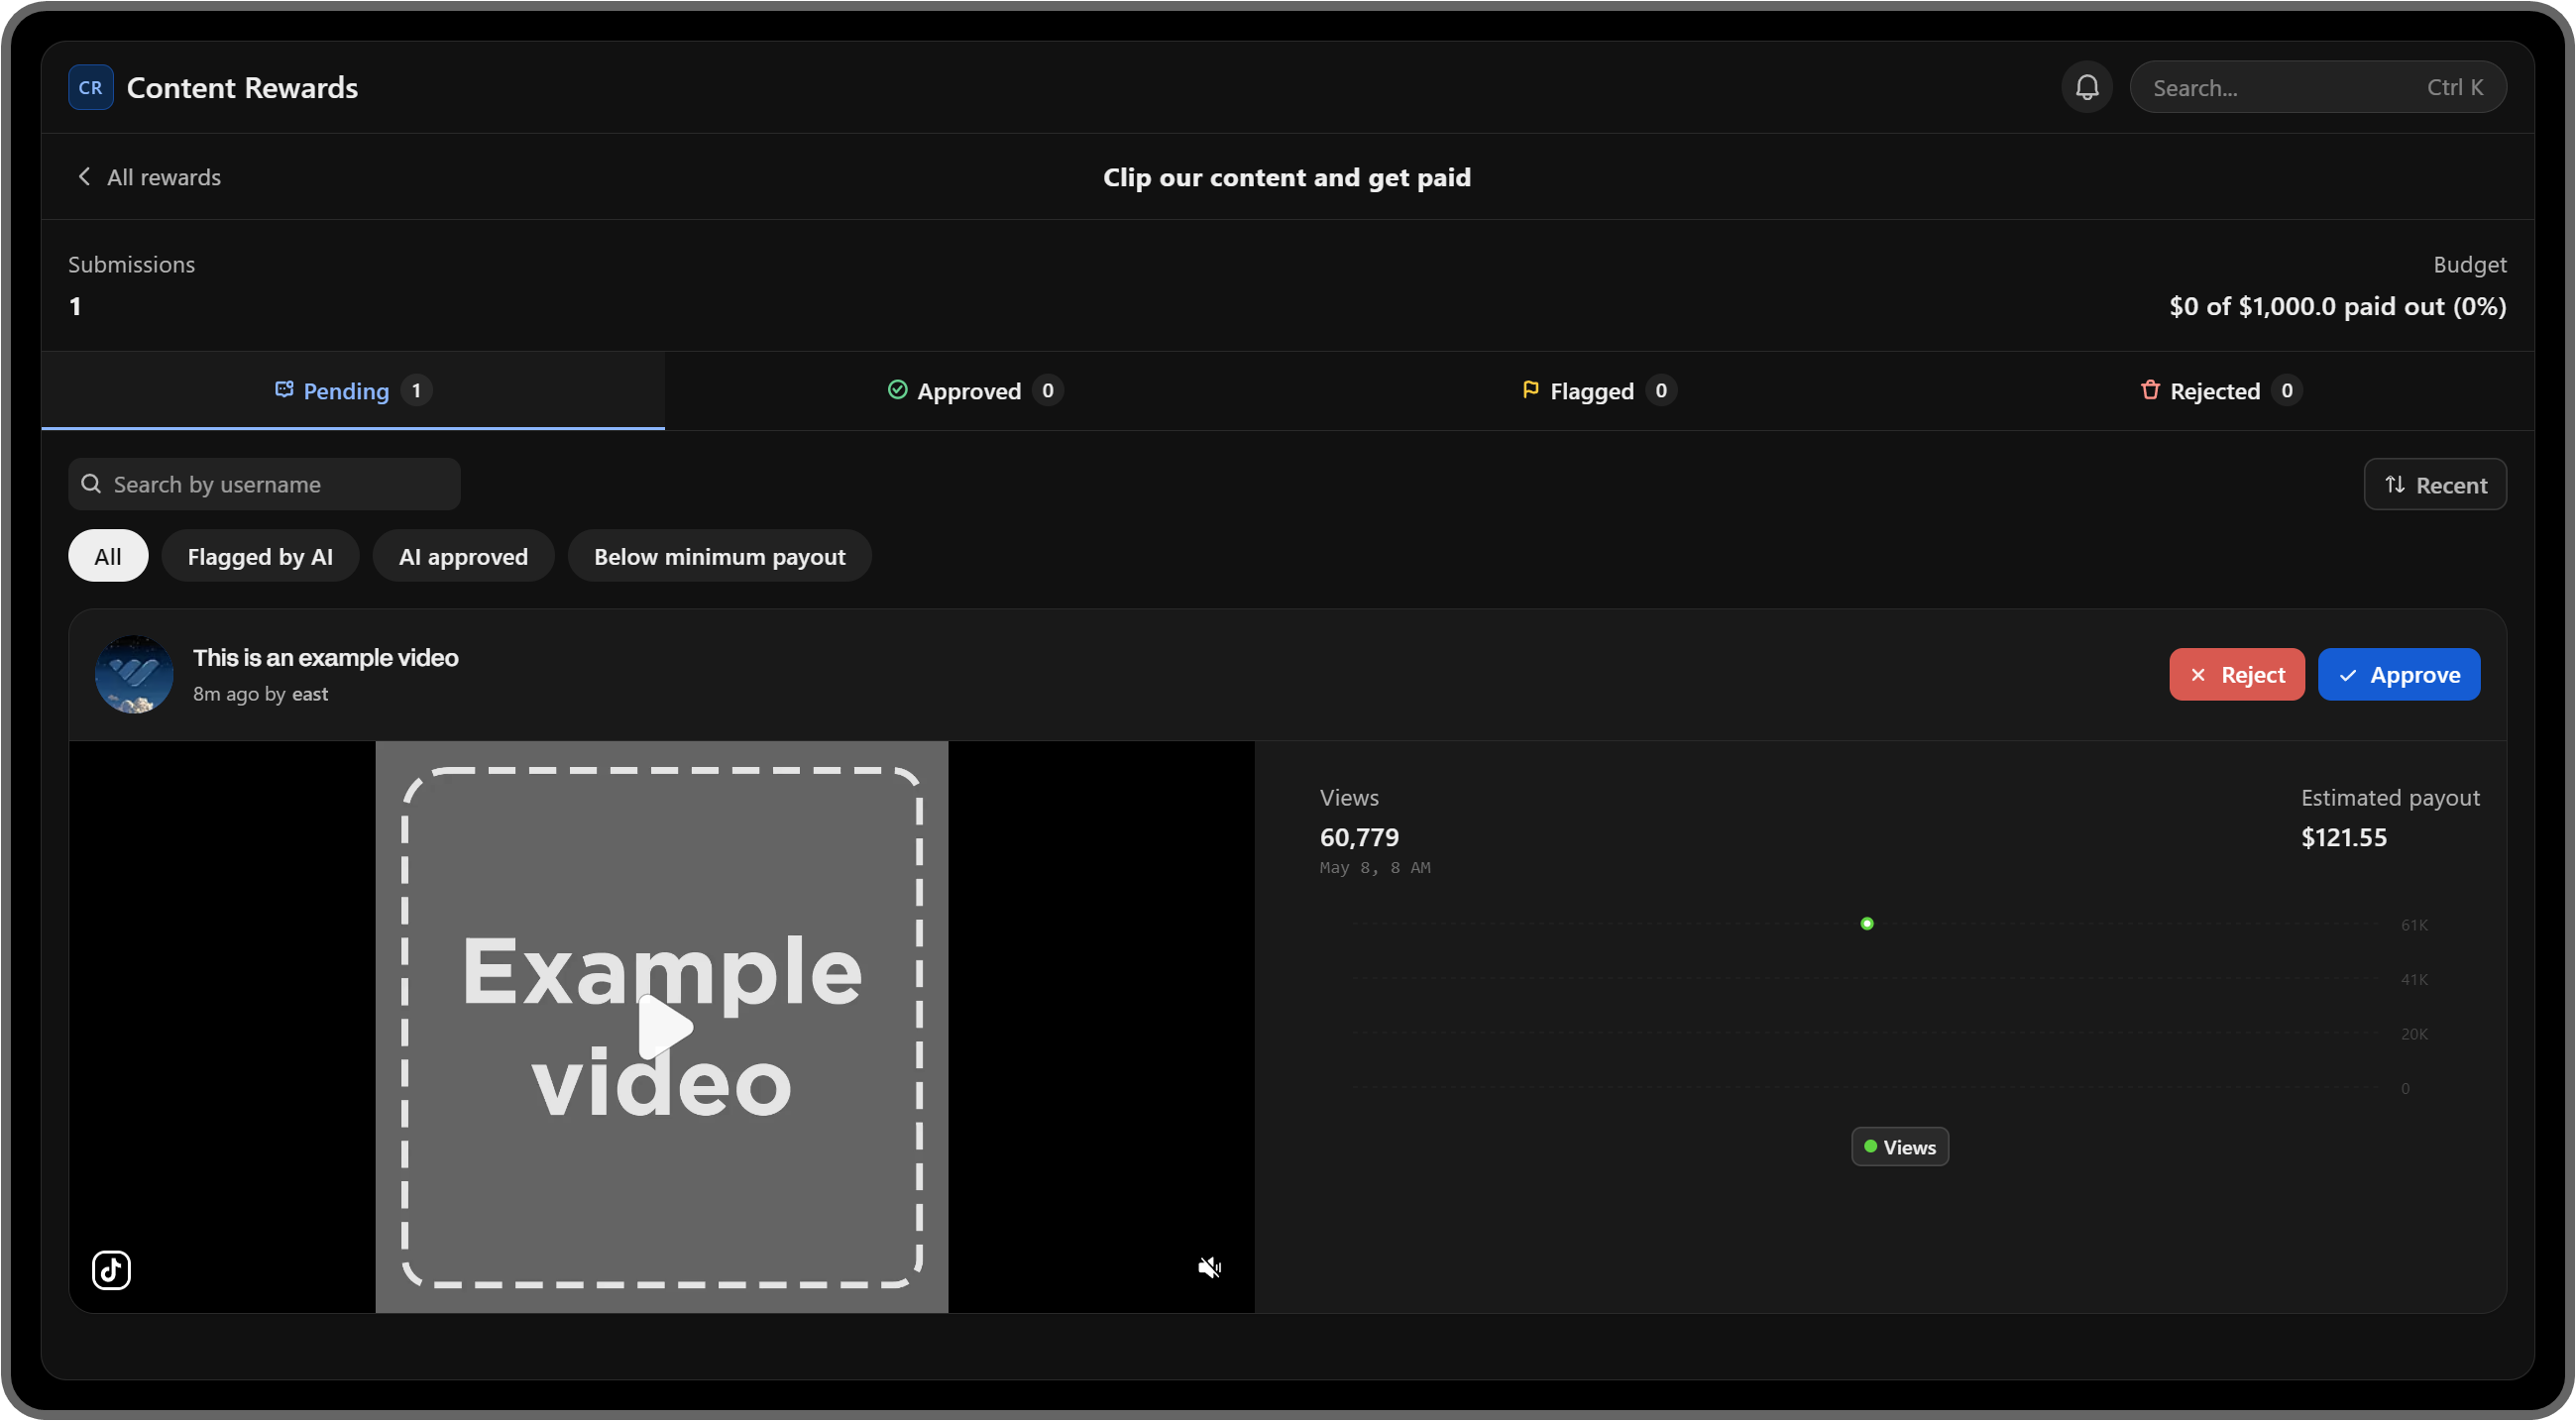
The submissions page has four categories: Pending, Approved, Flagged, and Rejected.
Under the Pending category, you’ll be able to see the submissions your members have made with the video/image they posted, how many views it got, and the Reject and Approve buttons.
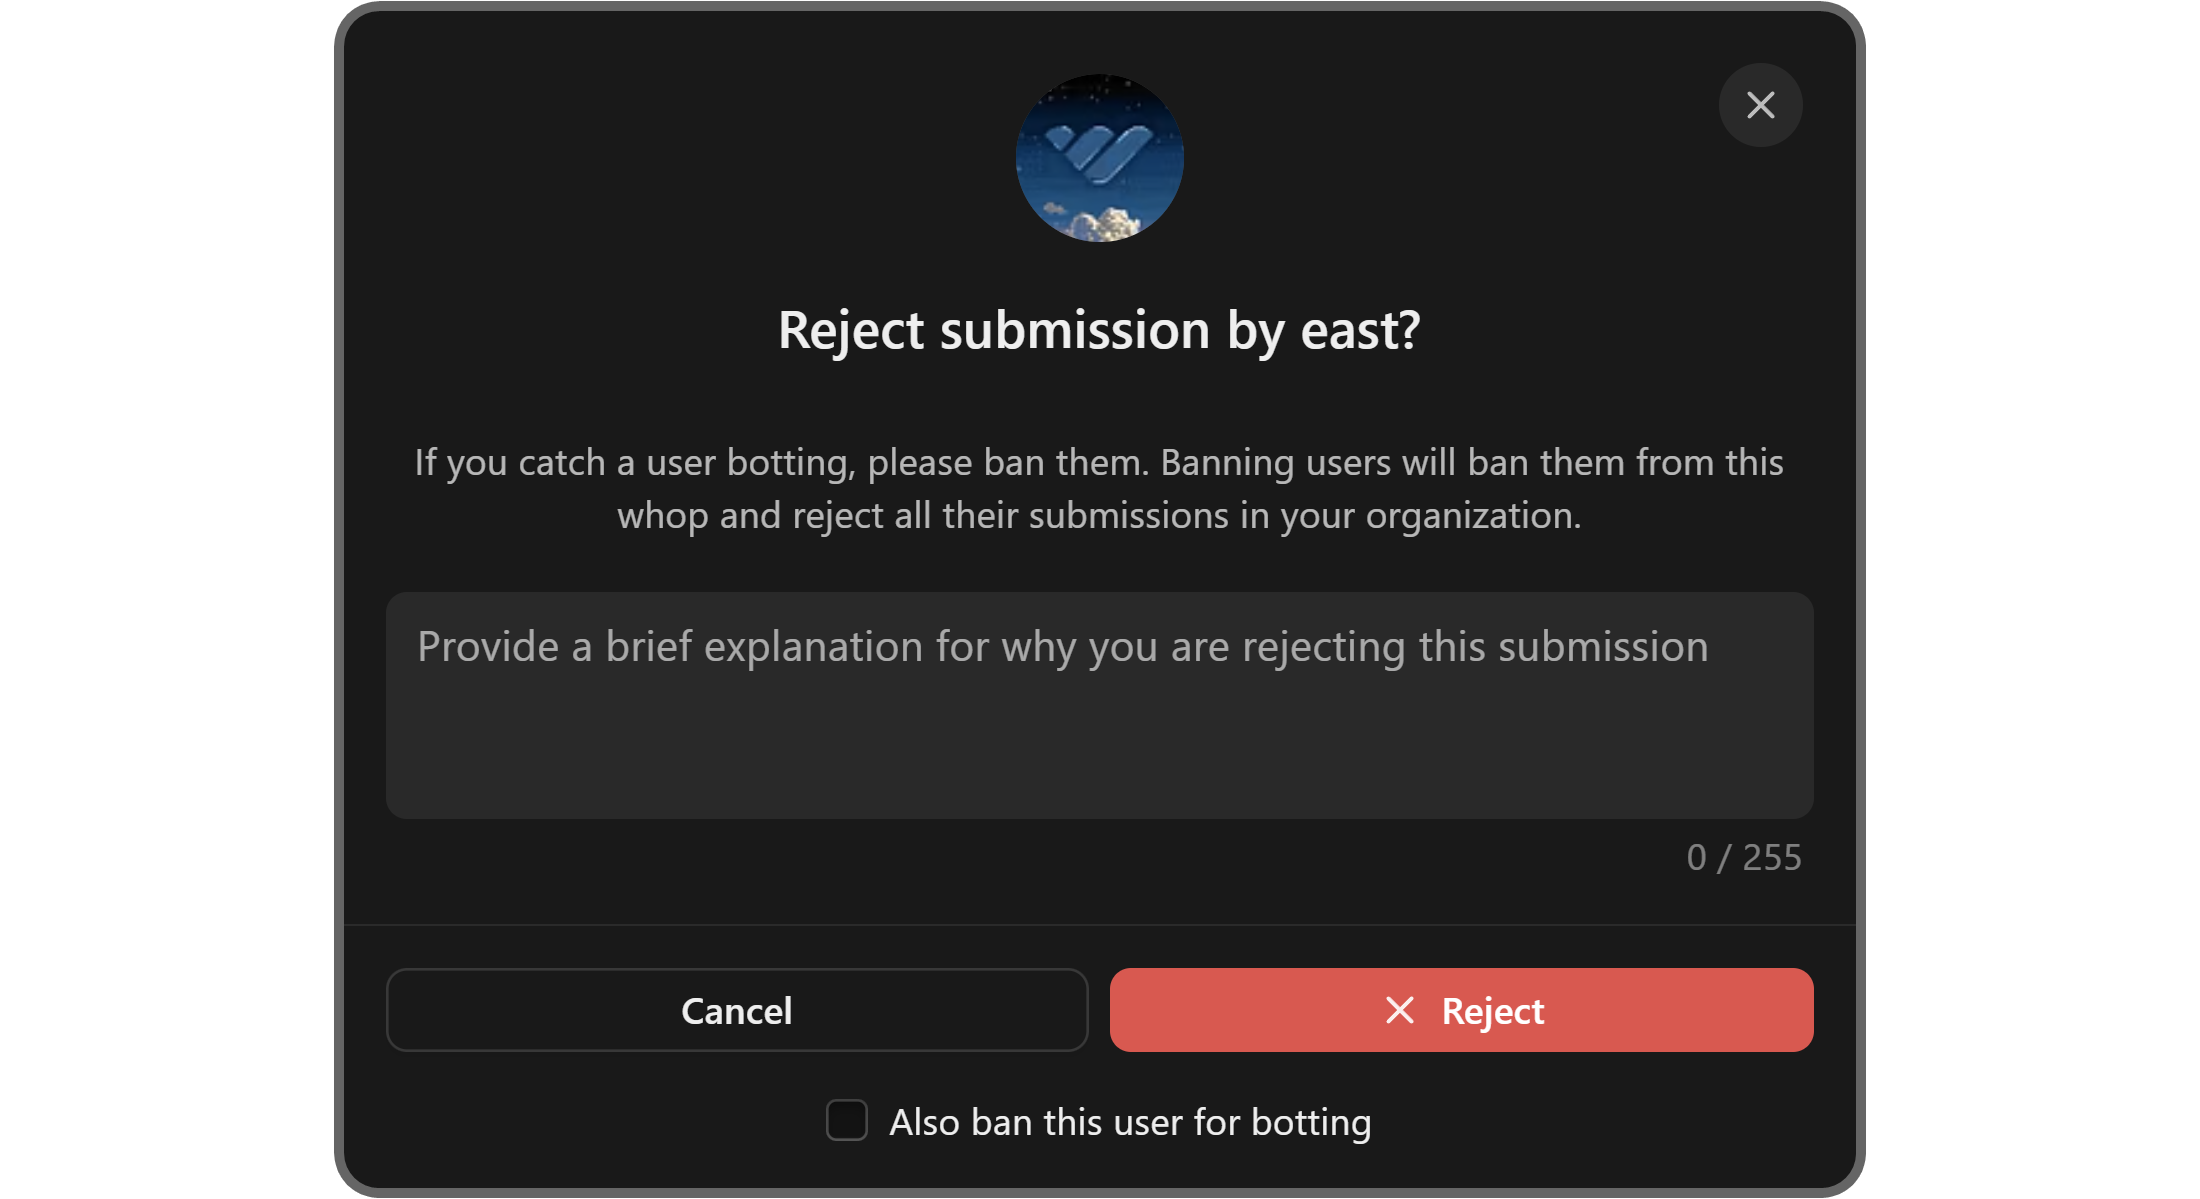
If you click the Reject button, you’ll see a confirmation popup with a text field that prompts you to briefly explain why you’re rejecting the submission.
You also have the option to ban the user for botting (using bots to gather fake views) via checking the Also ban this user for botting option at the bottom of the popup.
If you click the Approve button, you’ll see another confirmation with the Do not ask again option at the bottom of the popup, allowing you to skip the confirmation in future instances.
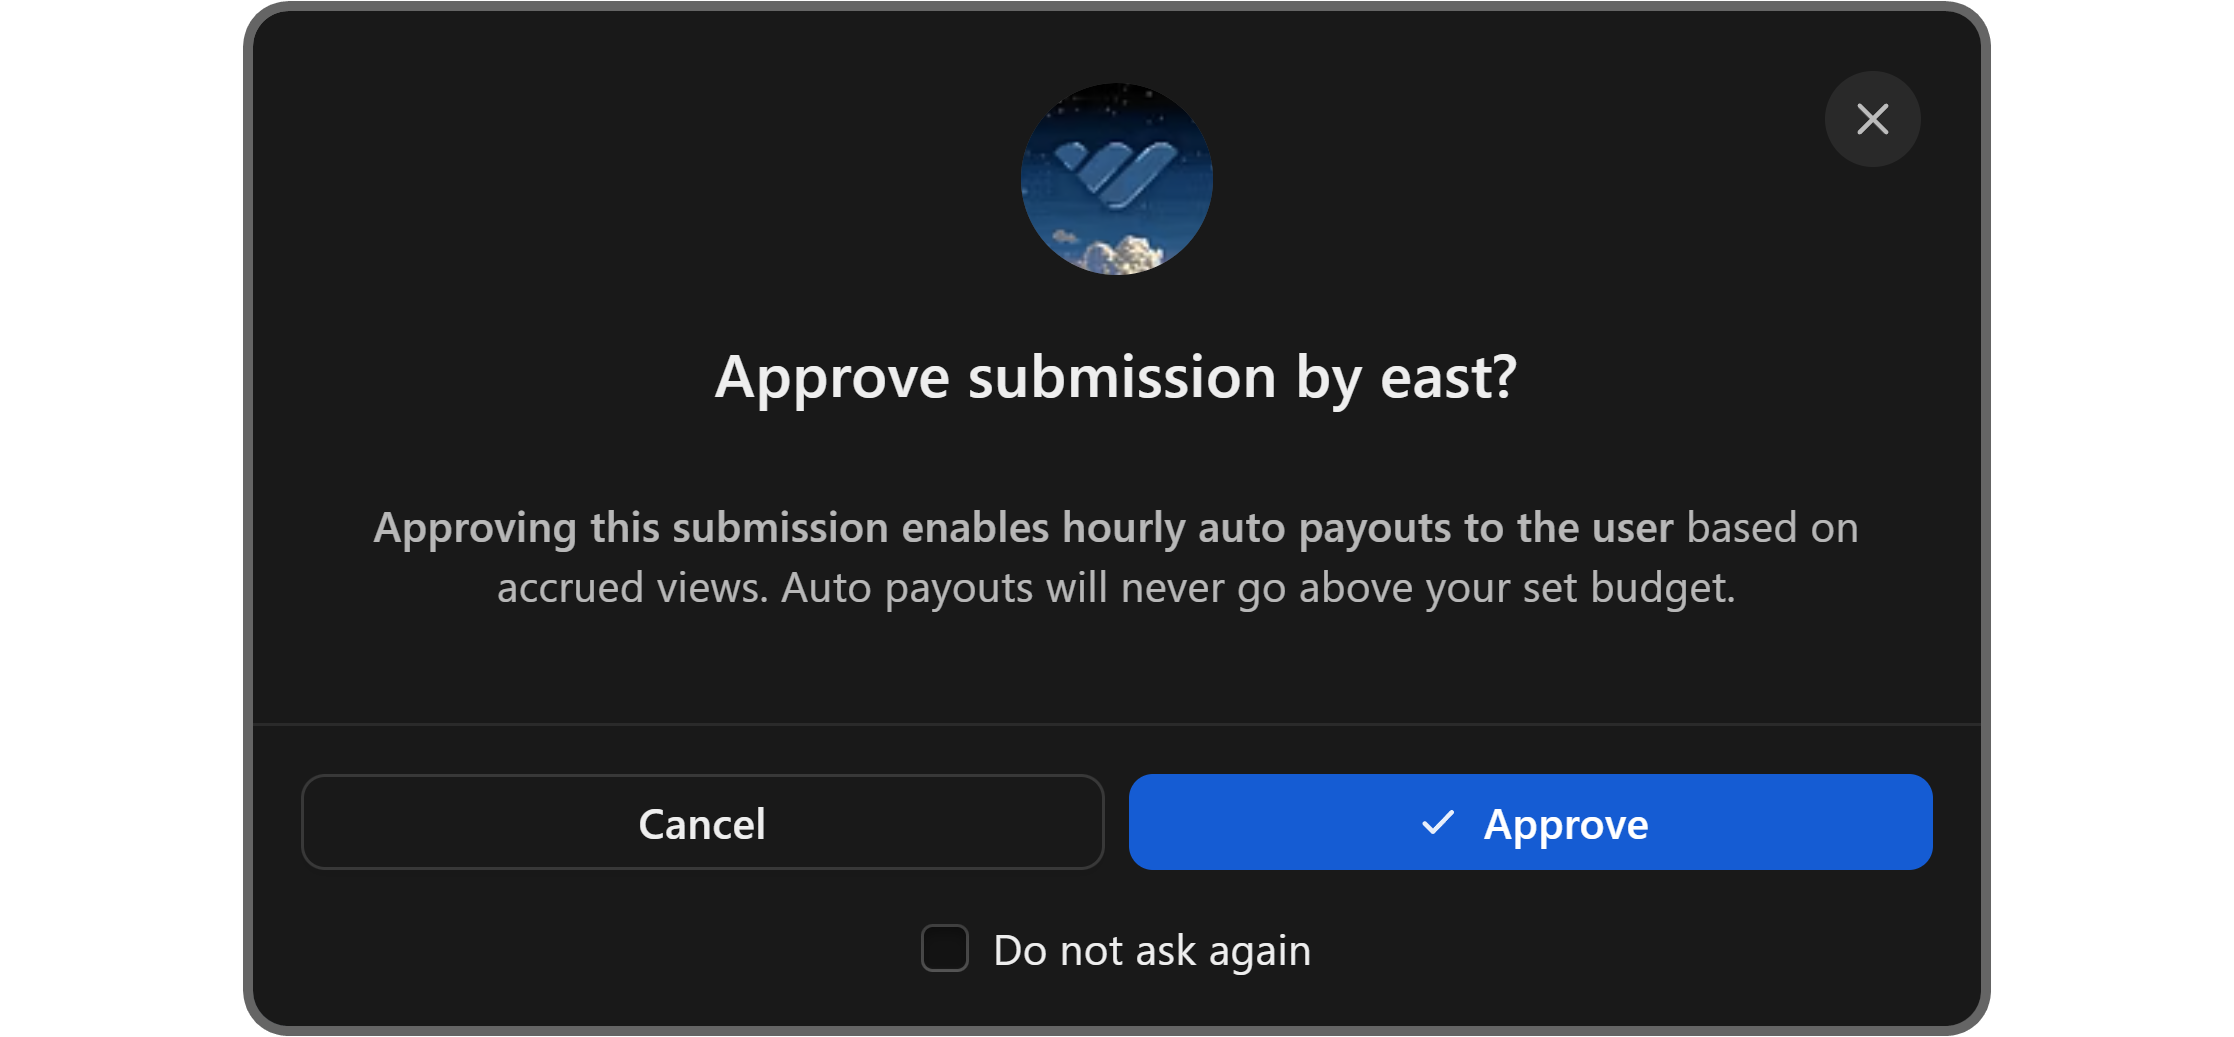
When you approve a submission, you’ll see the progress bar of your content reward advancing towards your budget limit. If you haven’t set an end date for the content reward, it will stay active until you use all of the budget.
Create a content reward today
As you see, content rewards are super easy to create and use. There are hundreds of content rewards live right now on Whop, and users are swarming to create content for them.
Now, it's your turn to create a content reward and start getting millions of views for just thousands of dollars.
Content rewards F.A.Q.
How many content rewards can I create?
There’s no limit to how many content rewards you can create on a whop.
How does AI content review work?
With the latest Whop update, all submissions to content rewards are now reviewed by our AI Content Rewards Reviewer. It checks submissions based on your campaign requirements and flags any that don’t meet them.
If the content meets the criteria, you’ll have 48 hours to manually review the submission. If a reviewed submission remains unapproved for more than 48 hours, the system will automatically approve it.
Is there a minimum budget?
There isn’t a minimum budget requirement for content rewards.
Can I upload custom files to a content reward for my members to use?
You can use the Asset links section to provide useful content to your members.