From creating a Google Analytics account to linking it with Whop - master the entire process with this in-depth guide. Plus, discover integration options with other major analytics tools.
Key takeaways
- Whop sellers can integrate Google Analytics by pasting their Measurement ID into the Business Dashboard's Checkout tab.
- Google Analytics provides free, real-time customer behavior data to help sellers make smarter business decisions.
- Beyond Google Analytics, Whop supports Meta, Twitter, Pinterest, and TikTok Pixels for comprehensive ad tracking.
Running a business can be complicated, but at the end of the day most companies do best when they give customers what they want. That’s often hard to accomplish in e-commerce since you may never have a single face-to-face interaction with a customer.
Luckily, there are various tools you can use to help in this regard, and Whop offers powerful analytics to help you best understand what your customers are doing and what they want via Google Analytics.
❓ What is Google Analytics?
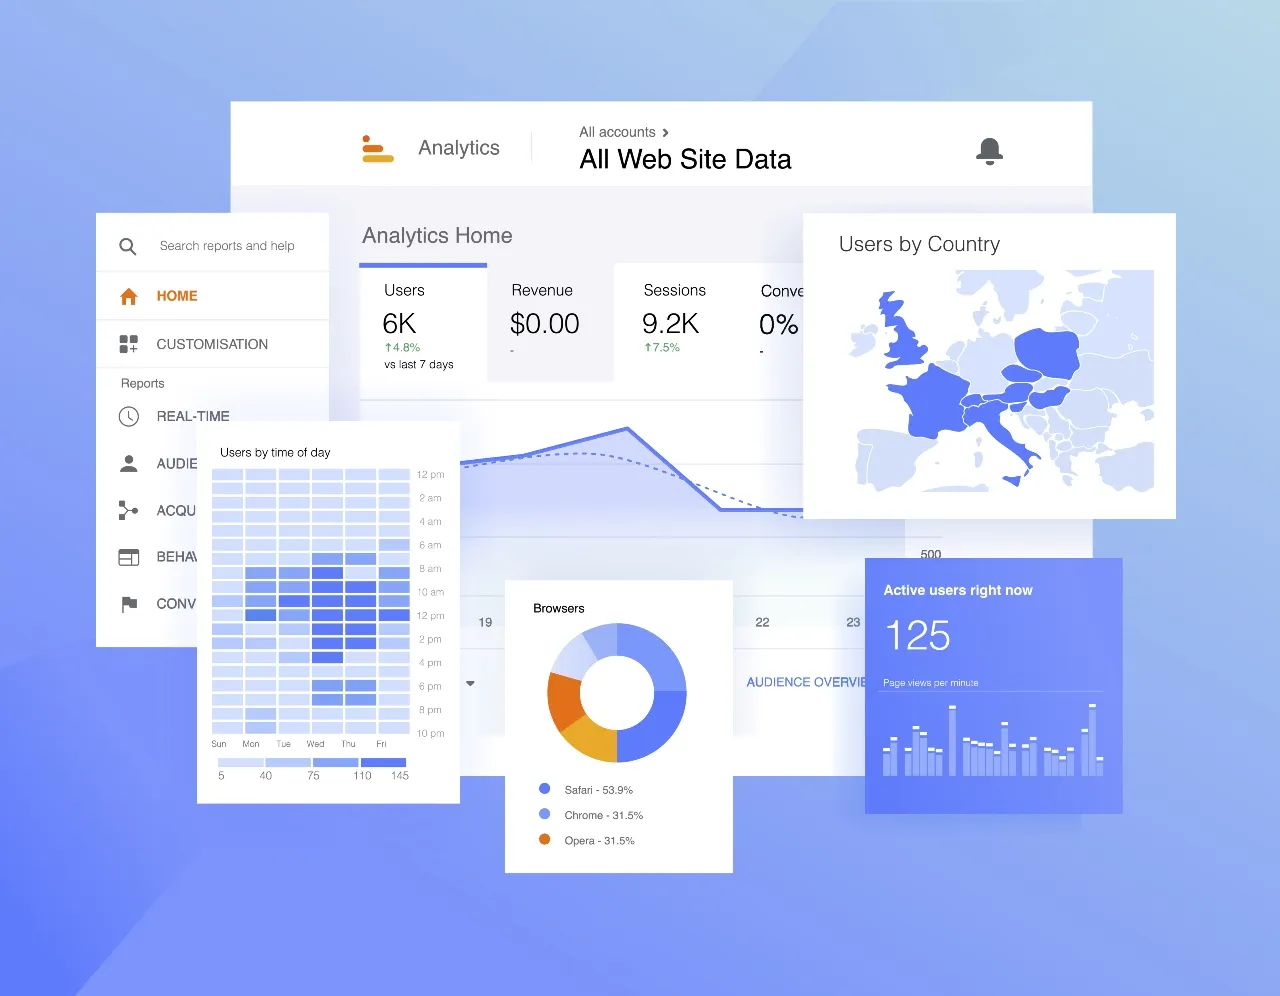
Google Analytics is a website traffic analysis tool that gives you real-time data when it comes to customer actions and analyzes the behavior of your site’s users. As you might imagine, this lets you understand how your website or e-commerce store is being used by visitors, and it gives you plenty of highly actionable insights.
Marketers find Google Analytics invaluable for its ability to provide website and traffic data, but one of the stand-out features of Google Analytics is that it’s completely free to use. It’s also cloud-based, meaning that neither you nor your customers will need to have any extra hardware or software.
It’s important to note that, as of July 2023, Google Analytics 4 (often shortened to GA4) has taken over as the flagship Google Analytics product. If you were using Universal Analytics before, you’ll have to make the switch since UA isn’t processing website data any longer.
🤔 How can Google Analytics help you?
Data is one of the most precious commodities out there today, and harnessing its power is a good way to ensure your business doesn’t get left behind. Google Analytics can help you make data-driven business decisions to improve your e-commerce enterprise in the smartest ways possible.
From seeing which marketing channels are bringing in the most users, to learning about your customer demographics and optimizing conversion, Google Analytics is well worth linking to Whop since it can drastically improve your bottom line.
📊 How to set up a Google Analytics account
As with many Google products, getting set up with Google Analytics is relatively simple so let’s dive right in.
#1. Create a Google account
The first step is a skippable one if you already have a Google account. If you don’t, though, you’ll need a Google account before you can get started with Google Analytics. Just head to the Google homepage and hit the button on the top right to get off the ground. A Google account also gives you a great cloud-based email service and access to the entirety of Google’s suite of products and services.
#2. Head to Google Analytics
Now that you have a Google account, you can navigate to the Google Analytics page and hit the ‘Start Measuring’ button.

#3. Create Google Analytics account name
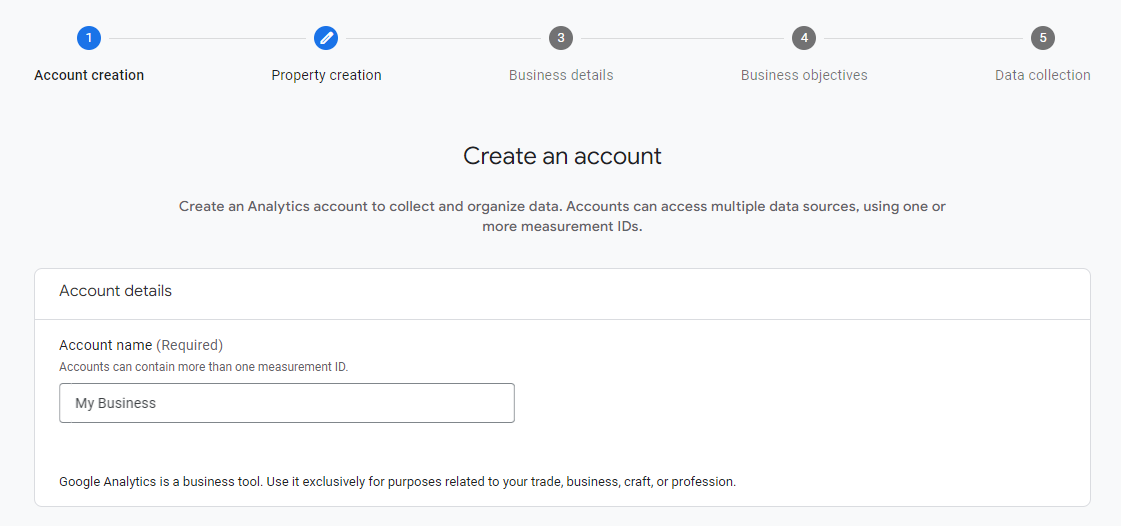
You’ll immediately be prompted to create an account name for Google Analytics. While it’s easy to skip through this step without too much thought, it’s a good idea to consider it carefully—using your brand name here might be the best way to go.
#4. Insert your property details
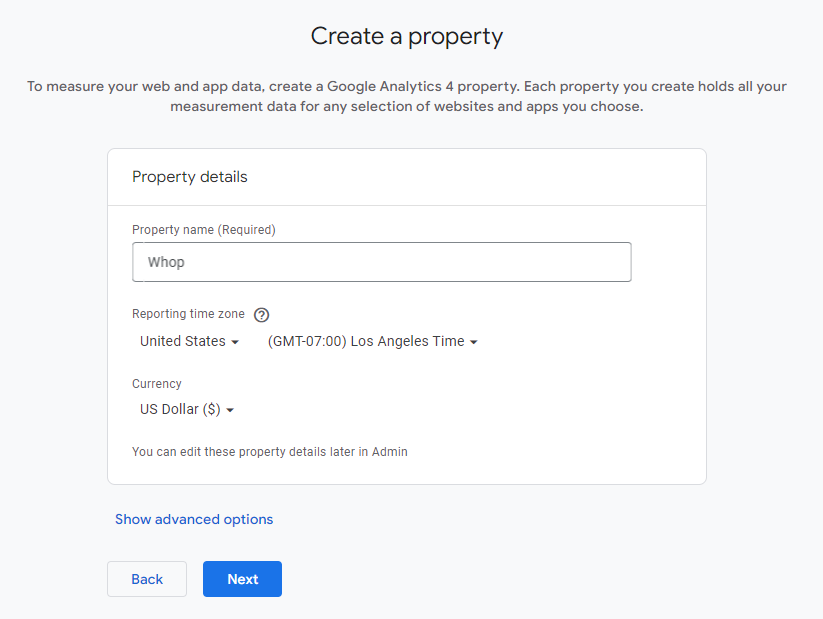
The ‘Property Name’ that Google Analytics asks for next can be anything you choose to help you organise and remember what you are tracking. You can give it a name like "Whop" or simply use the URL of the website that you wish to track. You will also have to specify your reporting time zone and preferred currency.
#5. Input business information
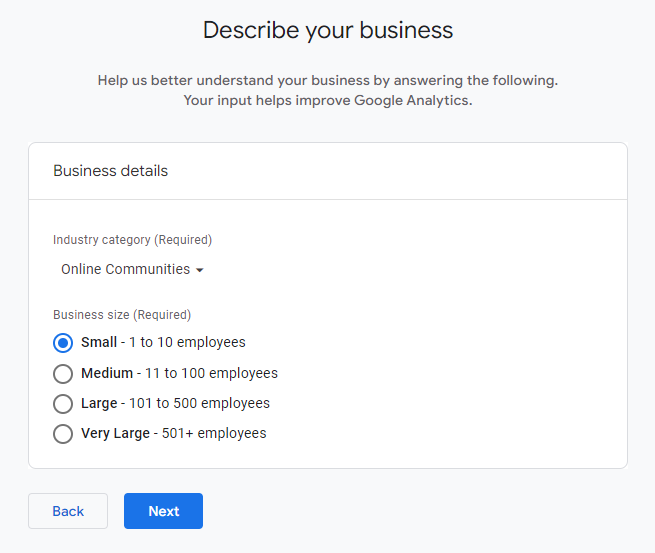
Since Google Analytics is a business-specific tool, Google will attempt to tailor your Analytics experience to your company via the settings you choose in this section.
In the example above we have selected 'Online Community' and 'Small (1-10 employees).
#6. Set up data stream
Now that you’re mostly done with the setup of Google Analytics itself, it’s important to get certain key steps out of the way. First among these is your Data Stream, meaning a source of data that Google Analytics can read and crunch for you. Simply select your account and the relevant Property, then hit ‘Data Streams’ to configure it for your website or app.
#7. Your Measurement ID (a.k.a. Google Analytics tracking ID)
After setting up your Data Stream, you now have access to your Measurement ID. This is the most important thing when it comes to getting Google Analytics working with Whop, and you’ll need this code for tagging. To retrieve it, go to the Admin section of your Google Analytics account and click Data Streams under the Property column.
Google Analytics for Whop
As a seller on Whop, you can easily measure the effectiveness of your advertising and understand how your customers use Whop by integrating Google Analytics. Doing so is a two-step process:
#1. Retrieve your Google Measurement ID
As detailed previously, you can find your Measurement ID in your Google Analytics account in a few simple steps:
- Log in to Google Analytics.
- Navigate to Admin.
- Under the ‘Property’ column, select Data Streams.
- Your Measurement ID will now be displayed on the page.
#2. Add your Measurement ID to Whop
Now, you simply have to link your Google Analytics system to Whop by linking your Measurement ID in. Here’s how:
- Visit your Whop Business Dashboard.
- Click on the Checkout tab.

- Paste your Measurement ID into the Google Analytics ID input field.

- Click Save.
- You’re ready to start tracking events on Whop using Google Analytics!
If you have any issues or need more information on Google Analytics, remember to check Google’s knowledge base resources.
Integrating Other Analytics Tools with Whop
Whop’s analytics don’t just allow you to integrate Google Analytics, but also Meta Pixel, Twitter Pixel, Pinterest Pixel, and TikTok Pixel! The process to do so is very similar to that of adding Google’s Measurement ID, but here’s a look at each in detail.
Meta Pixel
- Visit Meta’s Event Manager.
- Navigate to the ‘Data Sources’ tab on the left.
- Click on an existing Pixel or create a new one.
- Go to ‘Settings’.
- Copy your ‘Pixel ID’.
- Same as with Google Analytics, paste your Meta Pixel ID into the Meta Pixel ID field in the Checkout tab of your Whop Business Dashboard and hit ‘Save’.
- Meta’s documentation page has more info on Meta Pixel should you need it.
Twitter (now known as X) Pixel
- Go to Twitter’s Ads Manager
- Hit ‘Tools’ in the header and then select ‘Events Manager’ from the dropdown menu.
- Click ‘Add event source’
- Select ‘Install with Pixel code’, choose your desired settings, and hit ‘Create’ or go with an existing Pixel.
- Now you have your Twitter Pixel ID, which you can copy.
- Paste this Twitter Pixel ID into the Whop Business Dashboard’s Checkout tab in the relevant Twitter Pixel ID input field and ‘Save’.
- If you have any issues, check the Twitter Ads Help Center for more details.
Pinterest Tag
- Navigate to Pinterest’s Ads Manager
- Click on ‘Analytics’ in the header and then select ‘Conversions’ in the dropdown.
- Hit ‘Get Started’.
- Use ‘Manual Setup’, and choose the desired settings. Then hit ‘Create’ or choose an existing Pixel.
- Copy your Pinterest tag.
- Paste this Pinterest tag in the Pinterest Pixel ID field under Checkout on your Whop Business Dashboard and save your changes!
- Check the Pinterest Business Help Center if you need more help with your Pinterest tag.
TikTok Pixel
- Go to the TikTok Ad Manager.
- Head to ‘Assets’ on the header and then choose ‘Events’ in the dropdown menu.
- Click ‘Manage’ under Website Pixel.
- Then click ‘Create Pixel’, enter a name for it and select the desired settings. Then hit ‘Create’ or choose an existing Pixel.
- Now copy your TikTok Pixel ID.
- Paste the TikTok Pixel ID in the TikTok Pixel ID field under Checkout in your Whop Business Dashboard and then ‘Save’.
- For any further help, check TikTok’s Business Help Center.
Post-Setup Steps
Once you’re done setting up your Google Analytics account and linking it with your Whop Business Dashboard, there are still a few things you may want to do in order to make the most of this free tool. Here are some of them:
#1. Grant Your Team Access
If you’ve got partners in your enterprise or have employees working for you, you might want to ensure that the rest of your crew have access to your Google Analytics data. To do this, simply visit your Admin dashboard and visit the User Management section to add your team members and configure their permissions.
#2. Link Google Ads
If your business also uses Google Ads, you can make the most of them by linking your Google Analytics account and seeing all of your impressions and clicks data right through to the purchase and content consumption side of things.
To do this, visit the Google Ads Linking section and add your Google Ads accounts in via the ‘New Link Group’ option.
Get to know your customer behaviour with Google Analytics linked to Whop
Google Analytics provides you with all of the insights you need about your customers and their behavior with just a few clicks. It might take some getting used to, but once you’re comfortable with all of that data, you can start making informed decisions about your business, armed with actionable insights.
Whop allows you to link your Google Analytics account via your Measurement ID. Just visit your Whop Business Dashboard and input this tracking code under the Checkout section to get set up and take your business to the next level!
👉 If you need any further help or support from Whop, don’t hesitate to get in touch! If you have digital products or services to sell but aren’t listed on Whop, visit Whop.com/sell and get started in just a few clicks!