You can send buyers directly to your whop's payment page with a checkout link. Read this guide to learn about how you can generate and use them.
Key takeaways
- Checkout links eliminate purchase friction by sending buyers directly to payment screens, boosting conversion rates.
- Tracking links provide click counts, revenue data, and conversion rates to measure marketing campaign performance.
- Creating checkout links takes seconds through the checkout link editor in the Whop dashboard.
Checkout links make selling simple. They send buyers straight to your whop's checkout page with no extra steps or confusion.
If you are accepting online payments through social media, email, or an external website, a checkout link turns clicks into sales.
You can track analytics, connect it to your products, and use Whop Payments as your payments service.
Best of all? Creating one takes almost no setup.
Let's run through what checkout links are and how you can create them on Whop.
What are checkout links?
Checkout links let you send buyers straight to a purchase window. They're perfect for boosting conversions.
There are two types of checkout links on Whop:
- Direct payment links: Quick links that send users directly to a specific pricing option for your whop.
- Tracking links: Created from your dashboard, these can lead users either to your store page or straight to checkout, while letting you track clicks and conversions.
Creating checkout links on Whop takes just a few seconds. Here's how to do it.
How to create Whop checkout links
Creating checkout links is now easier than ever. Choose from 19+ payment methods so customers can pay how they want. More payments methods soon.
—Hunter Dickinson, Head of Partnerships at Whop
To create checkout links for your products on Whop, let's go to the checkout link editor first:
- Go to your dashboard by clicking on the Dashboard button at the sidebar
- Make sure you are viewing the right whop's dashboard by using the whop selector at the top left
- Go to the Checkout links section of your dashboard
- Click the Create checkout link button at the top right
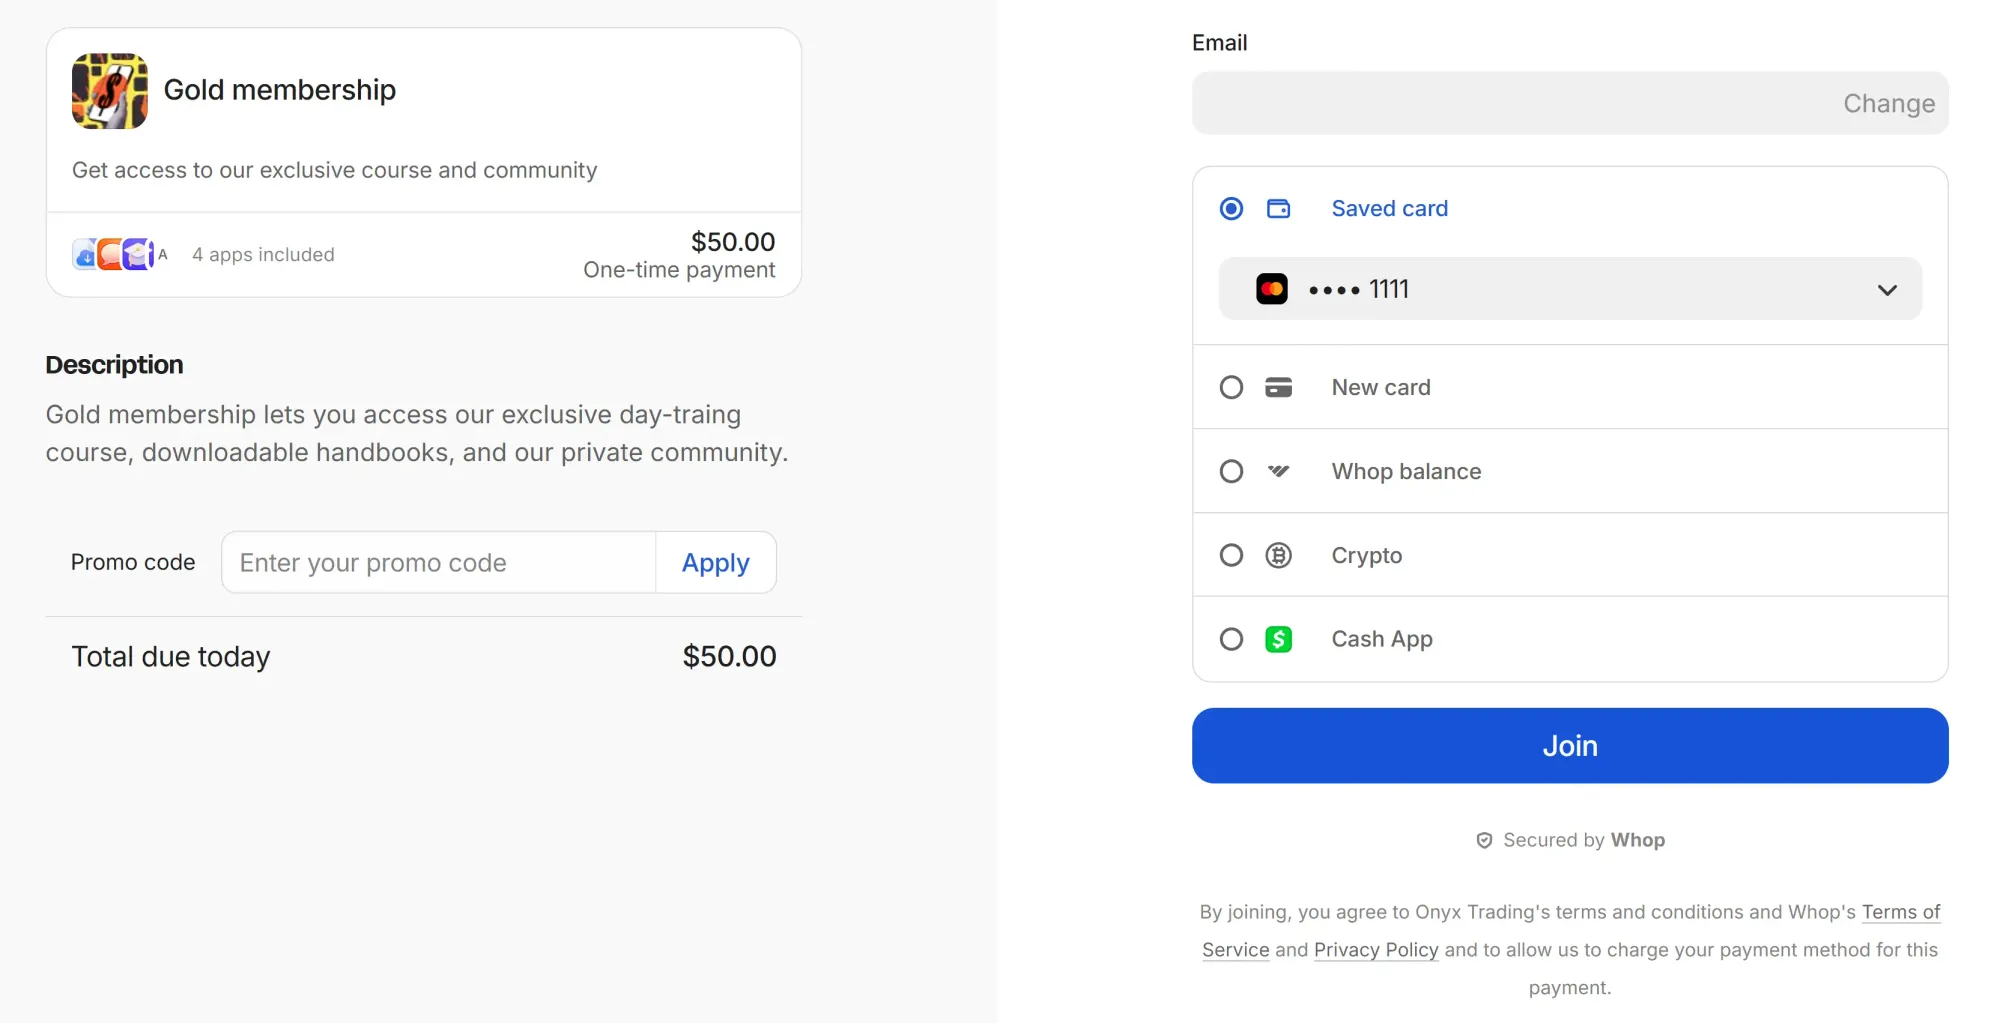
Let's break down the checkout link editor:
- The product dropdown menu lets you select which product your checkout link works for.
- The description provides additional information to your customers and can be seen in the checkout page.
- There are three pricing types you can select: Free, One-time, and Recurring.
- Each pricing type have their own advanced options like Stock, Add a waitlist, and Redirect after checkout.
- Paid pricing types (one-time and recurring) lets you customize which payment methods you accept, and there are more than 19 payment methods you can choose.
- Once you are done with the settings of your checkout link, click the Create checkout link button at the bottom of the editor.
How to find the URL of a checkout link
In the checkout link editor, after clicking the Create checkout link button, the checkout link will be automatically copied to your clipboard. To manually copy the URL of a checkout link:
- Go to the Checkout links section of your dashboard
- Click the Copy checkout link button (chain icon) on the right side of a checkout link
On top of directly sending your customers the checkout link you copied, you can also use Whop checkout links as your payment solution on external sites or services.
If you run your own website or community, you can connect your “Buy” button to your Whop checkout URL.
How to edit an existing checkout link
If you want to make edits to a checkout link you've created before, like customizing its payment methods or price:
- Go to the Checkout links section of your dashboard
- Click the context menu button (three vertical dots) of the checkout link you want to edit
- Select Edit to go to the checkout link editor
- After making your edits, click the Save changes button at the bottom of the editor
Who can create checkout and tracking links on your whop?
All team roles on Whop can see the checkout links section in your whop's dashboard, but only Sales Managers, Admins, and Owners can create or edit them.
| Permission | Moderator | Sales Manager | Admin | Owner |
|---|---|---|---|---|
| View Checkout links section on dashboard | ✔️ | ✔️ | ✔️ | ✔️ |
| Create new checkout links | ❌ | ✔️ | ✔️ | ✔️ |
| Create products | ❌ | ❌ | ✔️ | ✔️ |
To see the complete permission breakdown of all team roles, check out the Roles and permissions page of our documentation.
Level up your Whop storefront and boost your sales with checkout links
Checkout links work with 19+ payment methods and automatically route payments through the best processor for each transaction.
They're powered by the same orchestration tech, global reach, and reliability that help 145,000+ sellers process billions through Whop every year.
Each link removes friction, routes payments through the best processor automatically, and gets your team paid out faster: no plug-ins, no subscriptions, no waiting.
Courses, memberships, or digital products, Whop Payments turns every checkout into a growth engine.
Launch a link, share it anywhere, and start getting paid globally in minutes.


