New to video editing? Read our review to learn how Filmora can help you create pro-quality edits effortlessly.
Key takeaways
- Filmora is specifically designed for beginners with an intuitive drag-and-drop interface that requires minimal learning curve.
- The software offers direct export to major platforms like YouTube, TikTok, and Vimeo, streamlining the content publishing workflow.
- Creators get access to royalty-free music, 100+ transitions, and green screen features to produce professional-looking videos easily.
Video editing tools have come a long way — especially the ones made for beginners.
As more creators look for easy-to-use software, editing platforms have stepped up with powerful features that don’t require a steep learning curve.
Wondershare Filmora is a great example — it’s been updated regularly over the years to keep up with the needs of modern video editors.
Launched over a decade ago, Filmora is considered one of the original go-to tools for editing. It's designed for content creators of all skill levels, especially beginners and intermediates.
But does it still hold up today?
In this guide, we’ll explore everything Filmora offers — including its features, pros and cons, and top alternatives.
What is Wondershare Filmora?

Wondershare Filmora is a video editing software that lets you create and edit videos on your computer.
Wondershare, the company behind Filmora, was founded by Tianyu Li in China in 2003. Initially, Wondershare focused on providing software solutions for multimedia, system utilities, and mobile apps, developing easy-to-use tools for managing digital media.
It was released publicly in 2009, officially named Wondershare Video Editor. It offered a basic range of tools for home users, giving beginner editors the ability to create basic videos with minimal effort.
Filmora was initially designed to cater to a wide audience, including YouTubers, vloggers, and people interested in creating home movies, short films, and promotional material. As it gained popularity, Wondershare released more features, including a range of visual effects, transitions, and filters.
Throughout the years, several versions of Filmora have been released, including a mobile version in 2018, designed to offer basic editing features on the go.
Then in 2020, Wondershare launched Filmora 10, which builds on the software’s AI capabilities. Some of these include color grading, motion tracking, keyframing, and video masking.
Today, Filmora continues to evolve, adding more and more advanced editing tools like 3D video effects, motion graphics, and interactive elements to stay up to date in today’s competitive market.
Who is Filmora for?
Filmora is designed specifically for beginners. So, if you’re just getting started with editing software, Filmora could be the solution for you.
It has an incredibly user-friendly interface with drag-and-drop software. Filamora also features prominent source-switching buttons, making it more digestible, along with a range of presets and feature.
Even though it's easy to use, Filmora is still popular with experience video editors. The software contains a range of advanced features, including AI editing tools, audio visualizers, and color matching.
And, if you're a YouTuber, Filmora has plenty of pre-made templates that are perfect for creating engaging intros, outros, transitions, and effects. It also has a catalog of royalty-free music and sound effects, so you don’t need to worry about infringing on the platform’s copyright policy.
Getting started with Filmora
If you’re eager to get started and set up your Filmora account, look no further! Here's how create and activate your account.
1. Create a Wondershare ID
To start using Wondershare’s product catalog, including Filmora, Filmstock, or more, you’ll need to create a Wondershare ID.
Your Wondershare ID is needed for a number of different functions. This ID is essentially the account you use to sign in and activate your purchased software.
Plus, it grants access to a wide range of Filmstock resources, including new effects, audio, preset videos — and helps you manage your devices, secure your account, and enhance your overall experience using the program.
Here's how to create your Wondershare ID in three different ways:
Option one: Create a Wondershare ID inside the Filmora application
The first way is to download and open Filmora on your PC or Mac.
After downloading and installing Filmora on your PC or Mac, launch it, then choose ‘New Project,’ which will appear on the start screen.
Option two: Create a Wondershare ID on Filmora’s official website
Create your Wondershare ID on Filmora’s official website. To do this, simply visit Go to filmora.wondershare.com and then click ‘Sign In’ to open the login panel.
Once you’ve navigated this, click ‘Create Account,’ then fill in the rest of the items in the table to complete your registration.
Option three: Create a Wondershare ID through Wondershare Filmstock
You can also create a new ID via Wondershare Filmstock. To do this, visit filmstock.wondershare.com and click on ‘Login.’
Tap on ‘Create account,’ then enter your email address and set up your password. The email address you choose will also act as your Wondershare ID.
2. Activate Filmora
Next up, you’ll need to activate your Filmora account to get started on your new projects.
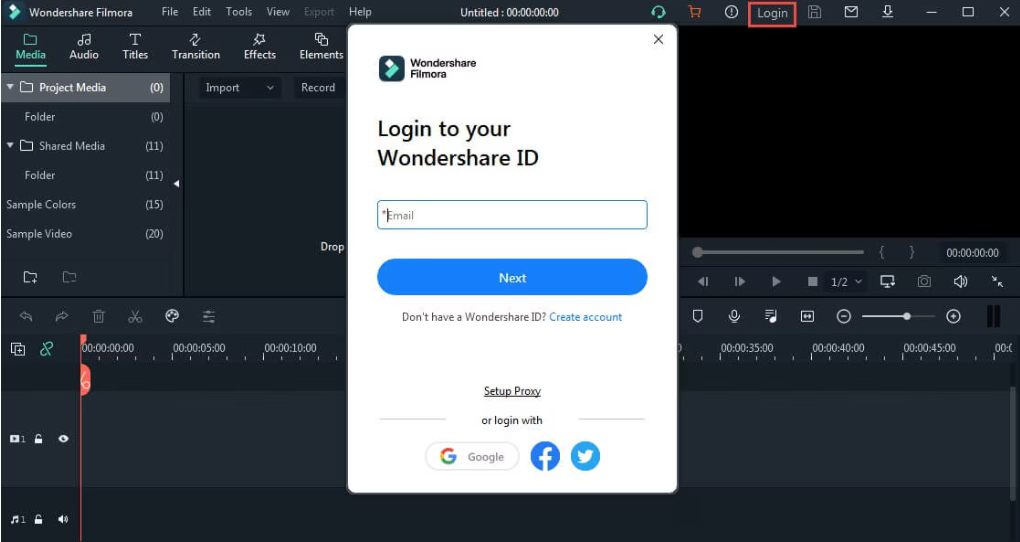
To activate your account, simply open Filmora and click ‘New Project’ or go ahead and select a previous project to enter the main editing screen.
Click on the Login icon located at the top right corner and sign in with the Wondershare ID you created in the previous step.
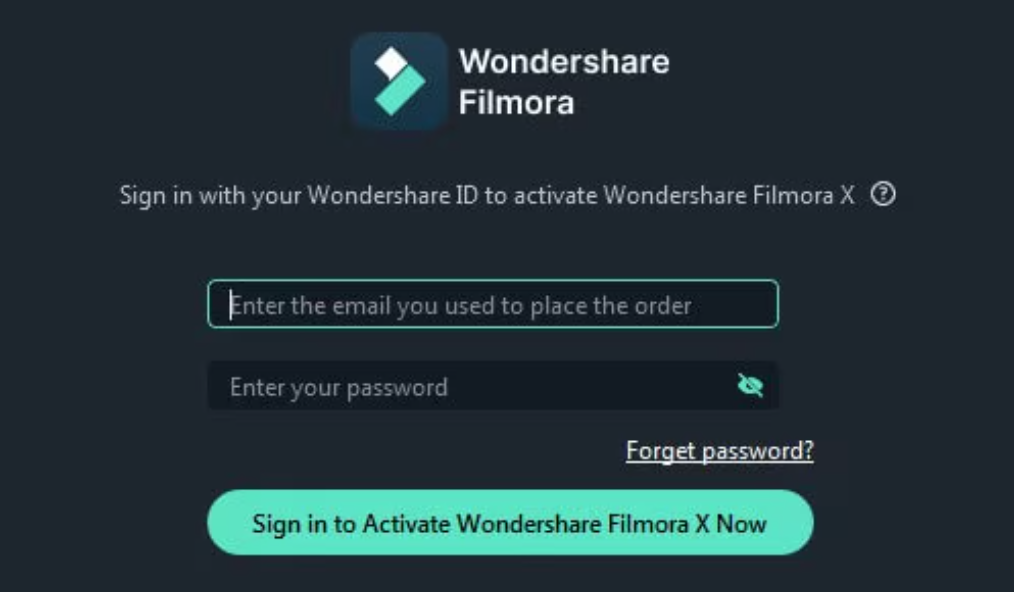
You’ll be able to see the activation status of your account, as the pop-up account panel will show you your plan type and the expiry date.
As an alternative, you can visit ‘Help’ -> ‘Activate Wondershare Filmora X,’ and then log in using your Wondershare ID to activate Filmora as well.
3. Create your first project
Now it’s time for the fun stuff — creating your first project.
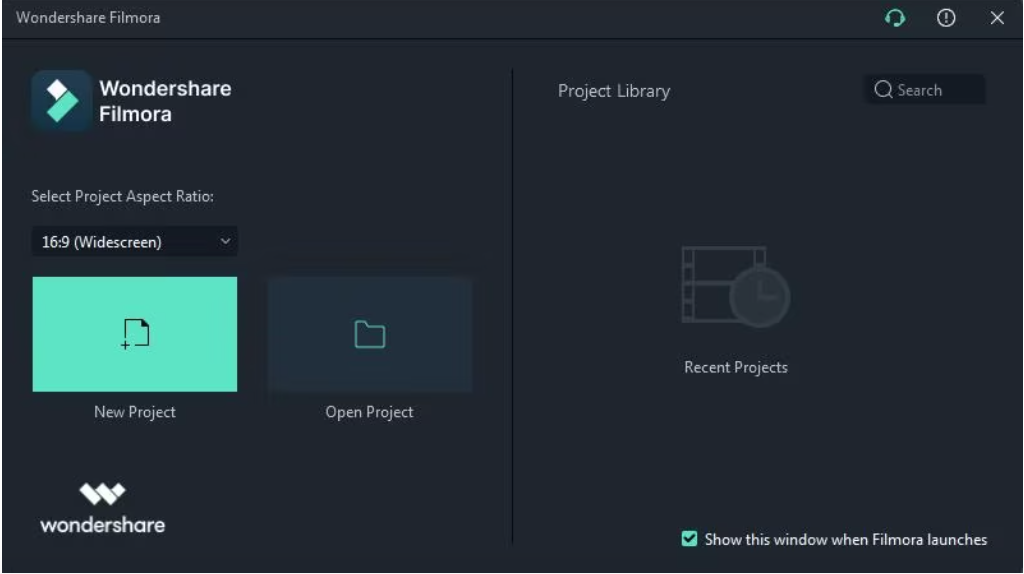
To start a new project, select the corresponding Aspect ratio at the top of the Startup Window according to the video scene requirements.
Or, create a new project by launching Filmora and choosing ‘New Project’ to enter the editing interface. You can re-create a new project under ‘File’ > ‘Project Settings.’
After you’re done playing around with the editor, make sure your project is saved by clicking ‘File’ > ‘Save Project’ or ‘Save Project As’, or use the hotkey ‘Ctrl+S’ to save the edited project to your computer.
You can return to modify your project whenever you decide.
4. Export your video
Once you’re finished editing your video and you’re ready to share it, there are six ways to export your project.
Keep in mind you can customize the export settings and save them to apply the exact same settings next time.
Option one: Export to local
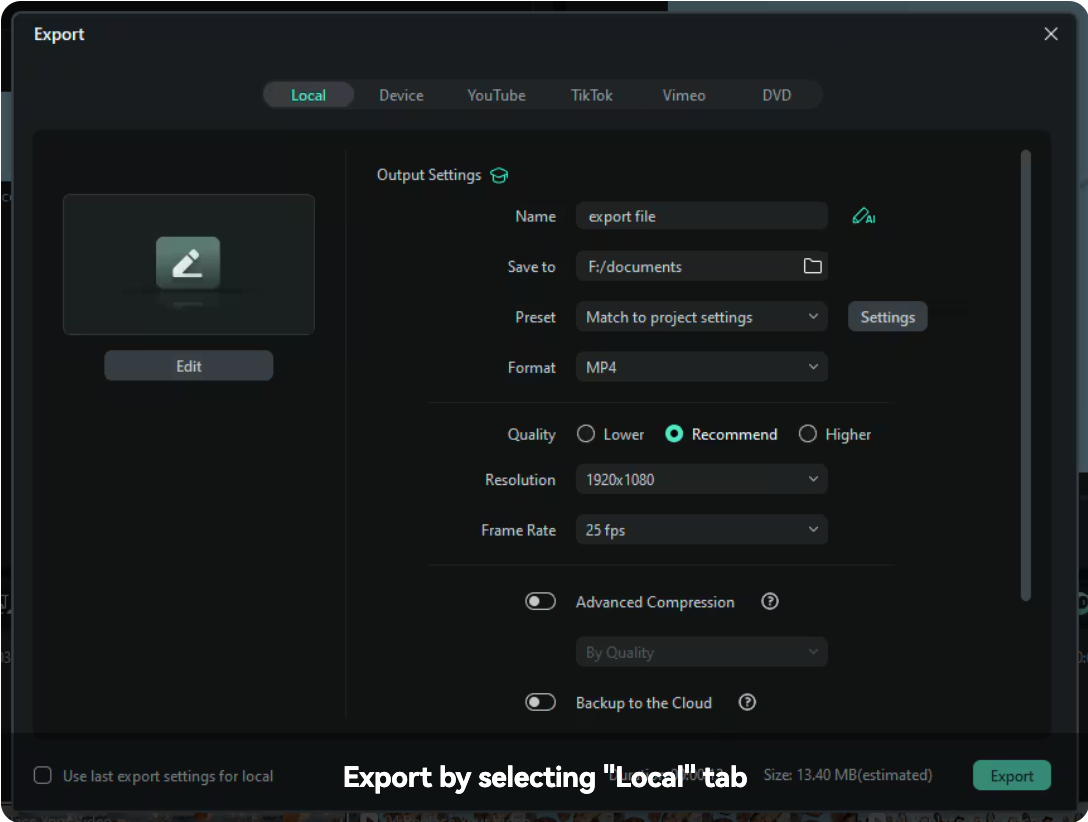
You can export your project file and video to the local computer. Filmora supports many different exportation styles, including: MP4, AVI, WMV, AV1, MOV, GoPro Cineform, F4V, MKV, TS, 3GP, MPEG-2, WEBM, GIF, MP3.
To get started, you’ll need to select the format you want to export your video in. When you save your video, you can rename it and change the location on your computer where you decide to save it.
To change your export settings (e.g. resolution, bit rate, and frame rate) click on the ‘Settings’ button.
The settings window comes with three different quality levels. You can choose from Lower, Recommend, and Higher. The only difference between these three is the Bit Rate. It’s recommended that you export your video with the same settings as your original video.
Once you’ve done this, go ahead and press the ‘Export’ button in the Export window. You can find the video in the specific location you’ve selected.
Option two: Export to device

Next up, we’ll show you how to export your video to a different device. Devices supported by Filmora include: iPhone, iPad, Apple TV, Apple TV 4K, iPod, Samsung Galaxy, Smart Phone, Android Generic, Google Pixel, Xbox One, PlayStation 4, PSP, and Smart TV.
To export your video, simply click on the ‘Device’ tab under ‘Format,’ where you’ll be able to choose your ideal output settings based on where you want to export it. You can do this simply by clicking on one of the device options, e.g. Apple TVs, Samsung Galaxy phones, PlayStation 4 etc.
If you want to make manual adjustments instead, simply click on the "Settings" button to fine-tune your video.
Once you're done, just click ‘Export.’
Option three: Export to TikTok
You can also import Filmora videos to your social media accounts, including TikTok.
To upload a completed video to TikTok, simply click on ‘Export’ and select ‘TikTok,’ then Login to your TikTok account.
To log into TikTok, choose the one you’re registered in, e.g. email address, via Facebook account, Apple account, Google account etc.
You can then authorize Filmora to connect it with your TikTok account.
Finally, you can customize your video’s audio settings in Filmora before sharing it to your TikTok account.
Option four: Export to YouTube
YouTube is another popular social media platform you can export your videos to. To upload a finished video directly to YouTube, simply click ‘Export and select ‘YouTube.’ Then, go ahead and log in to your YouTube account.
Check your browser to log in to your account, then click ‘Allow’ to give Filmora access to your account.
You’ll also need to input the title, description, and tags for the YouTube video and choose whether you’d like it to be public, unlisted, or private.
After you’ve chosen your settings, click on the ‘Export’ button to export your video directly to your Youtube channel.
Option five: Export to Vimeo
You can also export your Filmora videos directly to Viemo.
To upload your completed video to Vimeo, simply access your Filmora account, then click on ‘Export’ and select ‘Vimeo.’
After you’ve done this, you can check your browser to log in to your account. Click ‘Allow’ to give Filmora access to your account.
You’ll then need to edit your video’s information. You can input the title, description, and tags for the video and choose whether to upload the video as public, unlisted, or private.
Then, click the ‘Export’ button to export your video to Vimeo.
Option six: Export to DVD
Finally, you can also burn your Filmora videos onto a DVD. Simply choose the DVD tab, then enter required settings, including the aspect ratio and disc type.
Then, click to export to DVD and wait for it to process.
Key features of Filmora
One of the best things about Filmora is its user-friendly interface, which makes using the program a breeze.
It has a drag-and-drop feature, which makes it easy to move and arrange clips in your project. All you have to do is download and drag video, audio, or image files to your timeline, then arrange them using whatever sequence you like.
Now that you have your Filmora account, let's take a look at how you can use Filmora to edit videos.
Video effects
Filmora features a wide range of video effects and filters you can use to personalize your projects. Some of the most popular include artistic, vintage, glitch effects, and cinematic filters, which can help give your videos a particular look and feel.
As well as featuring a range of filters, Filmora also has a color correction function, which allows you to adjust the brightness, contrast, saturation, and other elements of the video’s color to fit the mood.
There are also over 100 transitions to choose from, including cross-dissolve, zoom and pan, spin, warp zoom, and wipe. By incorporating split screens, green screens, and stylish transitions, users can create polished, engaging content that grabs and holds viewers’ attention.
The Green Screen feature allows you to remove or replace your video’s background, so you can impose your image on a range of different scenes. You can also use multiple layers in your background, so you can create complex compositions.
Music and audio
Filmora contains a library of royalty-free music tracks, sound effects, and audio clips that can be used for both personal and commercial projects.
You can also adjust the sounds in your video using Filmora’s bass and treble frequencies, so you can make sure it sounds as crisp and clear as possible.
The audio synchronization tool lets you sync your video clips with external audio sources, such as voice-overs, music, or sound effects, making videos appear more polished and professional.
Furthermore, Filmora also allows you to record voiceovers directly on the software to layer over videos. After recording, you can adjust the tone and pitch.
Finally, you can also reduce background noises in your video using the audio noise removal feature, making everything sound cleaner.
4K and HD supported
Another key feature of Filmora is that it allows you to export your videos in 4K resolution for ultra-high-definition projects or in 1080p HD for standard high-quality videos.
If you’re not satisfied with the quality of your projects, Wondershare Filmora provides an AI-powered feature that helps to enhance the quality of your recordings easily.
It also has in-built presets designed for specific platforms such as Facebook, Instagram, and YouTube, so you can tailor the video quality to each destination.
Templates
Filmora boasts a wealth of template packs, with intros, outros, lower thirds, and much more, so you can create professional-grade videos as quickly and efficiently as possible.
Templates are also organized according to theme, making it easy to choose a pack that suits the unique look and feel of your video.
Some of the most popular packs to choose from include:
- Business and marketing: Allows you to create professional company overview videos highlighting your business and services in a sleek and stylish format.
- Special events: The special events templates encompass everything from weddings, to holiday celebrations (e.g., New Year's, Christmas), to anniversaries, depending on what you’re celebrating.
- Vlogs: Filmora allows you to create visually stunning travel vlogs with templates to suit a wide variety of different travel locations.
- Education: If you’re creating a tutorial, a how-to guide, or an explainer video, you can use Filmora’s templates which help simplify complex concepts for students or viewers.
- Real estate: If you’re in the real estate game, you can showcase properties in the best light possible with real estate templates designed to attract buyers or renters with detailed property highlights.
- News: If you have a social media channel dedicated to news, Filmora allows you to create dynamic, engaging news videos with the customizable templates for updates, headlines, and reports.
Theme packs come with preconfigured effects that are also accompanied by music and transition styles designed to fit the specific style of your video.
Ready to create engaging tutorial videos? Our guide breaks down how to structure, film, and monetize fuss-free videos your audience will love.
Text and title options
Filmora contains a range of pre-made animated title templates, allowing you to add a dynamic range of text styles to your video with just the click of a button. You can fully customize the fonts, size, color, style, and motion of the text to fit your video’s look.
Filmora also contains text animations that allow you to add motion to text elements, including typewriter effects, fade-ins, and more, so they look as polished and professional as possible.
Got your eyes set on becoming the next big thing on YouTube? Get step-by-step guidance in our guide, “Vlogging Made Easy,” with tips to kickstart your channel and grow your audience fast.
Pricing: How much does Filmora cost?
Now that we’ve provided a breakdown of Filmora’s key features, let’s dive into the platform's price plans.
Basic ($49.99 /yr)
If you're just getting started and don’t need advanced features, the Basic plan is probably best. It includes all the fundamental features that beginners need to get started, such as:
- 1GB Cloud Storage
- Filmora Continuous Version Upgrades
- Filmora Export in Multiple Formats
- Filmora Export without Watermark
- Filmora 4K HD Export
- Filmora 100+ Advanced Video Editing Features
Advanced ($59.99 /yr)
If you're an intermediate editor, opting for the Advanced plan would be a great choice. It contains advanced editing tools that go beyond the basics, including:
- Smart Short Clips
- Smart Scene Cut
- Text-to-Speech
- AI Copywriting
- Speech-to-Text
- AI Video Enhancer
- AI Music
- Continuous Updates for AI Features
- Plus everything included in the Basic plan
Perpetual ($79.99 /yr)
Want to use Filmora long-term? Then the Perpetual plan is for you. The Perpetual Plan offers a one-time payment for lifetime access to the software and its updates. The plan includes:
- 1GB Cloud Storage
- Filmora 14 Updates
- Filmora Export without Watermark
- Filmora Export in Multiple Formats
- Filmora 4K HD Export
- Filmora 2.3M+ Filmora Creative Assets
- Filmora 100+ Advanced Video Editing Features
Is Filmora worth it? Pros and cons
Pros
- Beginner friendly: The software is perfect for those just getting started out on video editing projects. Its clean, intuitive interface and drag-and-drop system allow easy arrangement of clips, making it highly accessible for beginners.
- Affordable: In comparison to many other editing software programs out there today, Filmora is regarded as a more affordable choice. You can choose from a one-time payment or annual subscription with no hidden costs, making it a great choice for those working from a budget.
- Powerful features: Though Filmora is renowned for its beginner-friendly features, it also offers a wide range of advanced editing tools like motion tracking, keyframing, and Green Screen, making it a great option for intermediate users too.
- Range of effects: Filmora boasts a wide range of effects and transitions, as well as filters and text templates that allow you to fully customize your video content.
- Flexible export settings: Filmora videos can be exported in a range of different formats, including MP4, MOV, and AVI. You can choose the frame rate, resolution, and a variety of other export settings to perfectly match your needs.
Cons:
- Watermark: Though Filmora offers a free trial for you to familiarize yourself with the software, the free version of Filmora does export a watermark on videos.
- Performance: Some users have complained that Filmora can be slow when dealing with higher-resolution videos, especially those in 4K. It needs a decent computer setup to work correctly, otherwise, performance can be substandard.
- Limited integration: Filmora offers limited integration with other professional video tools such as After Effects or DaVinci Resolve.
Looking for the best editing software that doesn’t break the bank? We’ve got you covered. Explore our full list of the best free video editing tools for creators, and discover pros and cons of some of the most popular options you can start using today.
Filmora alternatives
Now that we’ve thoroughly dissected Filmora, and what it has to offer prospective users, let’s examine the competition.
Below, we take a look at some of Filmora's competitors, so you can make an informed decision on whether or not it's the right editing software for you.
InShot
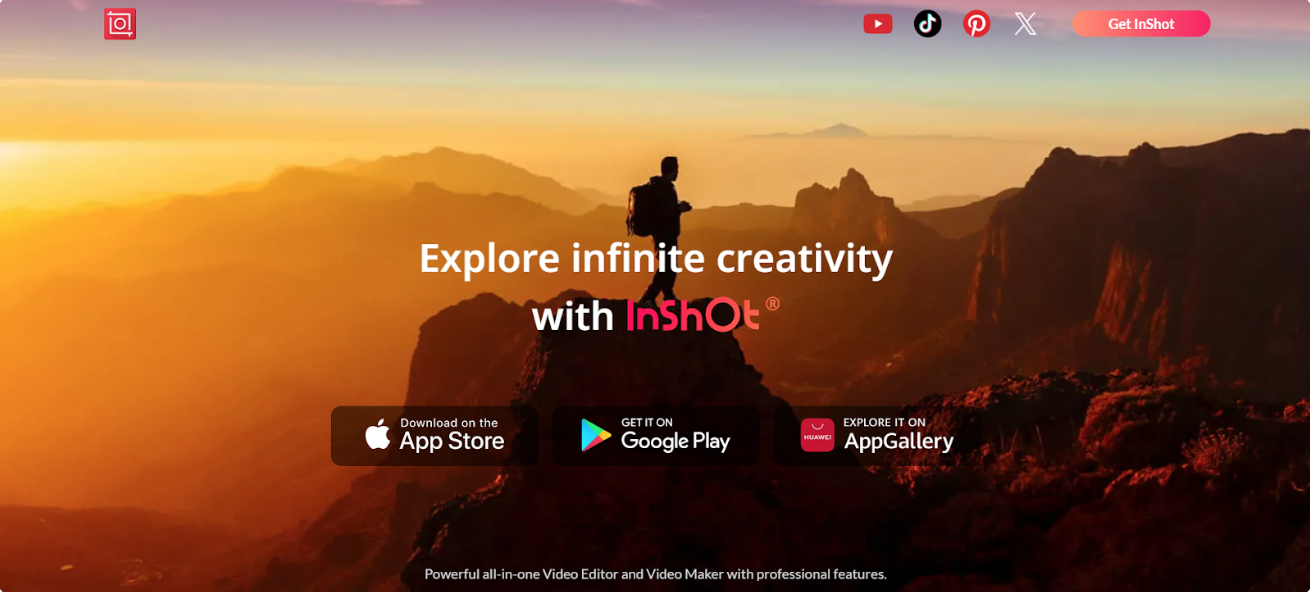
InShot is a free editing software that has a wealth of tools to cater to all your editing needs, including cutting, captions, stickers, and much more.
InShot features several useful tools for video manipulation, including video reversal, duplication, and freeze frames. It also comes with a bunch of handy adjustments, like contrast and saturation, along with fun filters and effects.
It is fairly straightforward to use, and as an app, it’s good for use on the go. So, if you want to shoot and edit your videos for TikTok, YouTube, and other socials, it has pretty much everything you need to get started.
That being said, it’s more clunky when you want to work on a few different tasks. Plus, there’s no desktop version, so you can’t work on a larger interface when things get crowded.
InShot is completely free to download and use. However, there are some limitations to this version, as it includes watermarks and adverts. If you want to remove these, you’ll need to upgrade to the paid version, which starts at $3.99 per month
CapCut
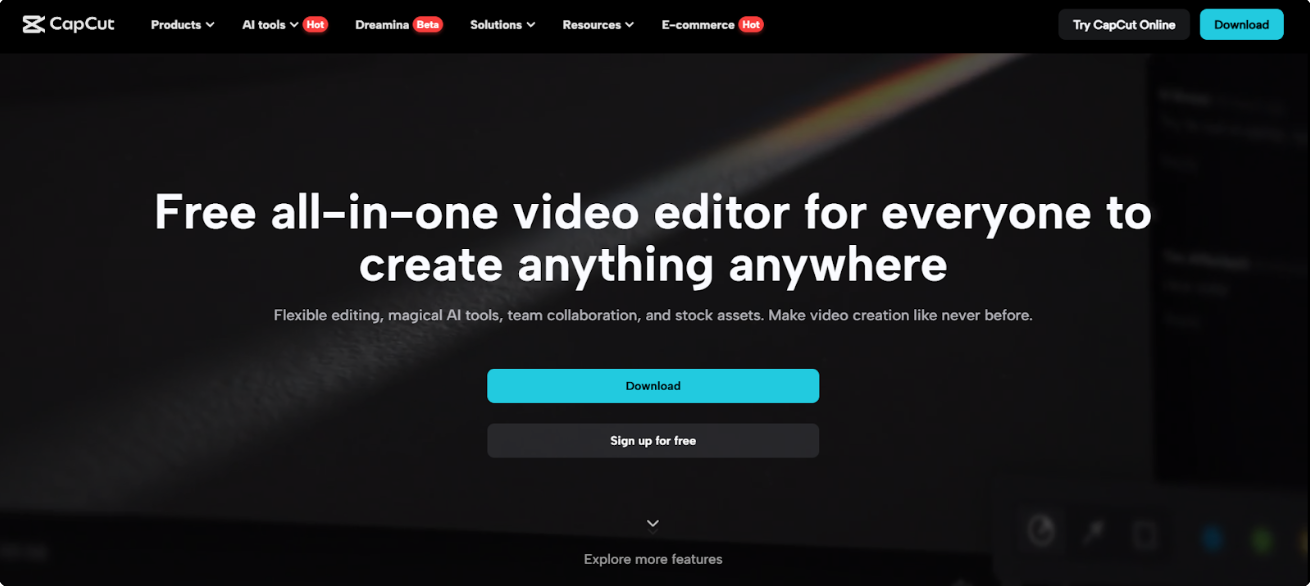
CapCut is another editing software that’s totally free to use. It’s available for both Android and iOS devices, plus, there’s a desktop version for Windows and Mac and an in-browser option, which comes with additional features.
Some of CapCut’s standout features include speed and slow-mo, which allows you to speed up or slow down parts of your video, and the program’s effects and filter library, which houses over 1,100 effects and 200+ filters.
You can also add info and promote your brand with text overlays. This allows you to tailor the text size, font, color, spacing, and alignment. This feature is ideal for adding subtitles, watermarks, and credits to your content.
In addition, CapCut’s text assets, including templates, are suitable for commercial use.
CapCut is completely free to download and use. There’s a paid Pro version available, starting at $9.99 per month, which comes with some extra features, including AI image and video creation, multi-platform publishing, and advanced templates and effects.
Canva
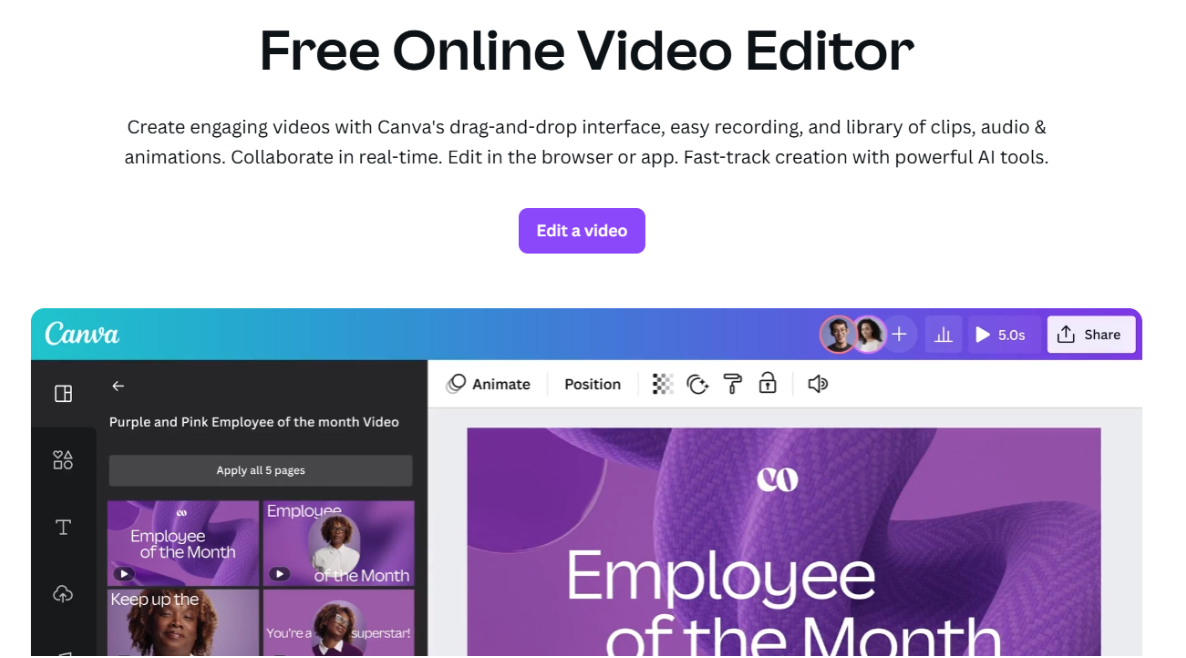
Many users will already be familiar with Canva, which is considered a popular tool for editing social media images. But it’s also a great option for editing videos too.
Canva is designed to be both user-friendly and accessible for people with little to no design or editing experience.
It has a wealth of templates for a variety of different content types, including social media posts, flyers, presentations, and even business cards.
Canva also offers millions of stock photos that you can incorporate in your videos, including illustrations, icons, and fonts, with both free and premium options. This is helpful for users who don’t have access to paid stock image services.
Because Canva is web-based, it can be accessed on every device with an internet connection. Plus, it also has apps for mobile devices (iOS and Android), making it convenient for on-the-go editing.
While Canva is considered a fantastic option for beginner to intermediate video design work, it does lack some of the advanced features that professional graphic design software like Adobe Photoshop or Illustrator offers.
Canva offers a free plan, along with several paid tiers starting at: $12.99 per month.
Turn your video skills into cash with Whop
Once you’ve picked the right editing app — whether Filmora or any other editing app — you’re all set to start creating.
But if you want to actually make money from your content, you’ll need more than just edits. You need a platform that helps you sell, grow, and get paid. That’s where Whop comes in.
With Whop, you can:
- Sell exclusive videos and behind-the-scenes content
- Drop ebooks, guides, and templates
- Launch paid podcasts or courses
- Build a digital community with memberships
- And even get paid just for clipping content with Whop’s content rewards
So if you’re spending time on edits, why not start getting paid too? Whether you’re creating for YouTube, TikTok, or anywhere else, Whop gives you the tools to turn views into income.
Start making money with Whop today.
Filmora video editor FAQs
Can Filmora be used commercially?
If you purchase the standard (or personal) version of Filmora, it is primarily intended for personal use. Still, it can also be used for creating commercial projects like YouTube videos, social media posts, or promotional content, as long as they are not used for reselling or distributing the software itself.
Filmora also sell a dedicated business plan for enterprises to use. So any business-based videos, whether these are internal training clips or tutorials, content produced for clients, or ads, should always be created under the business plan.
Do I need to be a pro editor to make money on Whop?
Nope! Whether you’re just starting out or already skilled with Filmora or any app, Whop makes it easy to sell your content and get paid.
How does Whop’s content rewards and clipping work?
You can clip content for creators through their Content Rewards campaigns, share them, and get rewarded for the engagement. It’s a sweet way to boost your income with less effort.