User roles in Whop have different permissions. Read this guide to learn what each role can and cannot do.
Key takeaways
- Whop offers four hierarchical roles (Owner, Admin, Sales manager, Moderator) to help distribute team responsibilities effectively.
- Each role builds on the previous one's permissions, so assign the minimum access level needed for each team member's tasks.
- Be cautious when granting permissions since some team actions like deleting messages or checkout links are irreversible.
Think about digital platforms and how they are structured. You'll find that almost all digital platforms have a role hierarchy: owners, admins, moderators, and so on.
Having these roles helps the owner to share responsibilities across a team, making the platform run smoother.
Here on Whop you can do the same thing for your community - invite members to your team and grant them different roles with unique permissions linked to that role.
In this guide, we're going to take a look at what each role can and cannot do, and how you can invite/remove people from your whop team.
What are whop roles and their permissions?
When you create a whop there are four different roles that your whop can have: Owner, Admin, Sales manager, and Moderator.
As the creator of your whop, you'll automatically be given the Owner role, which has all the permissions by default.
Here are all whop roles (including owner) explained:
- Moderator is the lowest role in the whop team hierarchy - they have the permission to moderate your chats and forums. They can delete messages, mute/ban users in the Chat app, and delete comments in the Forums app.
- Sales manager has all the permissions of Moderator and can see the users table of a whop in the dashboard. They can also see the checkout links list and create new ones.
- Admin has all the permissions of Moderator and Sales manager roles. On top of this, they have access to many more sections of the dashboard, like the waitlists, cancelation reasons, the finances section (except Payouts), the Marketing section, and they can invite other people to the team (as Moderators and Sales managers).
- Owner is at the top of the hierarchy. The role can access all the dashboard sections and edit the Whop's general settings, including the store page. There's no limit to how many Owners there can be in a whop.
| Permissions | Moderator | Sales manager | Admin | Owner |
|---|---|---|---|---|
| Delete messages and mute/ban users in the Chat app, and delete comments in the Forums app | ✔️ | ✔️ | ✔️ | ✔️ |
| View Users table on dashboard | ❌ | ✔️ (can't export the table) |
✔️ | ✔️ |
| View Checkout links section on dashboard and create new checkout links |
❌ | ✔️ | ✔️ | ✔️ |
| View waitlists and cancelation reasons tables on dashboard |
❌ | ❌ | ✔️ | ✔️ |
| View Finances section of dashboard | ❌ | ❌ | ✔️ (except Payouts section) |
✔️ |
| View Marketing section of dashboard | ❌ | ❌ | ✔️ | ✔️ |
| View general settings of dashboard | ❌ | ❌ | ✔️ (can't edit) |
✔️ |
| View team settings on dashboard and invite new team members |
❌ | ❌ | ✔️ (can only invite Sales managers and Moderators) |
✔️ |
| View API keys settings on dashboard | ❌ | ❌ | ❌ | ✔️ |
| View OAuth settings on dashboard | ❌ | ❌ | ❌ | ✔️ |
| View Webhooks settings on dashboard | ❌ | ❌ | ❌ | ✔️ |
| Edit the store page | ❌ | ❌ | ❌ | ✔️ |
As all permissions grant some level of extra access to parts of your Whop, it's important to be careful when inviting people to your team.
Some actions your team members can take, such as deleting messages or checkout links, are irreversible - and could cause issues for your business.
How to add people to your team
Ready to add people to your whop team?
You can add team members with just seven clicks - it's really that simple. But before adding a team, let's make sure you have a whop ready to go. If you don’t already have your own whop, check out our step-by-step guide on creating a whop.
If you do have your whop ready, let’s move on to the steps of adding people to your whop team.
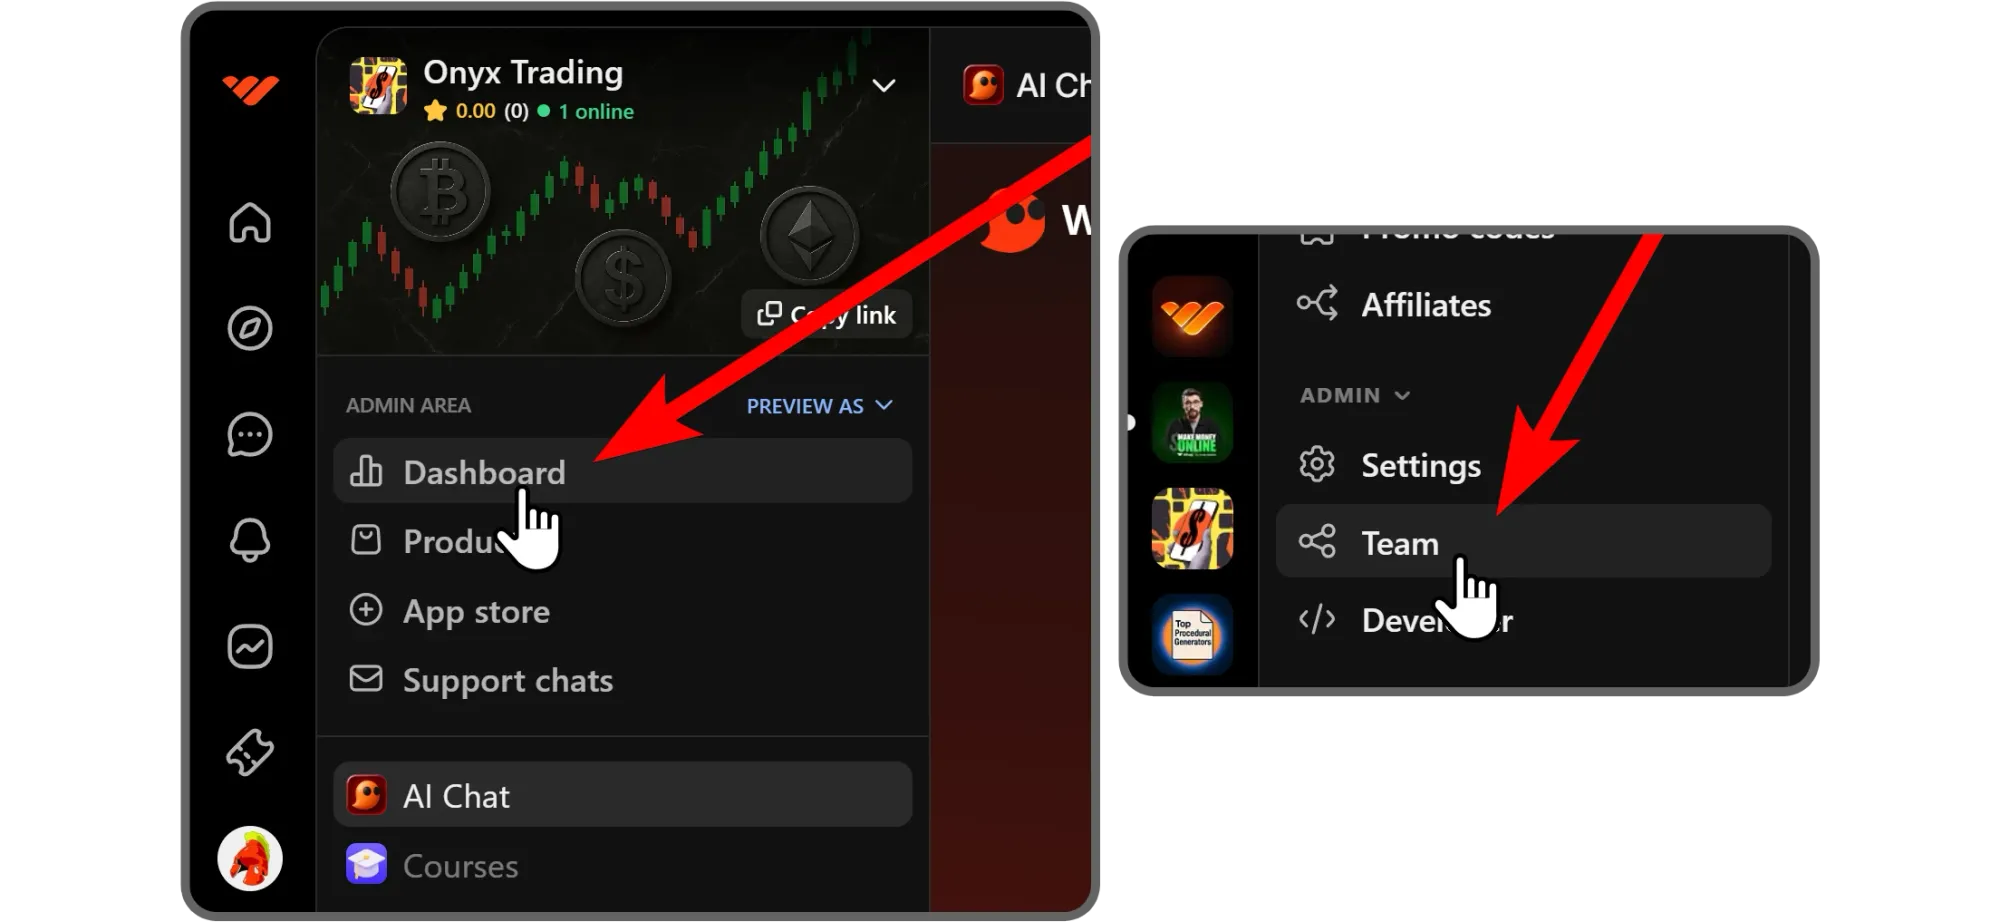
As our first step, let’s click on the Dashboard button of your whop. Once you’re in the dashboard, find the Team button and click on it.
Let’s break down the Team settings page together.
The first thing you'll see is the Two-factor authentication (2FA) box. As you might know, 2FA is one of the best ways to keep your online accounts secure, so we recommend you enable the Require 2FA toggle so that your team members' accounts are secure.
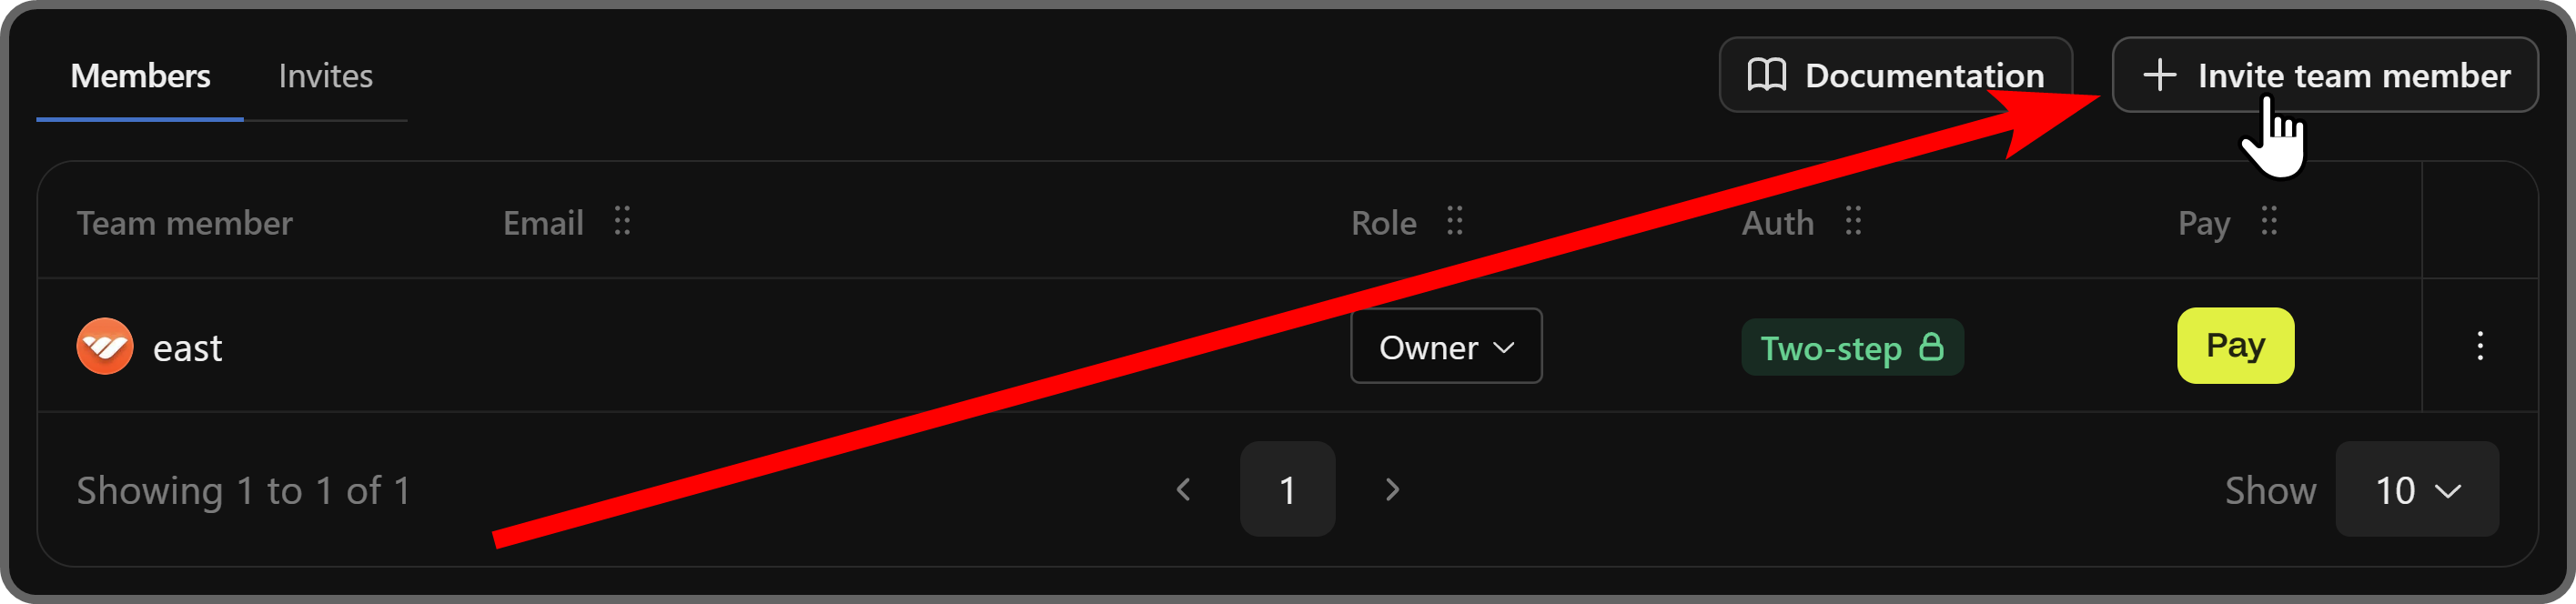
Below that, you'll see a table of your team members with their usernames, emails, role, authentication level (one or two-step), and the pay button. You can also click the Invites button next to the Members tab so see the pending invites.

Let's click the Invite team member button at the top right of the members table to see the Invite a team member popup.
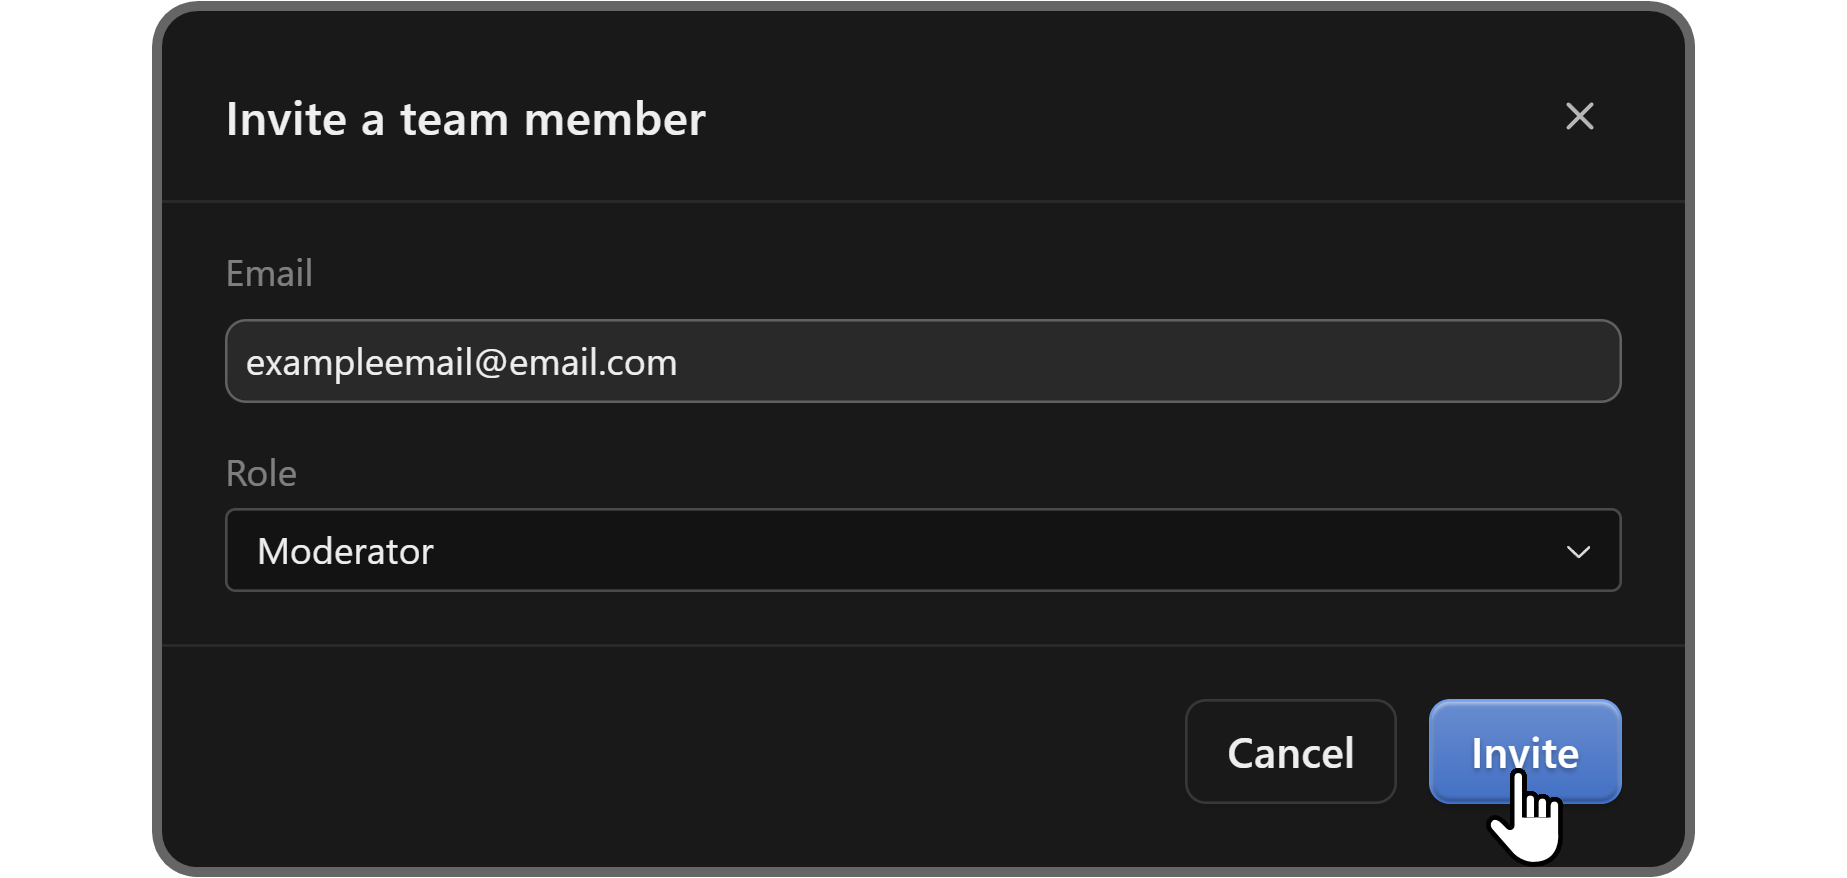
In the invite popup, input the email address of the Whop user you want to invite in the Email field and select the role you want to assign in the Role dropdown.
Once you're done (make sure the email address is correct), click the Invite button at the bottom right of the popup.
Once you invite a team member and they accept the invite using the email the system automatically sends them, you can see them listed in the members table.
You can then change their role any time you want using the dropdown in the Role column.

How to remove people from your whop team
If you ever want to remove a member from your team, all you have to do is to click on the context menu of the user (to the right) and select the Remove user option from the menu.
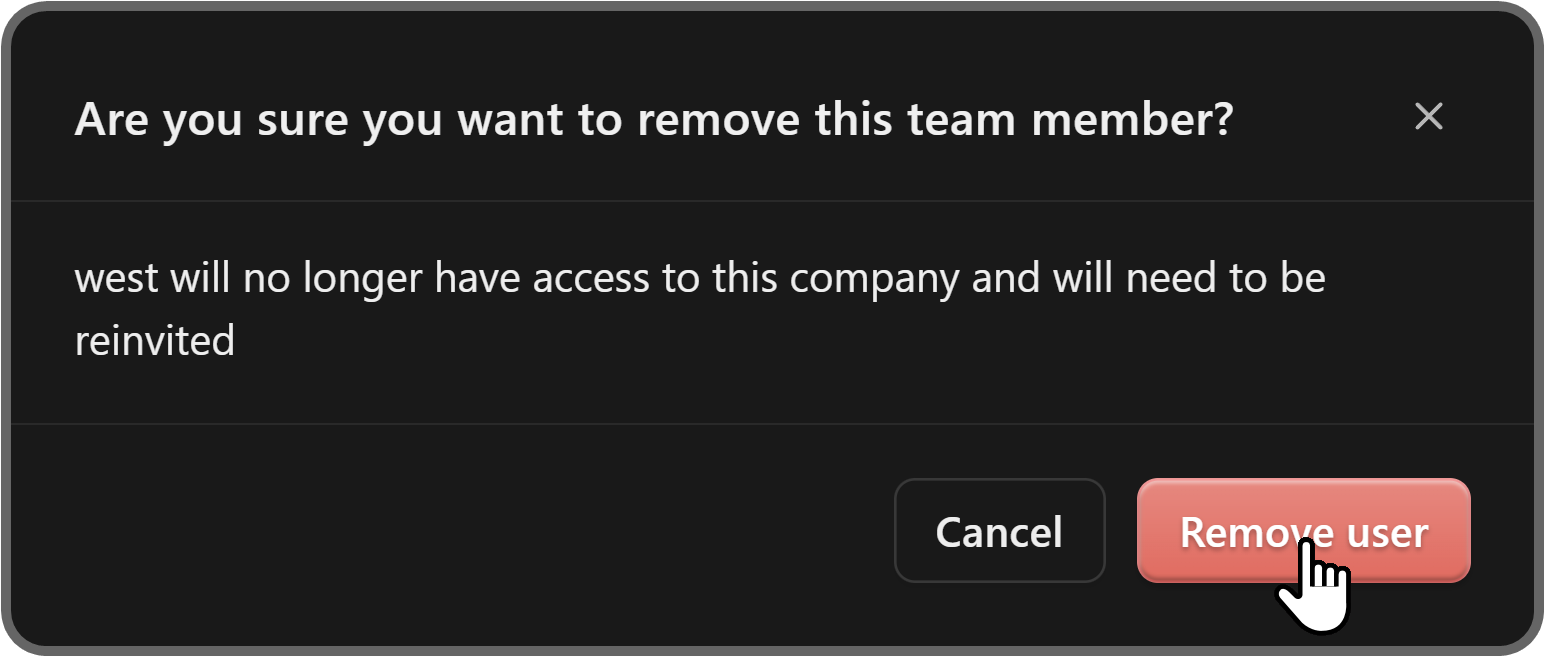
This will display a confirmation popup.

Clicking the Remove user button in the confirmation popup will remove the user from your team. Of course, you can invite them back at any time you want.
Make money the easy way with Whop
That's it - now you have a strong understanding of what each whop team role can and cannot do.
Great team members can help your community run more smoothly, but they’re not the only improvement you can make for your whop. If you want to learn more about improving your whop, check out our comprehensive whop guides for creators.
Don't have a whop yet? Whop has helped thousands of creators like you make money online - and you could be next. Sign up today and create your whop. What are you waiting for?


