Learn how to master YouTube video sizes to optimize your content. Discover the best resolutions, dimensions, and aspect ratios for your videos.
Key takeaways
- 1080p resolution with a 16:9 aspect ratio is the optimal standard for most YouTube videos.
- Poor video dimensions hurt watch time, algorithm ranking, and ultimately your channel's growth potential.
- MP4 format offers the best balance of quality and file size for YouTube uploads.
Whether you’re sharing your passions or promoting your business, YouTube connects you with viewers across the globe. According to data from Statista, the platform had a whopping 2.5+ billion viewers in 2024. But how do you draw those eyes to your content?
Even if the content is great, other issues can hold your videos back. YouTube’s algorithm is notoriously confusing. So, you’ve got to stay ahead and perfect even the small details. One of the most important is YouTube video size.
Poor video quality can instantly make viewers click away from your videos. Meanwhile, too high a resolution can stop the video working for some viewers. Finding the right balance is a challenge.
In this guide, Whop will cover how to find the perfect YouTube dimensions, so you can create and upload like a pro.
Tl;dr: YouTube dimensions at a glance
According to YouTube, the recommended resolutions for the standard 16:9 aspect ratio are:
| Resolution | Definition type | Known as | Pixel dimensions | Best for |
|---|---|---|---|---|
| 240p | SD | 240p | 426 x 240 | Slow internet connection. Accessibility. |
| 360p | SD | 360p | 640 x 360 | Basic smartphone viewing. Embedding videos. |
| 480p | SD | 480p | 854 x 480 | Streaming over mobile data. |
| 720p | HD | 720p | 1280 x 720 | Basic HD playback, particularly on poorer internet connections. |
| 1080p | HD | 1080p | 1920 x 1080 | Full, flexible HD playback. Best option for watching on YouTube. |
| 1440p | 2K | 2K | 2560 x 1440 | Larger screens, gaming computers. |
| 2160p | 4K | 4K | 3840 x 2160 | Editing in detail. |
| 4320p | 8K | 8K | 7680 x 4320 | Advanced video effects. Rarely used due to the high resolution. |
Why do YouTube dimensions matter?
Creating a YouTube video takes a lot of time and effort. So, it can be tempting to rush the editing process. You might just upload without thinking about the video size. Here’s why you shouldn’t do that:
Poor quality video
A lot of early YouTube videos are still up, and their quality is very poor. For example, the music video for Helicopter by Bloc Party was uploaded in 2006.
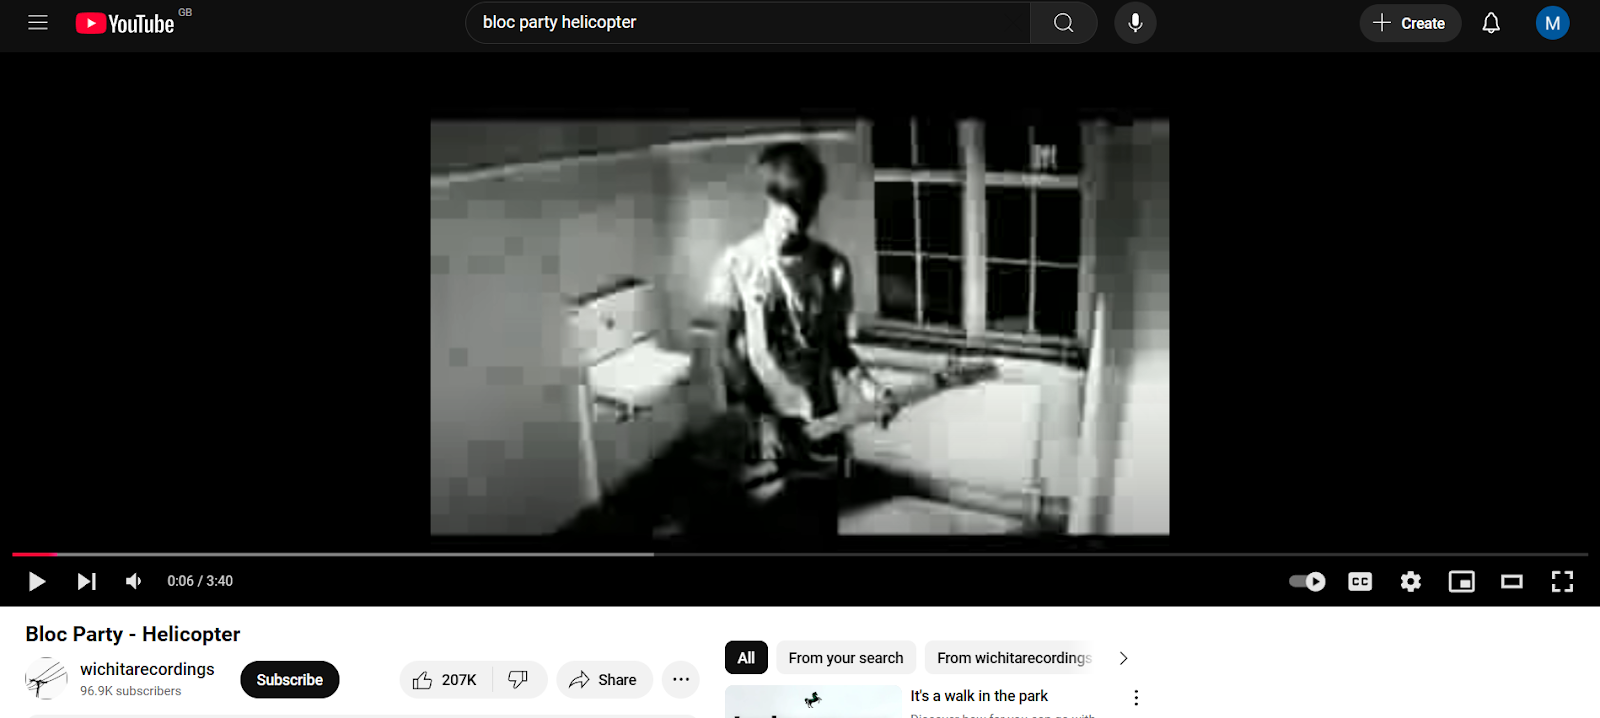
Nearly 20 years later, it sits at a sizable 36+ million views. Although people like the music, many of the comments joke about the terrible video quality.
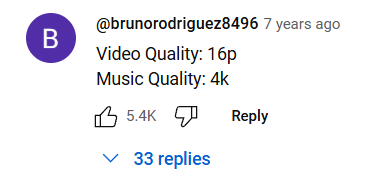
Whilst this could be used as an example of “content over (video) quality”, viewers are more likely to be sympathetic to their favorite musicians. Small YouTube channels simply can’t get away with this. That’s because it leads to…
Less viewer time
Naturally, if your content is blurry and pixelated, viewers won’t stick around. This will lead to reduced watch time on your videos. If your thumbnails are fuzzy too, you might not even get any clicks in the first place.
Less visibility on YouTube
YouTube’s algorithm is somewhat mysterious, but it generally tries to spread high-quality, relevant content. If viewers are consistently clicking away from your videos, your channel is unlikely to rank well in the platform’s search results. That means less subscribers and less opportunities for monetization.
Find out how to become a YouTuber and start monetizing your content.
How to choose the right YouTube video dimensions and resolutions
Understanding YouTube video resolution
Put simply, video resolution refers to the number and arrangement of pixels displayed on the screen. Pixels are the building blocks of digital images. When lots of pixels are organized together by a certain width and height, this is the resolution.
The resolution affects the quality of the video. As you increase the pixels, you also increase the quality. So, for example, 426 x 240 pixels (240p) resolution offers a much poorer resolution than 1920 x 1080 pixels (1080p).
The resolution’s dimensions refer to how many pixels are displayed by length and width on the screen. Dimensions are based on the number of pixels displayed in a 16:9 aspect ratio. That’s because it’s frequently used on TVs and computer screens.
You might have heard a few common dimensions mentioned online. To understand them, you need to know the two naming conventions:
- Smaller resolutions are named after the number of pixels displayed in a vertical line on the screen. A lowercase “p” is then added to the end. So, for example, “480p” features 480 pixels on the vertical line.
- Larger HD resolutions are named after the number of pixels displayed on the horizontal line of the video frame. So, for example, 4K has almost 4,000 pixels on the horizontal line.
What are the most popular YouTube video resolutions?
Now you understand YouTube video resolutions, which should you choose for your video?
It’s best to strike a balance between quality and file size. Larger resolutions will have a larger file size, which can affect uploading and displaying the video on some devices. On the other hand, if you choose a lower resolution, you’ll potentially have a poorer-quality video.
The most practical options are:
1080p (1920 x 1080): This is typically the gold-standard resolution for watching YouTube. It gives you full HD playback, and you can watch across multiple device types. But it’s also a reasonable choice that doesn’t create unnecessarily large files.
720p (1280 x 720): This is a good option if your connection is slow, or you want your video to be accessible to slower connection speeds. The quality is basic HD, but it obviously won’t meet the same standard as 1080p.
2K (2560 x 1440): If you want to go higher than 1080p, then 2K provides a detailed, high-quality video at a reasonable size. It also works well on premium smartphones and larger TVs and monitors.
Finding the best aspect ratio for your YouTube video
Aspect ratio refers to the ratio of a video or image’s width to its height. Ultimately, it affects the shape of the video. For example, the 1:1 aspect ratio works out at a perfect square shape. That’s because for every one pixel in its width, there’s one pixel in its height.
In most cases, the best aspect ratio for YouTube is 16:9. This is the standard, recommended option for horizontal videos. It works well because it’s a widescreen option that covers the entire playback frame. Plus, it’s equally compatible with smartphones and PCs. You’ll just need to record in landscape mode to achieve this ratio.
If you’re recording a vertical video - for YouTube Shorts, for example - you’ll want to go with a 9:16 aspect ratio instead.
YouTube does support other aspect ratios. These are 1:1 and 4:3, but these aren’t always optimized for YouTube. For example, as 1:1 is square-shaped, it’s more suitable for platforms like Facebook. YouTube’s mobile app adapts the frame for any aspect ratio, but the desktop version will add black bars to fill any remaining space, which can look unprofessional.
You can set the aspect ratio for your video before you start to record. Alternatively, you can adjust it using a video editing tool, like Adobe Premiere or Davinci Resolve.
What’s the best format for YouTube videos?
Aside from YouTube video size, you’ll also want to consider video format. This refers to the file type, which is recorded in the filename extension. So, this would be the “.MP4” part in the file name “YourVideo.MP4”.
Various video formats are suitable for uploading to YouTube. However, the recommended format is .MP4, as it’s compatible with most devices, and maintains a reasonable file size and high video quality.
However, some other video formats you can use on YouTube include:
- .MOV: Developed by Apple, .MOV files are high quality, but typically larger than .MP4. It may require extra storage space or compression.
- .WMV: This stands for Windows Media Video, which provides a smaller file size.
- .HEVC (h265): This refers to High-Efficiency Video Coding, which provides a high quality video with a compressed file size. It’s a recent format that’s becoming more popular.
What about YouTube image dimensions?
Videos are the backbone of your YouTube channel. But don’t neglect images for your channel. Using the right imagery establishes your online identity, encourages new views, and builds follower trust.
Make sure you’re using the right sizes for your images on YouTube:
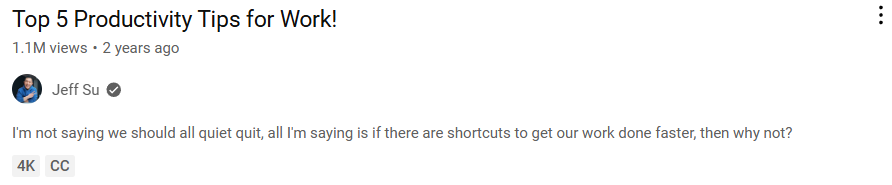
Channel profile picture: Your profile picture reflects your brand on YouTube, so make it memorable. It will appear on your channel page, at the bottom of your videos, beside comments, and even in search results.
For example, here’s the profile pic of productivity YouTuber Jeff Su, as it appears on his channel and videos in search results.

You’ll need to choose an image with a 1:1 aspect ratio and dimensions of 800x800 pixels.
Channel banner: At the top of your channel page, you’ll also need a banner. This should have the overall dimensions of 2560 x 1440 pixels. YouTuber Ali Abdaal has a striking channel banner that also features his book - a nice, subtle way to add in a promotion.

Keep in mind that banners appear cropped on some devices. So, if there’s any essential information, like social links or brand logos, try to include them within the area of 1546 x 423 pixels.
Video thumbnail: Don’t overlook your thumbnails. These work as a preview for your video, and display prominently in YouTube search results. Done effectively, they’ll excite viewers and get them to click on your video. Make sure you use a 16:9 aspect ratio for your thumbnails, and stick to dimensions of 1280 x 720 pixels.
Learn how to craft a great thumbnail - and other tips for going viral on YouTube.
Best tools for editing YouTube video size
If you’ve already recorded your videos and you’re not sure how to edit them, don’t worry. First, it helps to know the right tools for the job. Typically, you’ll need a video editor, but which is best? Here are a few options to try:
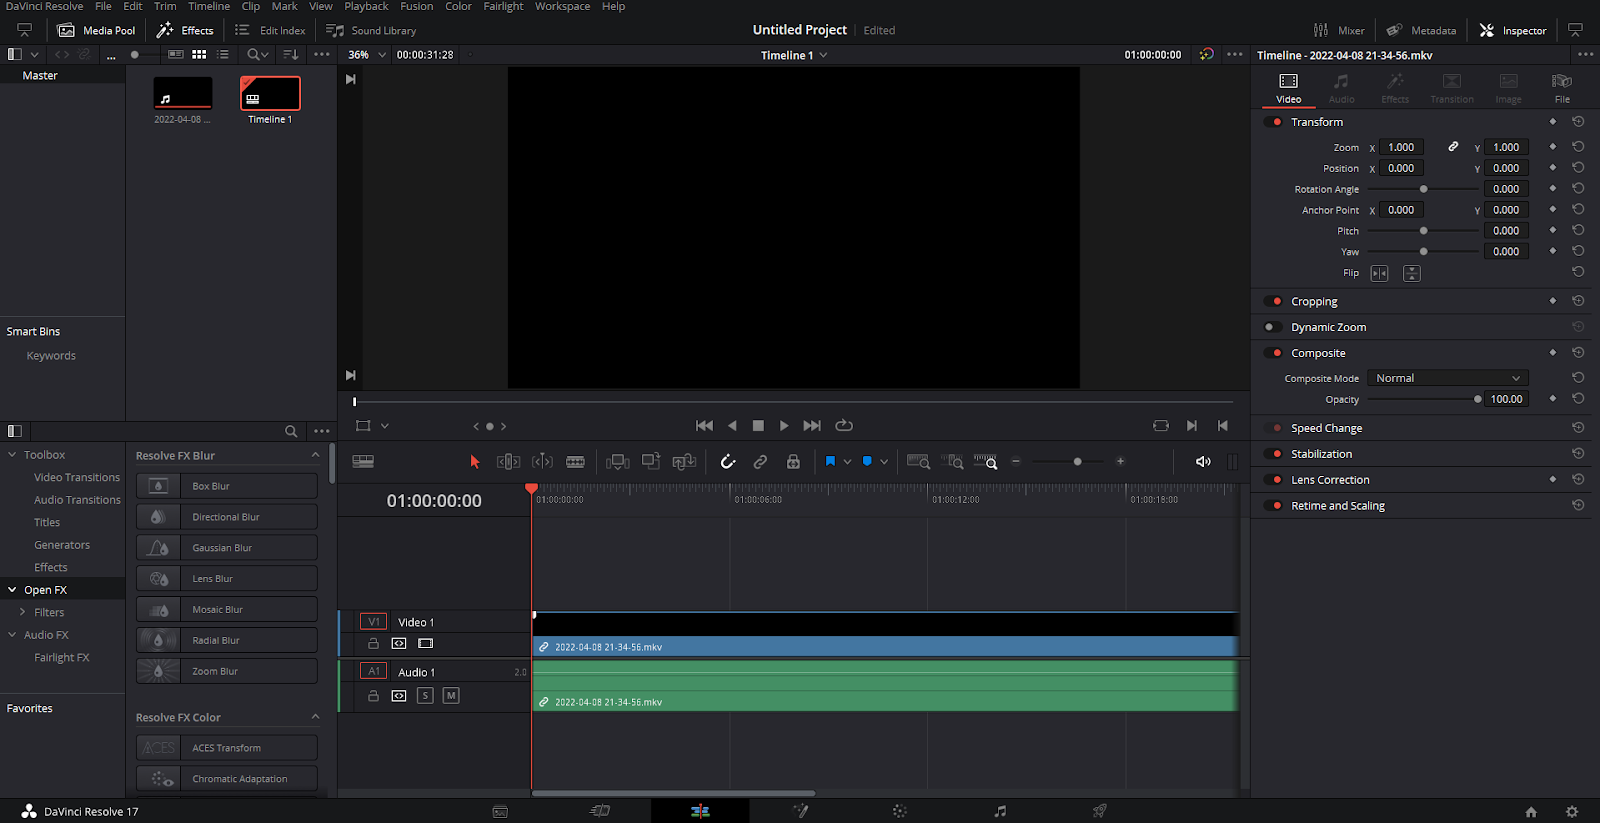
Davinci Resolve
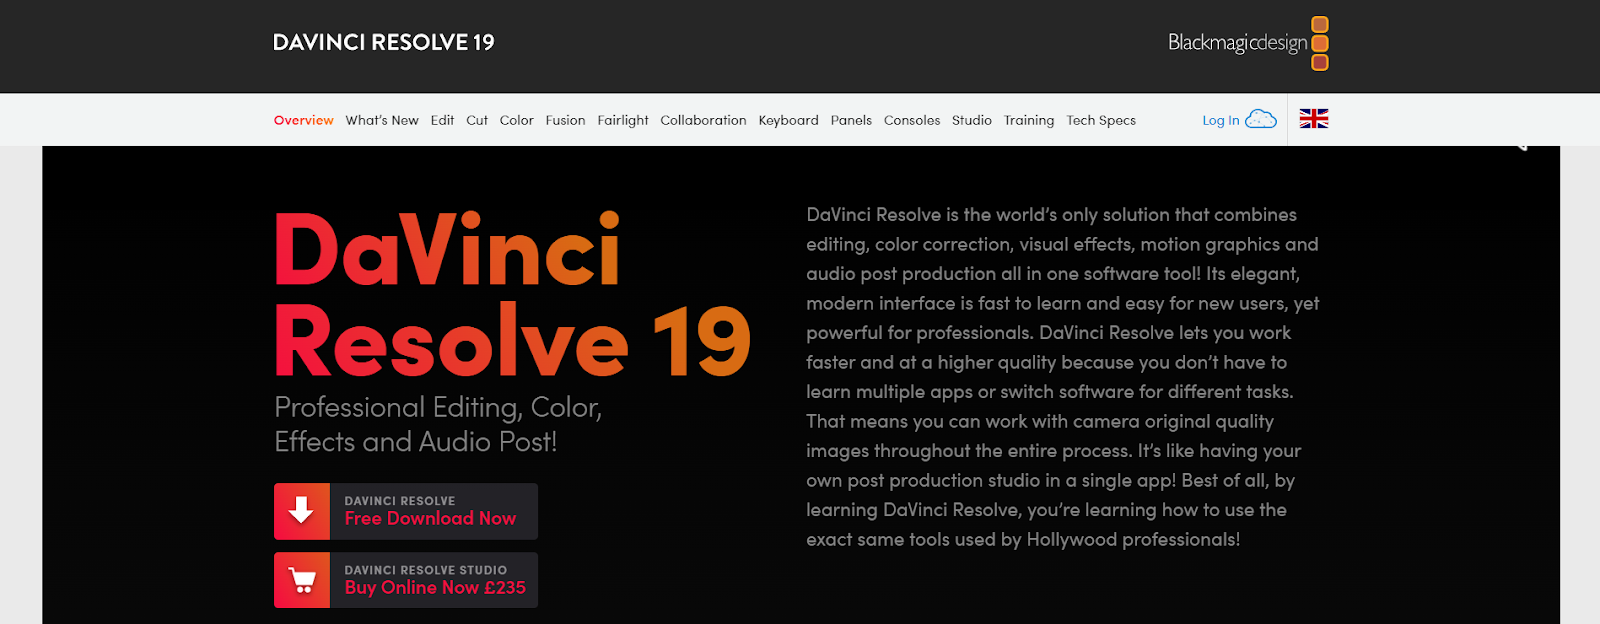
Davinci Resolve is a popular video editing tool for YouTubers, and it’s free to use. You can use it to edit the aspect ratio of your entire video or individual clips, and adjust your resolution. It includes lots of other useful features, including the ability to upload videos straight to YouTube.
CapCut
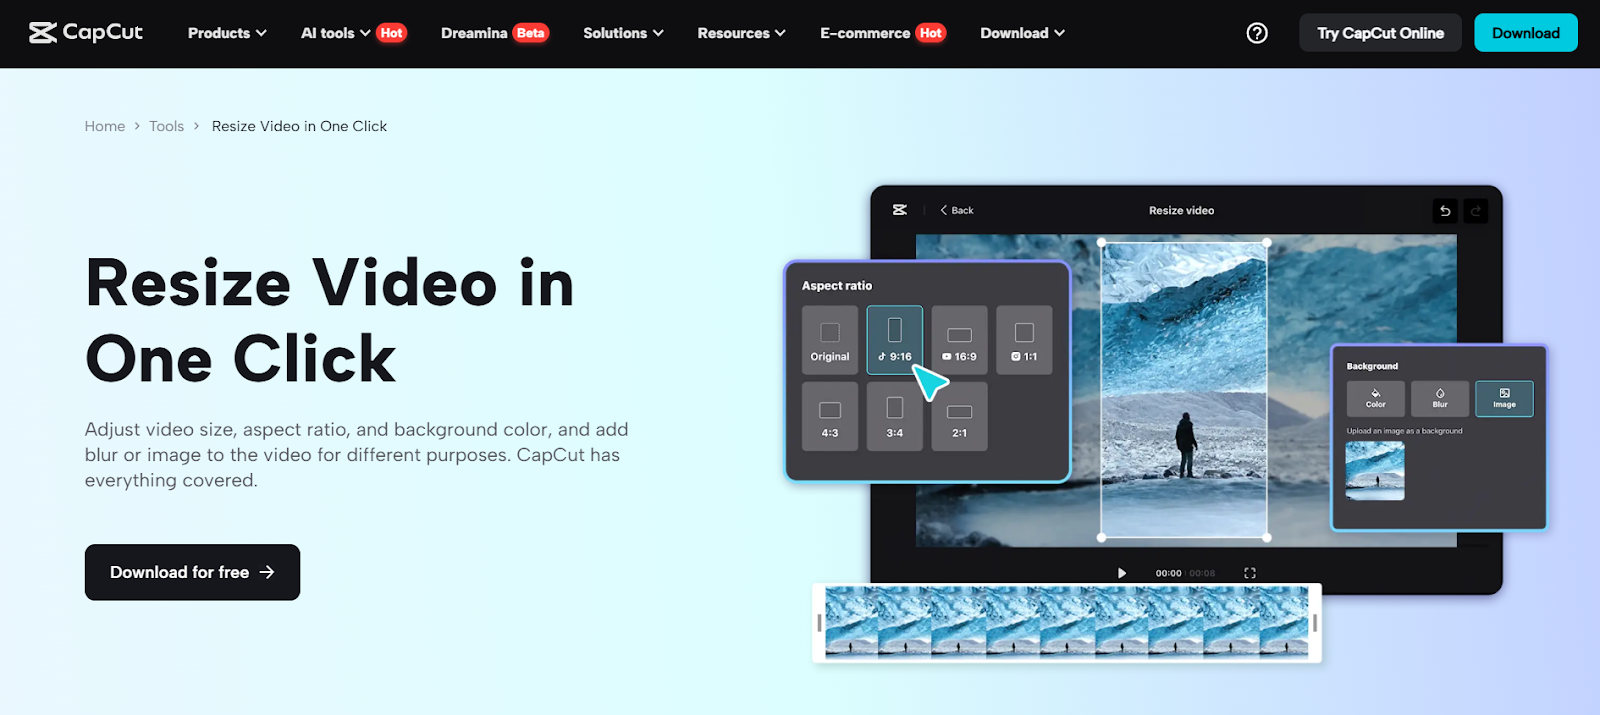
Another useful video editing tool is CapCut, which works on a freemium model. There’s a free version available, but some features are for Pro subscribers only. Still, you can change your video’s resolution and aspect ratio for free.
Canva
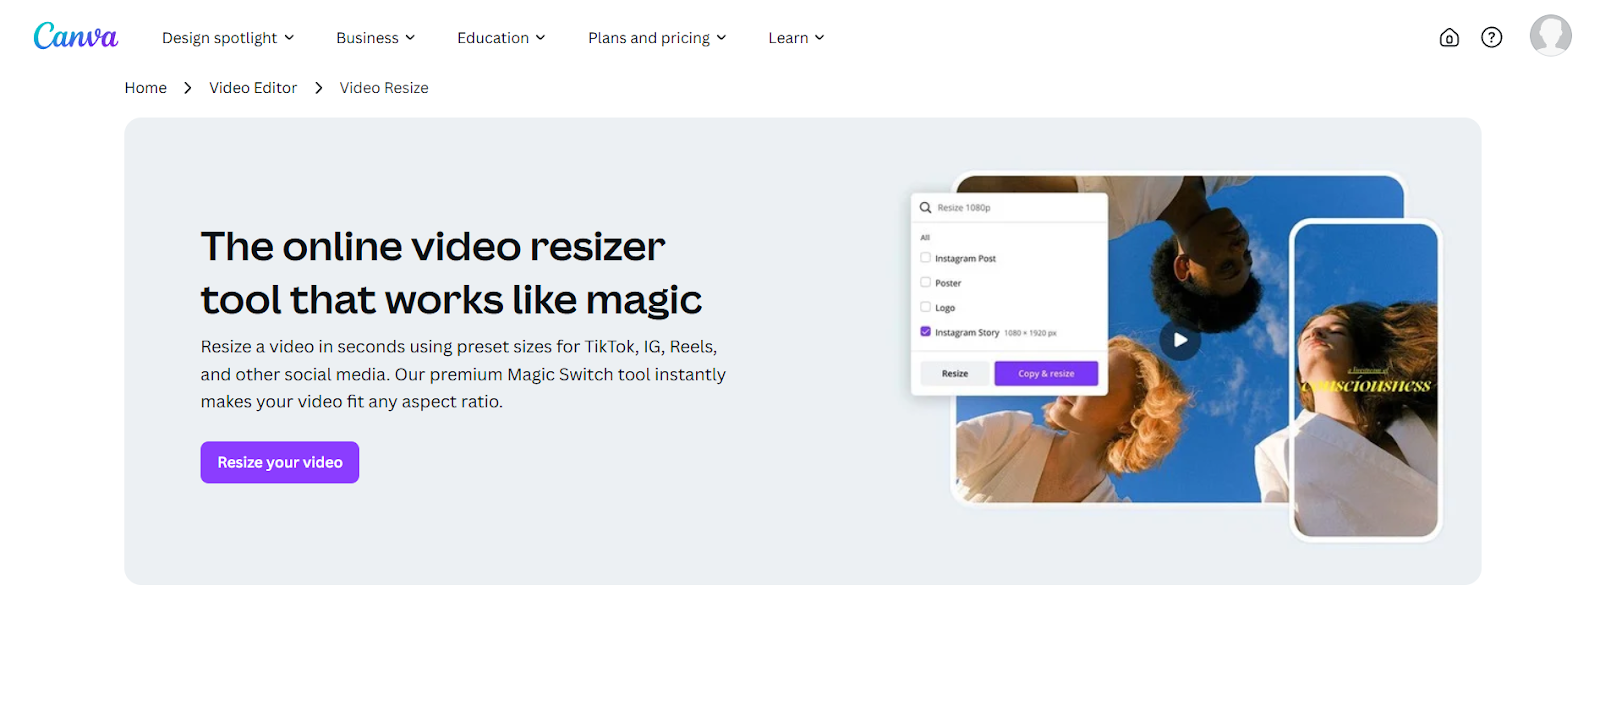
If you frequently use Canva, you’ll be pleased to learn that you can resize videos with the platform’s Magic Switch tool. Keep in mind it’s a premium tool and requires a paid Pro subscription, though. You can choose a preset size tailored to different social platforms, or your own customized dimensions.
Bonus: Learn to edit videos with Whop
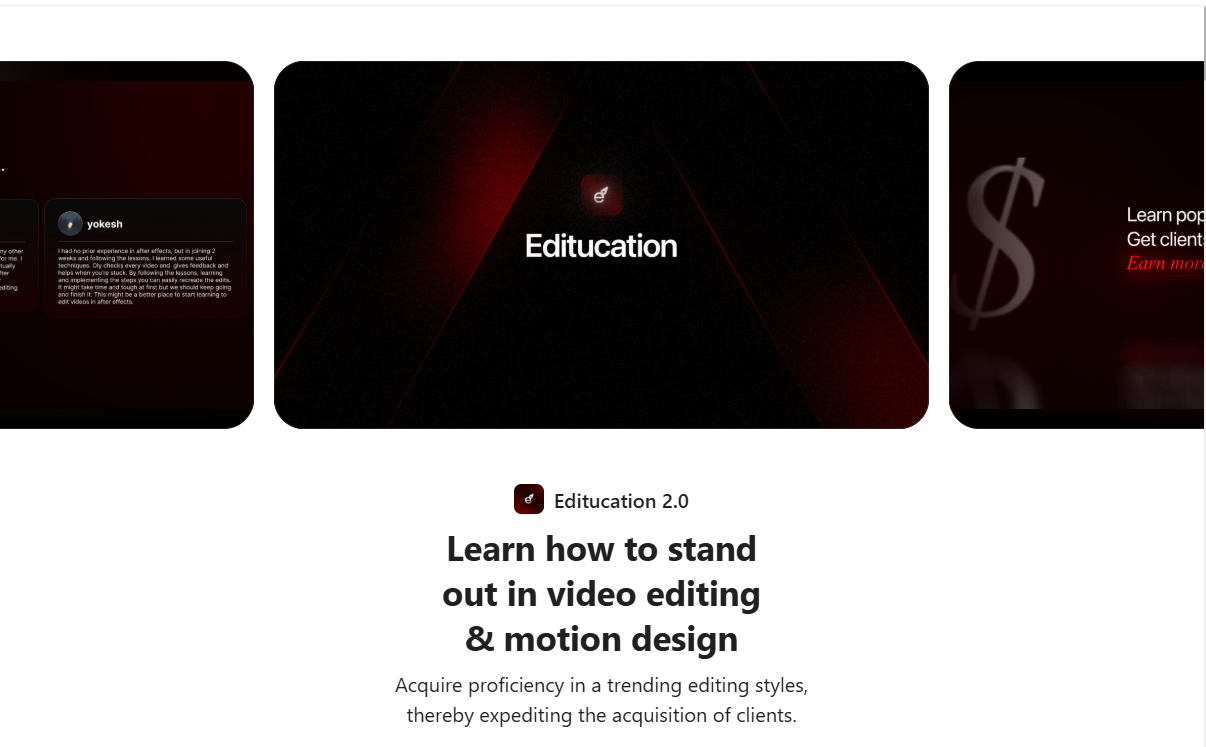
If you want to step up your video editing game, and even earn money editing videos, you could also take an online course. Aside from YouTube video dimensions and resolutions, you’d gain a comprehensive understanding of how video editing works.
For example, Editucation 2.0 on Whop offers courses, an SFX pack, and more to get you started. Plus, the course only takes around 3 weeks to complete (if you chip away at it each day!).
Discover the best free video editing tools for digital creators.
Step by step guide: How to change YouTube video dimensions
Once you’ve found the right video editing tool, you can adjust your video. Most video editing software follows the same process, but for this article we’ll be using Davinci Resolve.
Step 1: Import the video
Load up your editing software and import the video you want to resize. In Davinci Resolve, you can do this by starting a new project (or opening a current one).
After you’ve done this, from the menu at the top, select “File”, then “Import”, and then “Media…” Alternatively, you can just press “CTRL+I”.
Next, select the video and click the “Open” button. Once this is done, you can drag the video from the Media Pool into your timeline.
Step 2: Change the resolution
At this point, you’ll need to change the video to the recommended dimensions for YouTube videos (we’ve covered these above).
In Davinci Resolve, click on the “Project Settings” icon in the bottom right corner (this looks like a gear icon). Alternatively, you can head back to the menu at the top of the page and click on “File” and then “Project Settings”. This will bring up a menu of settings.
Click on “Master Settings”, then on “Timeline Resolution” to display the drop-down menu. From here, you can choose a preset resolution or enter your own.
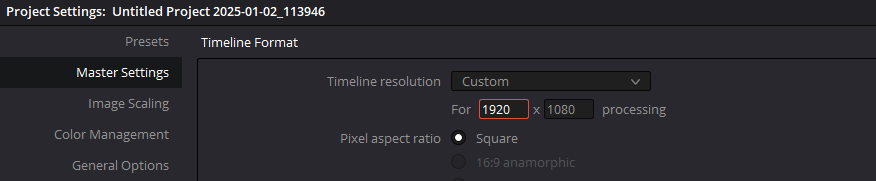
Once you’re happy with the changes, click “Save”.
Step 3: Find the right aspect ratio
Wherever possible, aim to get your aspect ratio right when you first record. For most YouTube videos, that’s 16:9. For YouTube Shorts, it’s 9:16.
This is important, as adjusting the aspect ratio at a later point can stretch and distort your video. So, in most cases, you’ll want to keep the same aspect ratio when you edit the video.
With that being said, there may be some scenarios where you do need to edit your video’s aspect ratio. If so, here’s how it works.
To adjust clips across the timeline on Davinci Resolve, head to the Media Pool and right-click on the timeline. Then hover over “Timelines” and select “Timeline Settings…”
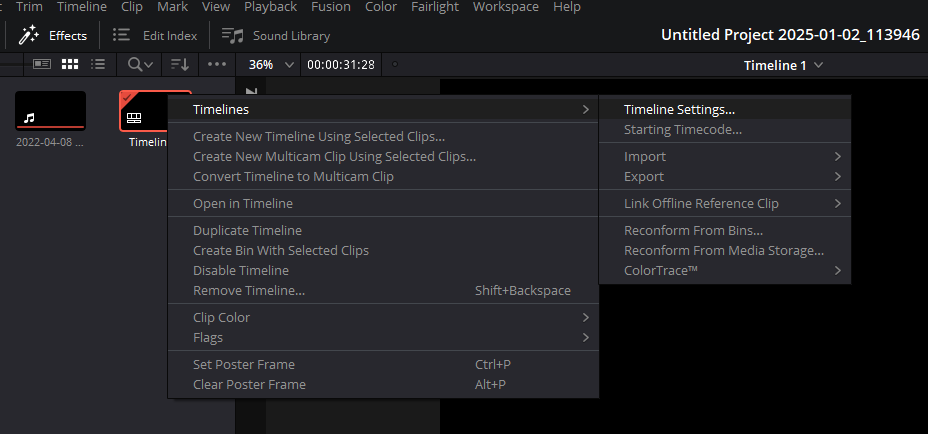
Here a settings menu will appear. Make sure the “Use Project Settings” icon is unchecked. By deselecting this, you can customize the settings.

Next, click on the “Mismatched Resolution” dropdown menu. Click on “Scale full frame with crop”.
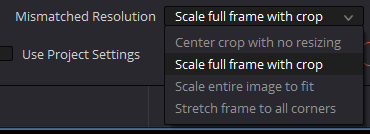
Next, head to “Output”. Again, under the “Mismatched Resolution” section, select “Scale full frame with crop”. Once you’re happy with the changes you’ve made, select “OK”.
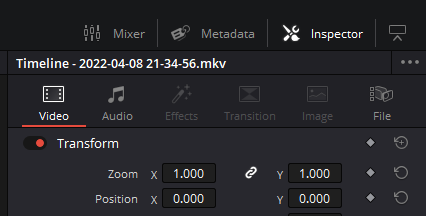
As this process will zoom in the clips on your timeline, you may need to go through them and check the positioning is correct. You can do this quite easily by selecting the “Inspector” tab on the upper right of the screen, and then adjusting the “Position” option.
Make sure you’ve previewed your video first to double-check the video size is right. Once you’ve done this, you can render and upload your YouTube video as normal.
Learn how to manage and optimize your videos on YouTube Studio.
Monetize your YouTube channel and build your community on Whop
When you’ve edited and uploaded your videos, it’s natural to think about monetizing your channel. YouTube gives you the opportunity to make money from what you love - whether that’s makeup tutorials or cryptocurrency. There are plenty of ways to tap into that, including affiliate marketing, sponsorships, and platforms like Patreon.
But the standout option for YouTube creators is Whop. On Whop, you can set up your own store to sell all kinds of digital products. For example, you could:
- Create and sell an online course to teach skills to your followers
- Sell eBooks and PDF guides
- Offer exclusive paid video and audio content
- Sell membership to a private online community for your followers
- And much more!
Plus, there are lots of editing courses available on Whop - and resources on our blog to develop your video creation skills.
With Whop, you’ll find everything you need to get set up on YouTube and make money. Get started on your dream YouTube channel today.
YouTube dimensions FAQs
Are YouTube videos 1920x1080?
Yes, most horizontal videos on YouTube have a resolution of 1920x1080, commonly known as 1080p. You can use other resolutions, but 1080p is considered the best option, as it balances video quality with a reasonable file size.
Is YouTube 16x9 or 4x3?
It’s recommended for horizontal YouTube videos to have an aspect ratio of 16:9. Shorts are vertical and should aim for an aspect ratio of 9:16.
You can upload videos with an aspect ratio of 4:3 to YouTube. However, these videos aren’t optimized for the platform, and will have black bars along the side when played on desktop devices.
Can you tell the difference between 720p and 1080p on YouTube?
It depends on the device. Both resolutions provide HD playback, but 1080p offers a higher-quality image. The difference is particularly noticeable on larger screens. 1080p is the recommended resolution for YouTube videos.
As 1080p balances video quality and file size, you should aim to use this resolution wherever possible when making YouTube videos.