Learn how to create engaging tutorial videos that effectively teach skills and concepts. From planning and scripting to recording and editing, discover practical tips to connect with your audience and produce memorable content. Start making tutorials that viewers will love to revisit.
Key takeaways
- You can create professional tutorial videos with basic equipment like a smartphone, tripod, and good lighting.
- AI tools now handle scripts, voiceovers, and virtual presenters, dramatically reducing production time and effort.
- Simple editing techniques like clean cuts, extended frames, and visual callouts are more effective than complex effects.
Want to start making tutorial videos that people actually watch and use? You're in the right place. I know the thought of getting in front of a camera or recording your screen might feel overwhelming, but creating great tutorials is more about clear teaching than fancy production.
From mastering software to sharing your favorite recipes, effective tutorial videos follow a simple formula. We'll explore exactly how to structure your content, deliver instructions clearly, and keep your viewers hooked from start to finish.
Let's cut through the confusion and focus on what really matters - helping your audience learn. With the right approach, you'll be creating tutorials that viewers come back to again and again. Sounds good? Let's dive in.
What is a tutorial video?

A tutorial video is an instructional recording that demonstrates how to perform specific tasks, learn new skills, or understand concepts. It typically includes step-by-step guidance, visual demonstrations, and explanatory narration. Tutorial videos range from simple smartphone recordings to professionally produced content, covering software use, cooking, repairs, academic subjects, or creative skills.
How to make tutorial videos
Creating an effective tutorial video starts with a solid plan. Before you hit record, develop a clear strategy that outlines your goals, target audience, and key messages.
Take the time to think about your video’s purpose, the audience, and the information you want to convey. Let’s look at the other steps to consider before recording your footage:
Step 1: Find the right software and equipment
First, ensure you have the tools you need to record and edit your footage. Knowing your audience and the video’s purpose will help you determine the kind of hardware you need. For example, you could create a 30-second screencast with your computer or laptop's built-in camera and microphone. However, consider investing in more sophisticated recording equipment if it's a long presentation for hundreds of people.
Step 2: Get to know your target audience
Getting to know your target audience is key to making videos that really click. Think about who they are - their age, what they're into, the language they speak, where they live - it all affects how you connect with them.
For example, teaching kids about dinosaurs is a whole different ball game than teaching paleontology students. Same topic, totally different approach.
And remember, there's always more to learn about your viewers. When you keep digging deeper, you can make videos that don't just teach; they actually keep people watching and wanting more.
Pro tip: Just ask your audience what they want to learn about! There's no better way to know what content to make than hearing it straight from them.
Step 3: Write a storyboard and script
With your topic and audience identified, develop a storyboard that maps out your visual plan.
A well-crafted storyboard is essential to produce educational content that resonates with viewers while staying focused and engaging.
Don't feel pressured to create artistic masterpieces; simple visuals work perfectly well. Basic drawings and stick figures are fine for live recordings. For software demonstrations, screenshot sequences can effectively outline your planned visuals and narrative flow.
Next, develop your script.
Have a written guide, even if it’s a basic one. It increases efficiency and ensures you cover all key points while respecting everyone's time. Align your narration with the on-screen elements throughout your video.
Instead of starting from scratch, you could use an existing script template to craft your narrative in under 10 minutes.
Step 4: Record your video
Depending on the topic of your tutorial video, you may need to capture a recording of a process on your screen or demonstrate something in real life.
Recording your screen for a tutorial video
Screen recording is essential to creating a clear software tutorial. Before you start, close unnecessary applications and notifications to avoid distractions. Set your screen resolution to standard dimensions, like 1920x1080, for optimal viewing.
Move your cursor deliberately and pause briefly when highlighting important elements. If you’re demonstrating keyboard shortcuts, enable a keystroke visualizer so viewers can follow along. Record at a slightly slower pace than normal to ensure viewers can track each step.
For complex procedures, consider recording in segments rather than one continuous take. Keep your desktop clean and organized, with only relevant windows visible. Test your recording software's settings beforehand, ensuring it captures system audio and any specific application sounds needed for the tutorial.
Recording a tutorial video with a camera
Capturing video with your camera is similar to making screen recordings - you'll need a plan and the right setup, but there are some extra things to consider.
Here's what you need to know about making tutorial videos with camera footage:
- Keep the gear simple. I've made countless tutorials using just five basics: a phone, tripod, mounting clip, lights, and a clean backdrop.
- Lighting makes a huge difference. Natural light from windows can work perfectly, but if your space is dim, some basic video lights are worth the investment.
- Get close to your subject. Mount your phone on the tripod as near as you can while keeping everything in the frame. This trick will dramatically improve your audio quality when recording with a smartphone.
Step 5: Record your narration
Next comes recording your voiceover - the backbone of any tutorial video. Find a quiet room with minimal echo and test your microphone settings before starting. Speak clearly and at a steady pace, following your script but maintaining a natural, conversational tone. If you make mistakes, simply pause and re-record that section - you can edit these later.
Consider using a pop filter to reduce harsh sounds, and keep a consistent distance from your microphone throughout recording. Stay hydrated to avoid mouth clicks and take breaks between sections to maintain voice quality. Remember to record a few seconds of room tone (silent background noise) for the purpose of editing.
Step 6: Edit your video
You don't need to be a pro editor to create polished tutorial videos. The basics are actually quite straightforward.
Keep editing simple. In most video editing software, removing mistakes is as easy as selecting them with the playhead and clicking cut. Trim excess footage by dragging the clip ends.
Add your voiceover after you've cleaned up the video footage. You can easily sync everything up using clip speed adjustments and the extend frame feature.
Remember, clean, basic edits often look more professional than overly complex ones. The key is making smooth cuts and keeping your timing natural.
Make your tutorials more engaging with these editing techniques:
- Extend frame after splitting clips to freeze important moments, giving viewers more time to absorb key concepts.
- Speed up repetitive sections by adjusting clip speed - just drag the handles to set your desired pace.
- Draw attention to crucial details with visual elements like arrows, callouts, shapes, lower thirds, and sketch animations.
Step 7: Add a video intro
A video intro sets viewer expectations, but make sure to keep it short and focused. Your audience is here to learn, so deliver value quickly.
Start with a clear statement of your topic and what viewers will gain. That's all you need.
Creating intros is straightforward:
- Make space at the start of your timeline
- Browse your video editor's built-in templates or motion graphics
- Choose a simple, professional intro design
- Add it to the beginning of your project
Remember: The best intros get straight to the point and respect your viewer's time.
Step 8: Promote your video

After you’ve spent all that time preparing, recording, and editing your video, you’re probably going to want to share it with the world.
Posting your videos online, sharing them on social media, and sending them to your friends, family, and colleagues are all great ways to promote your tutorial video. However, there are other ways to expand the reach of your videos and grow your audience.
Here’s a quick round-up of just some of the ways you can promote your instructional video:
- Create an engaging title, ideally one that’s optimized for search engines, and try adding relevant keywords to the video’s description.
- Promote the video on your social media with links and short clips.
- Share the video in forums related to your video’s topic, but be sure to explain why it’s relevant in your comment.
- Share the video with your email list and give some insight as to what went on behind the scenes.
- Include links to your new video in your past videos, both in the old video descriptions and on the videos themselves.
- Embed the video on your website or blog and write a post that either summarizes or expands on the topic.
Further reading: Best free video editing tools for creators
Using AI to make a tutorial video
Creating an AI tutorial video is pretty straightforward. Start with an AI-written script using something like ChatGPT or Claude. Think of it like having a smart writing partner who helps organize your thoughts.
For the voiceover, you don't need to worry about recording yourself anymore. Just feed your script into tools like ElevenLabs or Murf.ai, and they'll create a natural-sounding voice that doesn't have that robotic feel we used to get with AI voices.
The visual side is where things get really interesting. You can create a virtual presenter using Synthesia or D-ID - they'll look and sound just like a real person. Need custom images? DALL-E or Midjourney can whip those up for you. Tools like Pictory can help stitch everything together.
When you're combining everything, focus on making sure the voice matches the visuals perfectly. Add some AI-generated background music to give it that professional feel. Just remember, while AI does most of the heavy lifting, you'll want to review everything to make sure it flows naturally and makes sense for your audience. Keep it engaging, and you're good to go.
Practical tips to get started making tutorial videos

Here's your no-nonsense guide to making videos that engage viewers and get your message across clearly - no fancy equipment needed.
Plan your content
Don't just wing it - sketch out your main points first. Think about what trips people up and address those pain points head-on. Break down complex stuff into bite-sized chunks that won't overwhelm viewers. Real-world examples are gold. Learn how to master short-form content with Whop’s Content Academy.
Technical setup
Get your mic positioned right; about a hand's length from your mouth does the trick. Do a quick test recording to check everything sounds good. Keep your recording space clean and quiet, and ditch anything that might distract viewers. If you're showing your face, make sure you've got decent lighting so people can see you clearly.
Recording best practices
Talk like you're explaining things to a friend. Keep your mouse movements smooth and purposeful. Break things into smaller chunks instead of one massive take. It's easier on you and helps keep your energy up. Give viewers a moment to catch up after important steps. Remember, steady pacing beats rushing through content.
Post-production essentials
Clean up any obvious audio issues. Add timestamps so people can jump to the bits they need. Zoom in on important details that might be easy to miss. Consider adding captions - lots of people watch on mute. Don't overthink the editing - clean and clear beats fancy effects any day. Edit Hub on Whop is the perfect community to master your editing skills.
Publishing and promotion
Give your video a title that actually tells people what they'll learn. Make thumbnails that catch the eye but aren't clickbait. Share your stuff where your audience hangs out online. Jump into the comments - viewers often have great suggestions. Group related tutorials together to keep people learning.
Improve over time
Watch your viewer stats to see where people tune out. Ask what they want to learn next. Keep an eye on what's working and what isn't. Try new approaches, but stick with what your audience responds to. Build on your wins - when something works well, make note of why.
Tutorial video mistakes to avoid
Making tutorial videos isn't rocket science, but there are still some classic mistakes you'll want to avoid. Even if you've done your homework up to this point, it helps to know what trips people up.
Most folks run into issues like wonky audio, going too fast for viewers to follow, or having a messy screen that's distracting. Sometimes creators accidentally skip steps that seem super obvious to them but leave viewers scratching their heads.
Getting familiar with these common hiccups now means you can sidestep them and make better tutorials right from the get-go.
- Don't get hung up on fancy gear when you're just starting out. Focus on nailing the basics first - you can always upgrade your setup later.
- Perfect is the enemy of done. While it's tempting to obsess over every tiny detail, most viewers won't notice that stuff anyway. An engaging video that actually gets published beats a "perfect" one that never sees the light of day.
- Know who you're talking to - if you're making a video for complete beginners, don't throw in advanced jargon. If it's for pros, don't waste time explaining the basics.
- Break things down properly - instead of saying "edit your video," explain exactly which buttons to click and settings to use. Think about explaining it to someone who's never used the software before.
Now that you know the most common mistakes to avoid, you’re all set to create successful tutorial videos.
The most common types of tutorial videos
Tutorial videos are like digital teachers - they come in all shapes and sizes, just like real-world learning. Whether it's a quick one-minute microvideo showing you exactly how to fix that tech glitch or a full training session to level up your work skills, there's a perfect format out there for what you need.
Microvideos
Microvideos are concise educational clips that teach a single, focused concept efficiently. These bite-sized videos typically run under one minute and can range from professionally produced to casual recordings.
The term "microvideo" simply describes their short duration. Their streamlined format allows viewers to quickly grasp specific skills or information without getting bogged down in excessive detail. By zeroing in on one topic at a time, microvideos make learning more accessible and manageable.
Polished or informal, these brief videos excel at delivering targeted instruction that viewers can immediately understand and apply. Their concentrated nature helps prevent information overload while still effectively teaching the intended concept.
Microvideos are your go-to tool for quick demonstrations - perfect for walking through a new software feature or explaining straightforward processes. For more complex topics, consider creating a sequence of short videos that break down each component methodically.
Many instructors now favor this approach over lengthy videos. They find that brief clips maintain engagement while allowing learners to progress at their preferred pace. The format makes information more digestible and retention more likely.
While microvideos are particularly effective for skill-building, they are equally valuable for knowledge sharing and developing interpersonal capabilities.
How you can make money online with video content
Training videos
Training videos are a specialized form of instructional content that enhances employee skills and addresses workplace interpersonal dynamics essential for a productive environment.
Training videos specifically target job-related competencies and cover workplace requirements like compliance protocols and safety procedures.
Training videos often feature real employees demonstrating workplace scenarios, helping establish rapport between instructors and learners.
Visual elements like animations and graphics work just as well to make training videos pop. At the end of the day, you want content that helps your team level up their skills while building a workplace where everyone is excited to learn and grow.
Training videos are effective tools for employee development across onboarding, process updates, and skill maintenance. They're particularly valuable when demonstrating concepts that benefit from visual and interpersonal elements, enhancing information retention.
Explainer videos
Explainer videos are the TikTok version of PowerPoint - quick, punchy clips that nail the key points in just a few minutes.
Companies use these to demystify their products or services, often spicing things up with animations and voiceovers to keep eyes glued to the screen. No fancy bells and whistles required, though - it's all about getting the message across.
They magically turn potentially snooze-worthy tutorial info into binge-worthy content. Good explainer videos are like mini-movies that just happen to teach you something useful along the way.
And since they're perfect for sharing on social, these bite-sized explainers can reach way more people than traditional marketing, without emptying your wallet.
Explainer videos are a great way to show people what a product or service is all about. They break down how things work in a way that's easy to get. And once you've got a solid video, you can use it pretty much everywhere.
Want to grab attention on social media? Your explainer video's got you covered. Need something catchy for your website's homepage? These videos are basically your product's highlight reel, showing off what makes it special to anyone who's curious.
Lectures or presentations
Recording your lecture or presentation is a simple way to expand your reach and help people learn better. When viewers can pause, rewind, and review tricky parts at their own speed, they're more likely to grasp what you're teaching.
Making these videos is straightforward. Start with slides and voice recording, or if you're feeling ambitious, grab a camera and film yourself giving the presentation, TED Talk-style.
It's all about making your content more accessible and letting people learn in whatever way works best for them. Whether they need to replay something once or ten times, they can do it on their own terms.
There are a few reasons you might want to record a lecture or presentation. First, you might want to make it available to a wider audience or be able to share it with people who couldn’t attend the live event. Second, you might want to review your content and presenting style later.
Screencasts
Screencasts let you capture your screen to teach or explain things visually. Think of them like recording your computer screen while walking someone through a process. You could even make a screencast about how to create screencasts!
While they're not a distinct category of training video, screencasts work great for all kinds of instructional content. They're typically quick, casual recordings meant for smaller groups rather than mass audiences.
What makes screencasts great is how easily you can record your screen to answer questions or explain concepts on the fly. Since they're so simple to make without fancy production, many screencasts are "one-and-done" videos that serve their purpose and then fade away.
But screencasts can definitely provide lasting value too. A well-made software tutorial screencast might stay relevant for months or years, perfect for getting new team members up to speed or showing customers the ropes.
Need to share a quick visual explanation? Screencasts work perfectly when you're teaching something to a small group without needing high production value. They're ideal for walking through solutions or demonstrating concepts right from your screen.
Common use cases for video tutorials
How to make piano tutorial videos
Making piano tutorials starts with setting up your camera above the keyboard - mount it on a tripod or overhead rig to capture every finger movement clearly.
For trickier pieces, split-screen is your friend. Show your hands on one side and sheet music on the other. Just make sure you've got good lighting to avoid shadows on the keys.
Sound-wise, digital pianos can plug straight in. For acoustics, use a decent mic. Always do a quick sound check first.
Break down the hard parts into bite-sized chunks. Start slower than you think you need to. And don't just play; explain what your hands are doing. Your viewers can see the notes, but they need to understand the technique behind them.
How to make YouTube tutorial videos
Let's get started with the basics of making YouTube tutorials. Set up your recording space first. Good lighting and a clean background make a huge difference. For screen recordings, use software like OBS or Screencast-O-Matic to capture your content clearly.
Write a quick outline before you start. It keeps you on track and helps avoid those awkward pauses. For your voiceover, find a quiet room and use whatever mic you have. Even phone earbuds can work when you're starting out.
Record your screen at 1080p if possible, and move your mouse smoothly when showing steps. Break complex processes into smaller chunks - nobody wants to rewatch a 10-minute section just to find one step.
Edit out the mistakes and dead air, but don't stress about making it perfect. Add simple transitions between sections and maybe some background music at 10-15% volume. Keep your intro short - viewers came for the tutorial, not a light show.
Remember to speak at a steady pace and actually test your tutorial steps before uploading. Nothing worse than realizing you skipped something important after it's published.
Do YouTube shorts really make money?
How to make makeup tutorial videos
Good lighting is essential for makeup tutorials - set up a ring light or face two softboxes toward you to avoid harsh shadows. Position your camera slightly above eye level and make sure it's focused on your entire face.
Film in natural daylight when possible and position yourself facing the window. Keep your background clean and uncluttered so viewers focus on the makeup application.
Get close-up shots of detailed work like eyeliner or lipstick application. Consider recording these sections separately with a macro lens or zoomed-in camera.
Show all your products at the start but keep them organized off-camera. Mention product names clearly as you use them. Break down complex techniques step by step - things that seem obvious to you might not be to beginners.
Film sections where you need both hands with a head-mounted camera or stable tripod. Keep a mirror handy to check your work while staying in frame. Always test your camera settings and lighting with the actual products you'll use - some foundations or highlighters can look different on camera.
Best video tutorial examples
Want to create awesome video tutorials? The best ones keep it real with clear voiceovers, sharp visuals, and bite-sized lessons that don't put viewers to sleep. Whether you're teaching tech skills or cooking recipes, great tutorials make complex stuff feel easy to grasp.
3Blue1Brown Mathematics
Grant Sanderson's calculus and linear algebra series uses custom animations to visualize complex math concepts. Dynamic demonstrations build intuitive understanding before formal definitions. The custom animation software reveals mathematical relationships that static images cannot capture.
The series excels through its methodical progression from fundamental principles to advanced applications, leveraging visual storytelling to illuminate mathematical proofs. Each video carefully deconstructs complex theorems into digestible components while maintaining mathematical rigor. The integration of geometric interpretations with algebraic formalism helps students grasp both the computational mechanics and underlying conceptual framework of advanced mathematics.
Khan Academy Chemistry
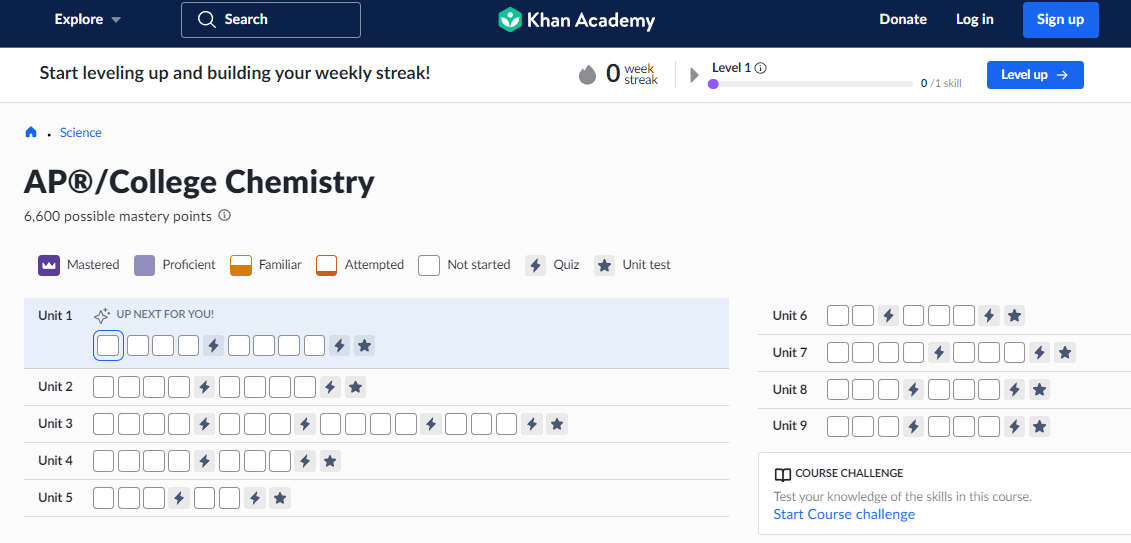
Sal Khan's early tutorials revolutionized online education through digital blackboard instruction and conversational explanations. His step-by-step problem-solving and willingness to show mistakes make complex topics approachable. The simple visuals maintain focus on concept development.
Khan Academy's chemistry curriculum builds on this foundation by breaking down abstract molecular concepts into digestible segments.
The platform combines interactive molecular visualizations, practice problems, and mastery challenges to reinforce understanding. Regular knowledge checks and personalized learning paths ensure students grasp fundamental principles before advancing to more complex chemical theories and reactions.
Ben Eater's Computer Science
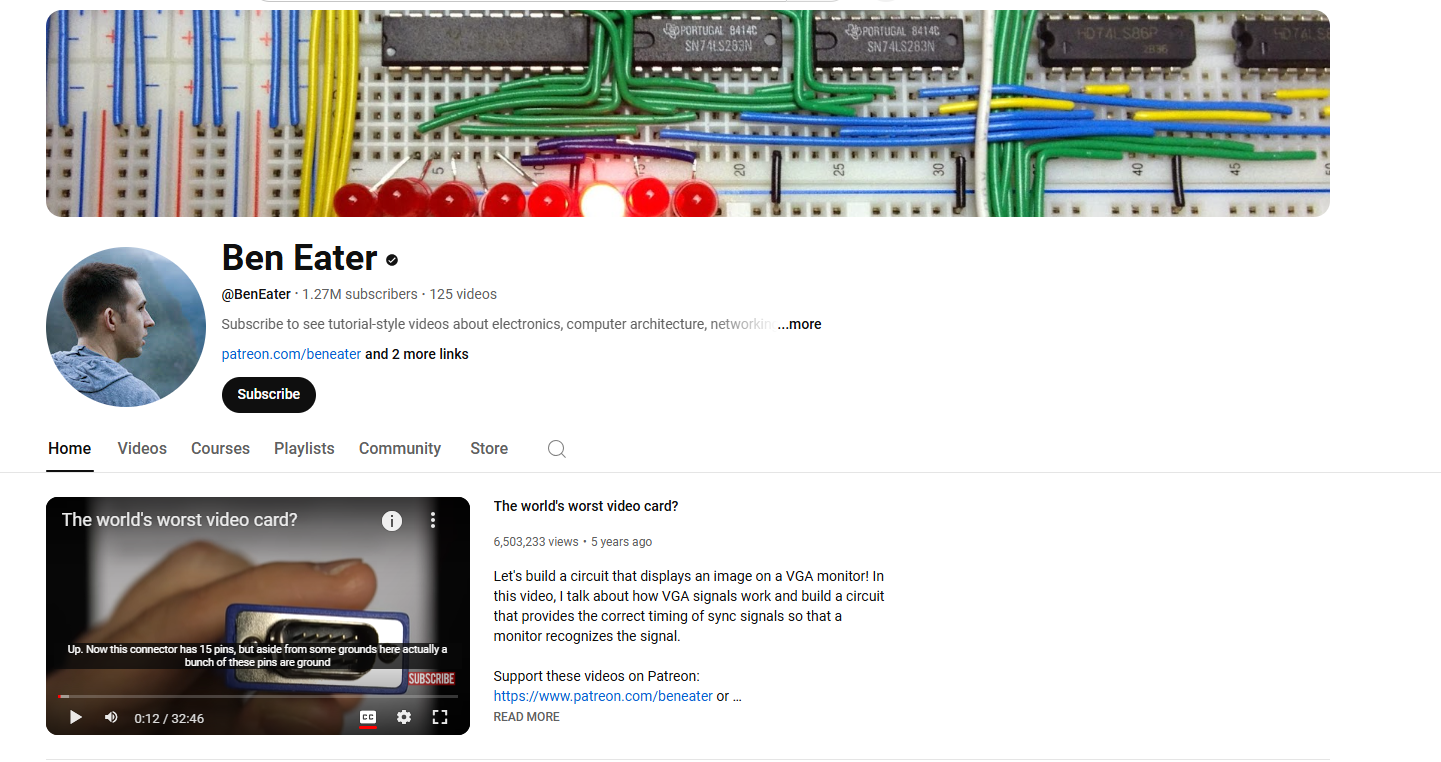
These tutorials break down computing fundamentals by building circuits from basic components. The 8-bit computer series demonstrates component functions through careful testing. A methodical approach and clear camera work make hardware concepts accessible.
Eater's project-based approach demystifies complex computing concepts by showing how logic gates, memory, and processors work at the transistor level. By documenting each step in circuit assembly and troubleshooting, students gain practical experience with digital electronics while understanding the theoretical foundations of modern computers.
The series emphasizes hands-on learning through breadboarding, oscilloscope measurements, and systematic debugging techniques.
Binging with Babish Cooking
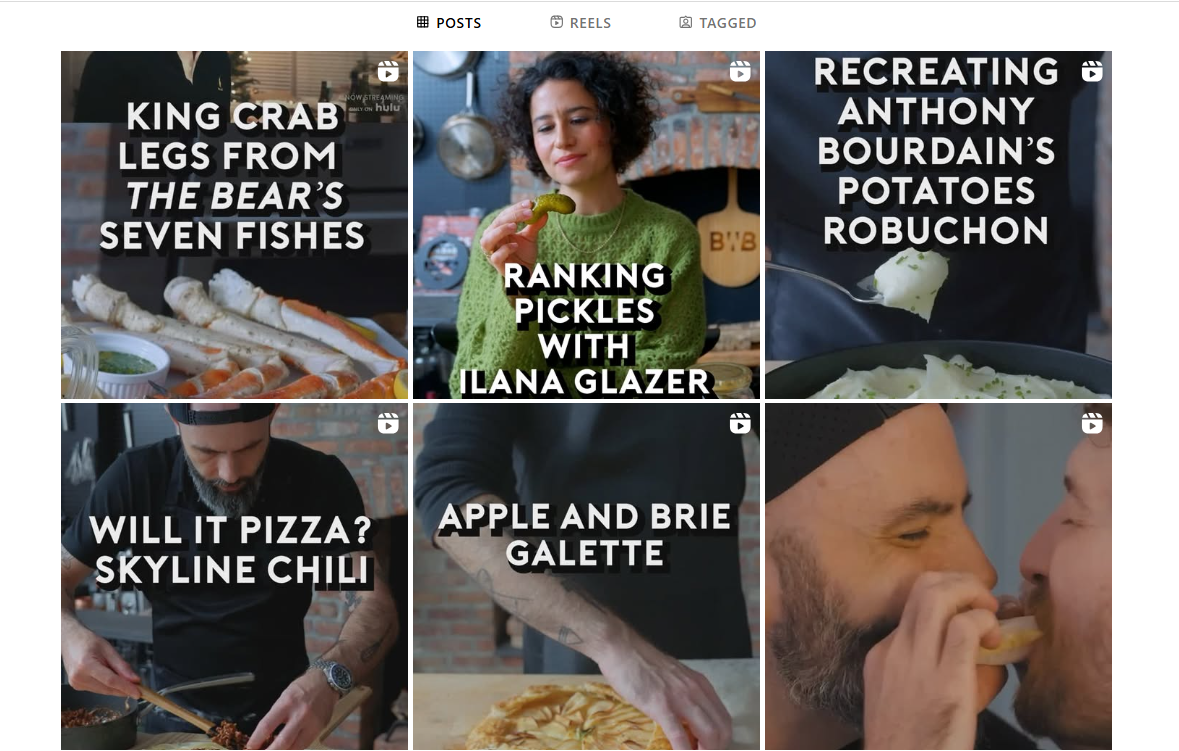
Andrew Rea combines entertainment with technical cooking instruction. Consistent camera angles, clear audio, and detailed ingredient lists make recipes reproducible. He focuses on fundamental techniques while maintaining professional standards.
His channel's blend of pop culture and culinary expertise attracts viewers beyond traditional cooking audiences. Each episode breaks down complex recipes into manageable steps, explaining the science and reasoning behind cooking methods while recreating iconic dishes from films, TV shows, and video games.
This approach demystifies professional techniques and empowers home cooks to experiment with confidence.
Code with Mosh Programming
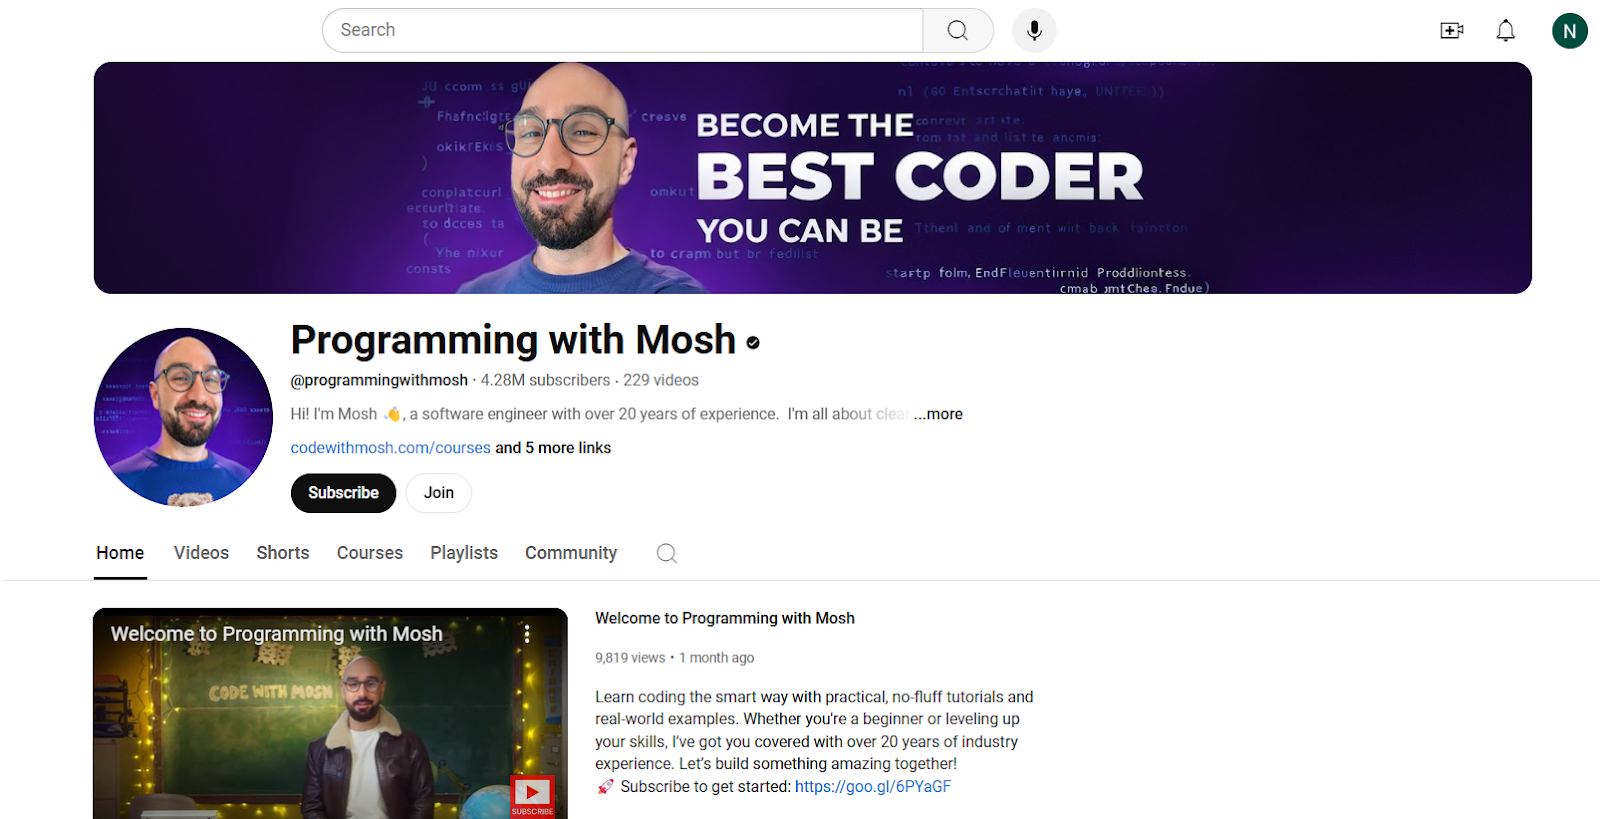
Code with Mosh's curriculum integrates industry-standard development tools and workflows, preparing students for real software engineering roles. The hands-on approach combines video lectures, coding challenges, and project-based assessments to reinforce core concepts while building a professional portfolio. Emphasis on clean code architecture and testing methodologies ensures students develop maintainable, scalable solutions.
Sell tutorial videos on Whop
Now that you know how to create the perfect tutorial videos, it’s time to sell your expertise online. Whop is where it's happening. This powerhouse platform lets you turn your knowledge into cash by selling all kinds of digital products.
Got killer trading strategies? Launch a crypto course. Know the ins and outs of building an online store? Share your ecommerce secrets. From fitness programs to business mentoring, if you can teach it, you can sell it on Whop.
Getting started is a breeze. You can set up shop in minutes - just upload your content, set your prices, and you're good to go. Whop handles all the boring stuff like payments and delivery, so you can focus on creating awesome content.
The platform is packed with people ready to learn what you know. Plus, it's super secure for both sellers and buyers. The review system keeps everyone honest and helps great content rise to the top.
Whether you're dropping knowledge about Instagram marketing, sharing stock market tips, or teaching people how to crush it in personal fitness, Whop gives you everything you need to start selling. No tech headaches, no payment hassles - just a straightforward way to turn your expertise into income.
Tons of creators are already crushing it on the platform across all sorts of niches. If you've got valuable knowledge to share, why not join them? The digital product game is booming, and Whop makes it easier than ever to get in on the action.
Sell your tutorials or instructional videos on Whop as part of a course or community.
FAQs
How long should tutorial videos be?
Research suggests that viewers generally prefer shorter videos, between 1 and 6 minutes long. However, longer videos of up to 20 minutes may be more effective for certain topics and audiences such as complex technical concepts, historical events, or scientific theories.
What equipment do I need to make tutorial videos?
You don’t need any professional equipment to create professional-looking and effective tutorial videos. To get started, all you need is a computer, a camera, and a microphone - in fact, your computer’s webcam and built-in microphone are usually good enough for most tutorial videos.
How to make tutorial videos on Windows 10?
Record your screen using Xbox Game Bar (Win+G) or OBS Studio. Connect a microphone, demonstrate your tutorial content, and capture both screen and audio. Edit the footage using OpenShot or VSDC, then save as MP4 for sharing.


