Webhooks allow you to relay information from one place to another, and you can even use them in your whop. Find out how in this guide.
Key takeaways
- The Webhooks app lets you automatically relay posts from third-party services like GitHub, RSS feeds, and ecommerce platforms to your whop.
- You can send manual webhook messages using a simple Python script with username and content parameters after generating a webhook URL.
- Never share your webhook URL publicly since anyone with access can post unwanted content to your channel.
The Webhooks app is one of the most powerful Whop apps out there - whether you want to get automatic posts from news outlets or post manual webhook messages yourself, the Webhooks app is what you need.
In this guide, we’re going to remember what a Whop app is, take a look at the Webhooks app, how you can add it to your whop, how you can use it, and even how you can send manual messages by using scripts.
What is a Whop app?
Let’s think of a modular digital platform - a whop, to be exact. When you first create your whop, it will be a blank canvas waiting to be designed. Since it won’t have any modules, or “apps”, it will be unusable - until you start adding some.
Wouldn’t it be cool if you could swap, add, or remove features from the platforms you use every day? Maybe you would want to give your course students a way to search a job board, or sell ebooks to your followers.
Well, this is where Whop comes in. With Whop, you can create an internet hub (known as a whop) where you decide which features it has.
There are a lot of apps on Whop that you can use to create combinations, and all of them are free to add, swap, or remove. One of those powerful apps is the Webhook app, which is the focus of this guide.
Let’s take a look at what the Webhook app is.
What is the Webhooks app on Whop?
The Webhooks app is a way to relay webhook posts to your whop. You can think of webhooks as a courier between two people.
One writes a letter and gives it to the webhook, and it delivers the letter to the receiver. Of course, this is a super simplified explanation of webhooks - they’re pretty complicated when compared to a simple courier service.
But don’t worry, because no matter how complicated the concept of webhooks is, you can use the service super easily thanks to the Webhook app.
Using the Webhooks app
Webhook apps can be used for multiple purposes, but if you’re not going to manually post webhooks, which you can do, you’re somewhat limited by the services that do provide webhook posts.
Some of those services include GitHub, Zendesk, Zapier, and more. No matter what kind of service or manual posting you’re going to use, let’s see some example uses of the Webhooks app:
- Announcements: Since you can send custom messages manually to the webhooks, you can use the app as an announcement channel. Of course, using the Webhooks app is a good way to publish announcements, but the Forums app might be better.
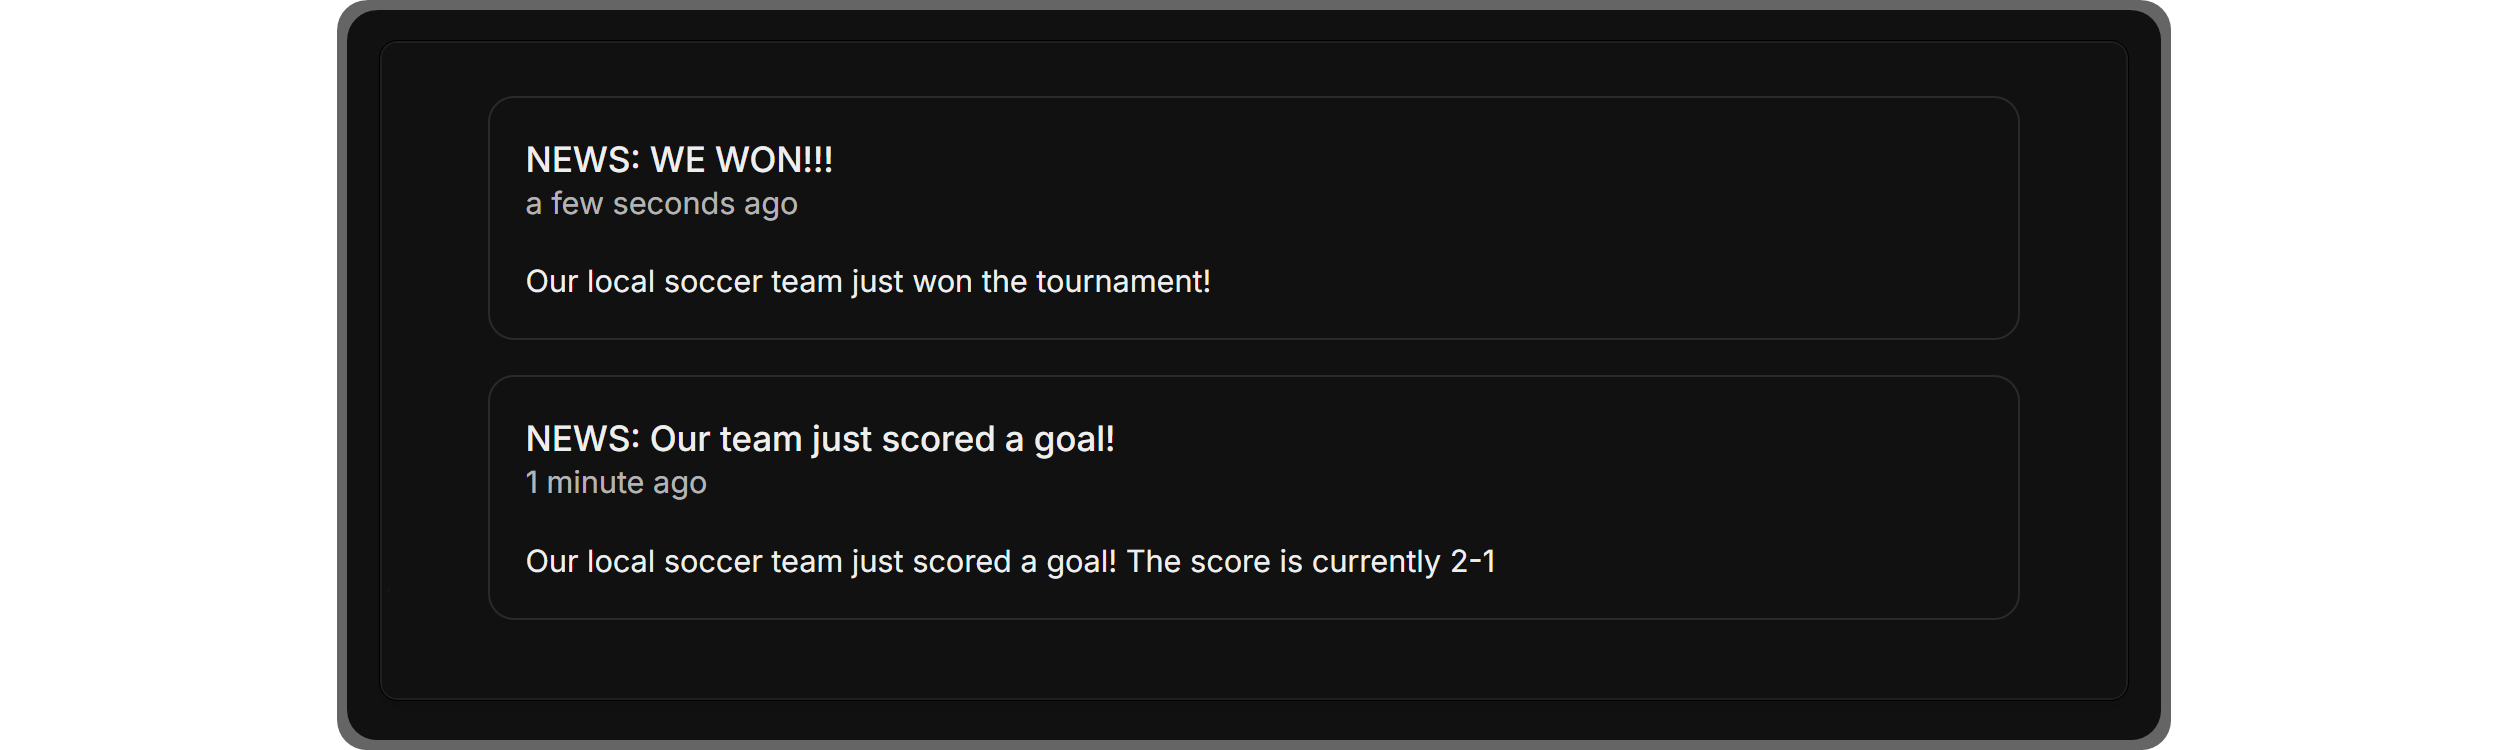
- Following Third-Party Updates: A lot of media outlets use RSS feeds that can be turned into webhook posts. Let’s say you have a whop for Star Wars fans - you could connect the StarWars.com blog’s RSS feed to your webhook and get updates for each post.
- News: Just like media outlets, many news channels also provide RSS feeds that can help your whop stay up to date with relevant topics.
- Patch Notes: If you’re making changes to your whop or your whop is about a software/game/platform that gets patches, you might want to share the patch notes with your members using the Webhooks app.
- Ecommerce and CRM Activity: If you’re running an ecommerce platform, it might be super helpful to use a webhook connection to get updates about actions. This will allow you and your team to stay synced.
How to add the Webhooks app to your whop
Adding the Webhooks app to your whop is as easy as adding any other app. But you have to make sure you have a whop to begin with.
If you don’t have one, we suggest you take a look at our How to create your own whop guide to see how you can create one in under 5 minutes.
If you do have a whop ready, let’s see how you can add the app to your whop:
- Click the App store button to go to the Whop App Store
- Search for the Webhooks app using the search bar in the App Store and click the app's Add button
- Select which products should be able to access the app and click Done
Adding the Webhooks app to your whop was that easy. Let's take a look at how you can actually use the app in the next section.
Using the Webhooks app
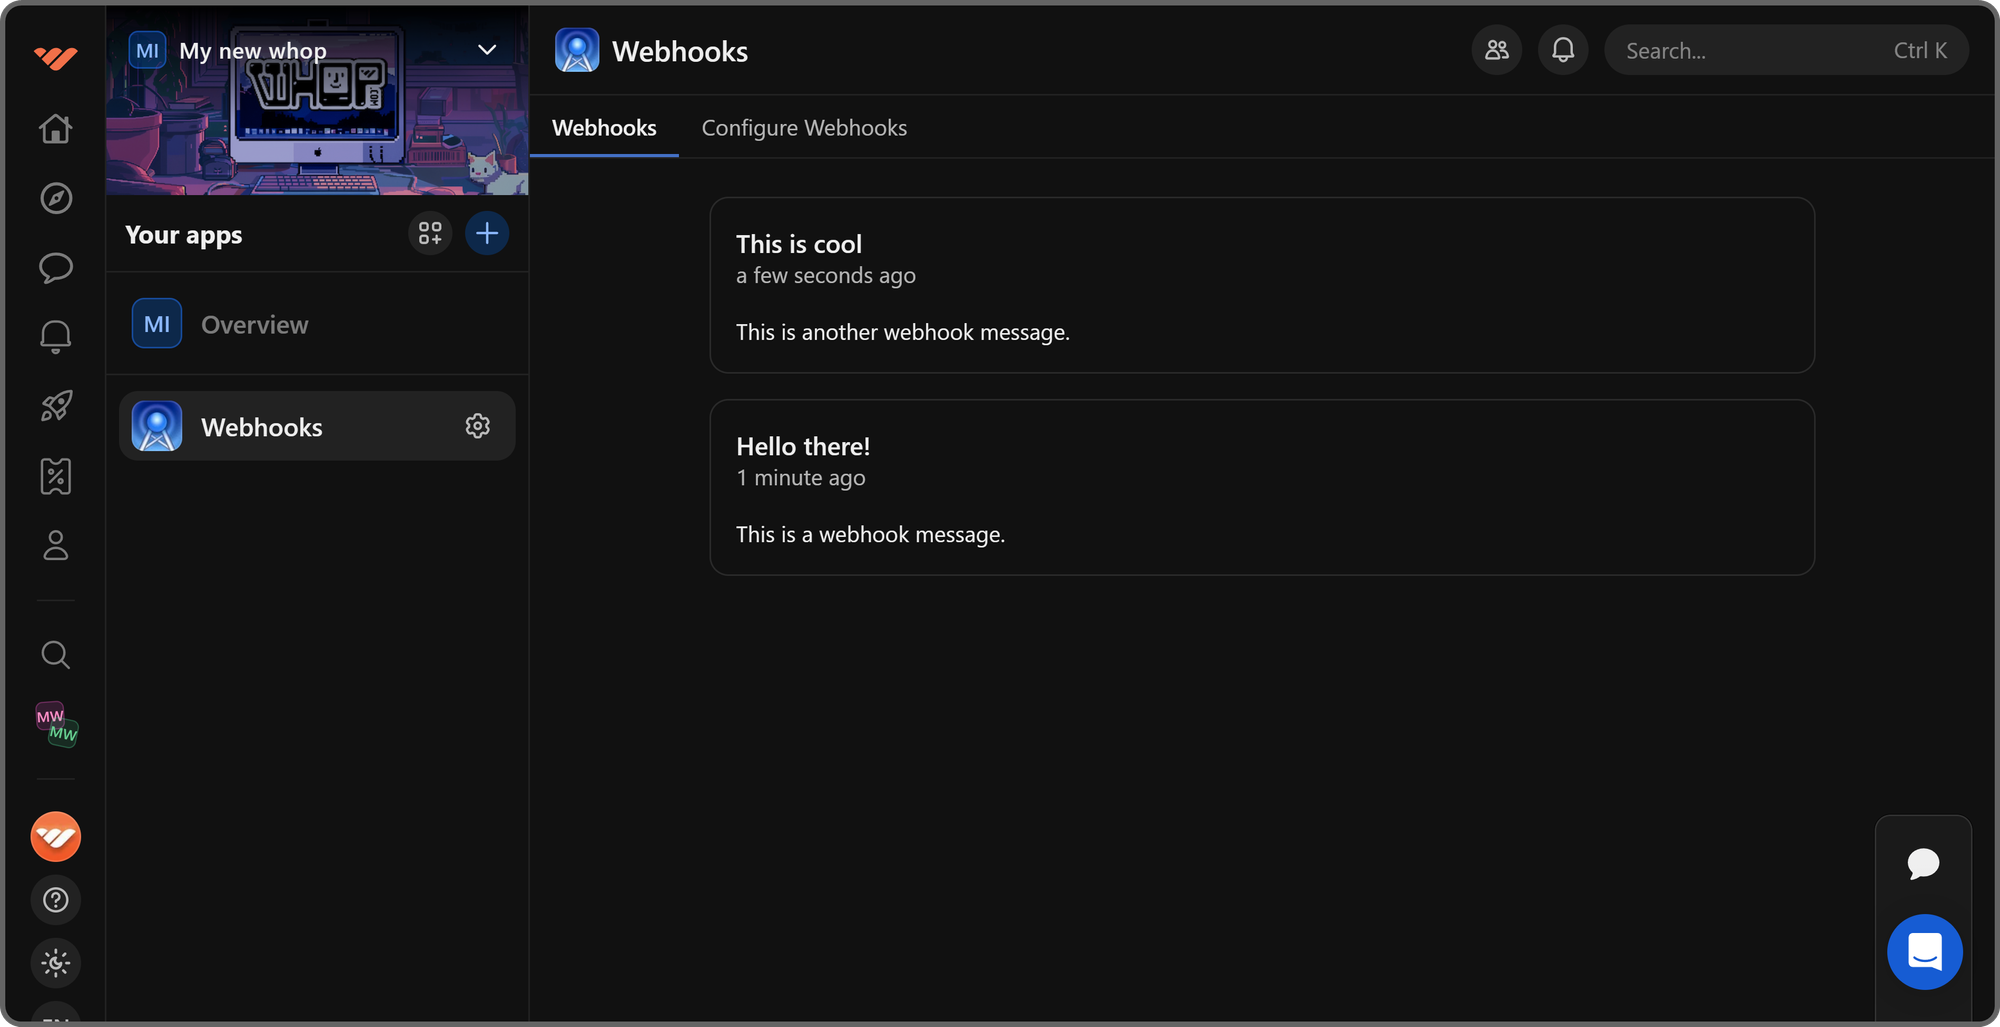
After adding the Webhooks app to your whop, you'll see its regular preview. To be able to get a webhook URL and use it, you have to click the Configure Webhooks button at the top left of the app to go to its admin view.
When you first take a look at the admin view of the Webhooks app, you’ll see a single button, which is all you need. The button is labeled Generate and copy - clicking on it will create a webhook URL for you.
When a service is trying to make a post request, which means sending a message, it will require a webhook URL to send the post request to.
After clicking the Generate and copy button, the generated webhook URL will be copied to your clipboard so you can use it in the webhook service you’re going to utilize.
Now, if you’re not going to use a third-party service but send messages into the Webhooks app yourself, you can easily do so using a simple and short Python script. As you can see in the script below, we’re using the username and content keys to determine the contents of the message.
After making sure to replace your webhook URL part with the URL that you got using the Generate and copy button, let’s run the script to send a test message to the app.
import requests

webhook_url = 'your webhook URL'
message = {
    'username': 'The title of the webhook message',
    'content': 'The content of the webhook message',
}

response = requests.post(webhook_url, json=message)

if response.status_code == 200:
    print('Message sent successfully!')
else:
    print('Failed to send message:', response.status_code, response.text)
You can run this script by saving it with a .py extension on a text editor and then using the cmd/terminal to run the py filename.py command. If the script runs successfully, you’re going to see a “Message sent successfully!” message, and if not, “Failed to send message.”
Important note: DO NOT share the webhook URL you generate in the Webhooks app since as long as someone has the URL, they can send all sorts of unwanted material to the app.
Monetize your whop and start earning today
Now you know one of the latest additions to the Whop apps - great job for keeping up! Now, it’s time to take the next step and learn more by joining Whop University and checking out our other comprehensive guides.
Thousands of creators have been running their own monetized whops to generate income and create their dream digital platform, and it has never been easier.
By utilizing features like 24/7 support, advanced analytics, and more, you can create your dream platform and start earning. Sign up to Whop today.