Midjourney is a powerful AI tool that has changed the way we create and consume art. Read this guide to understand what Midjourney is, how it works, and how you can use it.
Key takeaways
- Midjourney works exclusively through Discord, requiring you to interact with its bot rather than a website.
- Use the /imagine command with a text prompt to generate four image variants you can upscale, modify, or redo.
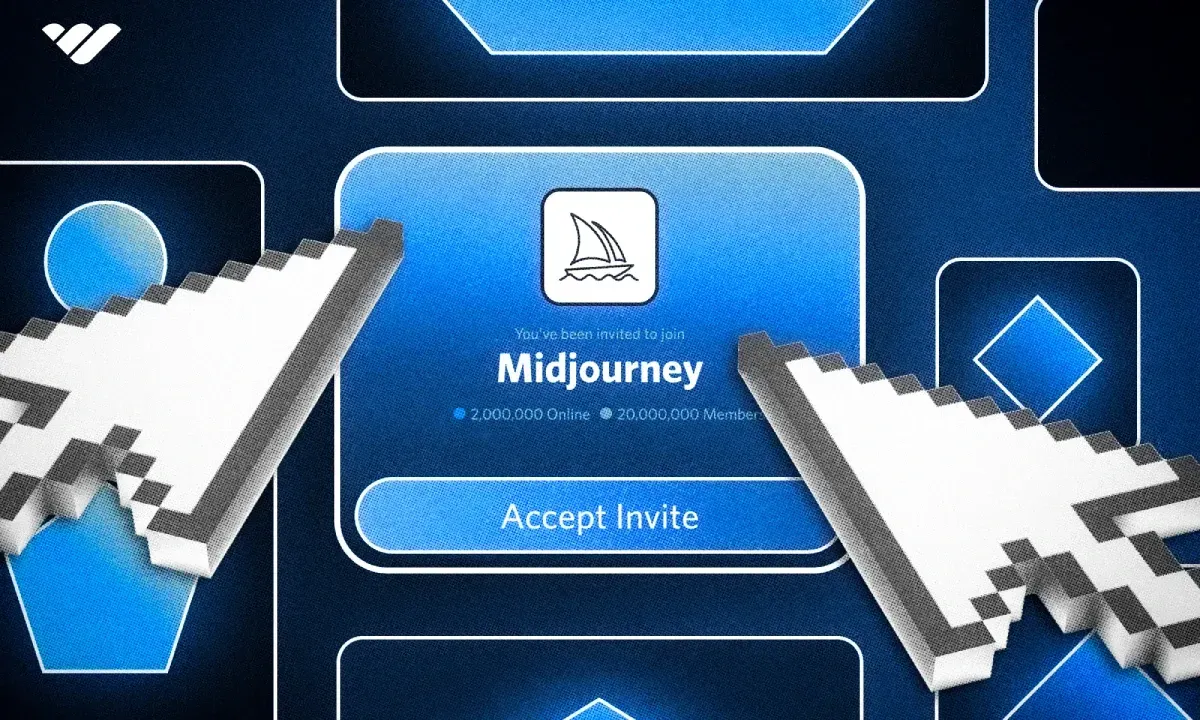
- You can invite the Midjourney bot to your own Discord server for more private image generation.
Midjourney is one of the most popular generative AIs out there, and it’s arguably the most well-known AI for image generation. But if you haven’t tried it yet, you probably didn’t know that Midjourney is used through Discord. Unlike other image generator AIs, you don’t use Midjourney from its website—you use it through the Midjourney Discord bot.
In this guide, we’ll show you how to join the Midjourney server and interact with the bot.
Jump ahead to:
- Joining the Midjourney Server and Using Midjourney
- Simple Guide to the Midjourney Bot
- Inviting the Bot to Your Own Server
- Earn Money with Your Discord Server
Joining the Midjourney Server and Using Midjourney
First of all, you don’t have to join the Midjourney server to use the AI, you can just find the bot (possibly in another server) and chat with it, or even better, invite it to your own server. Joining the Midjourney server is the easiest way to find the bot, though.
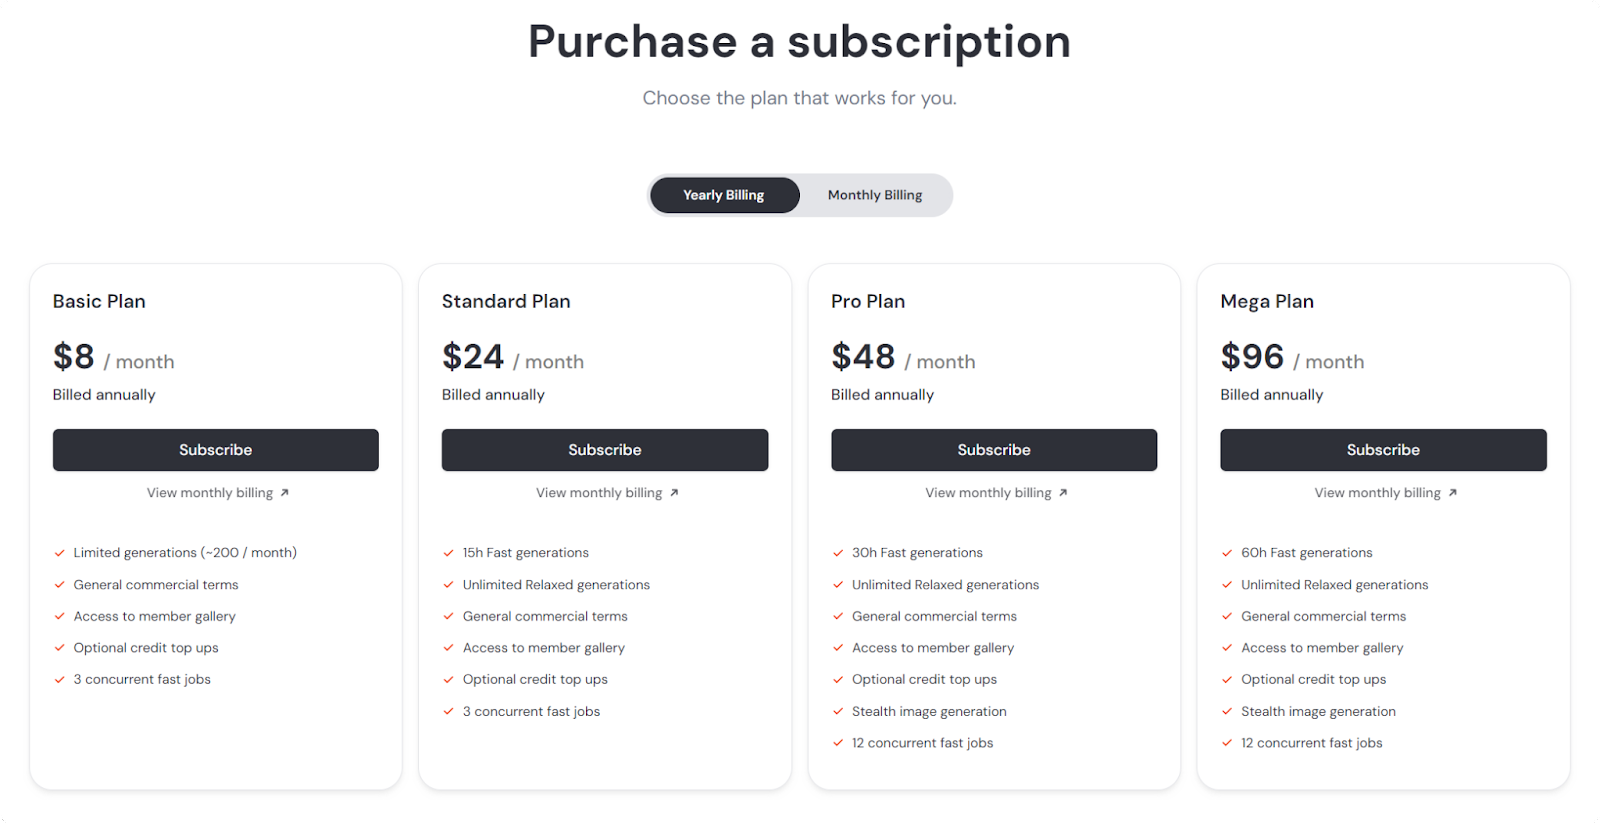
Another important step you have to remember is that you need a subscription to use the Midjourney bot. The service currently has four tiers: Basic, Standard, Pro, and Mega.
Let’s start with logging into your Discord account.
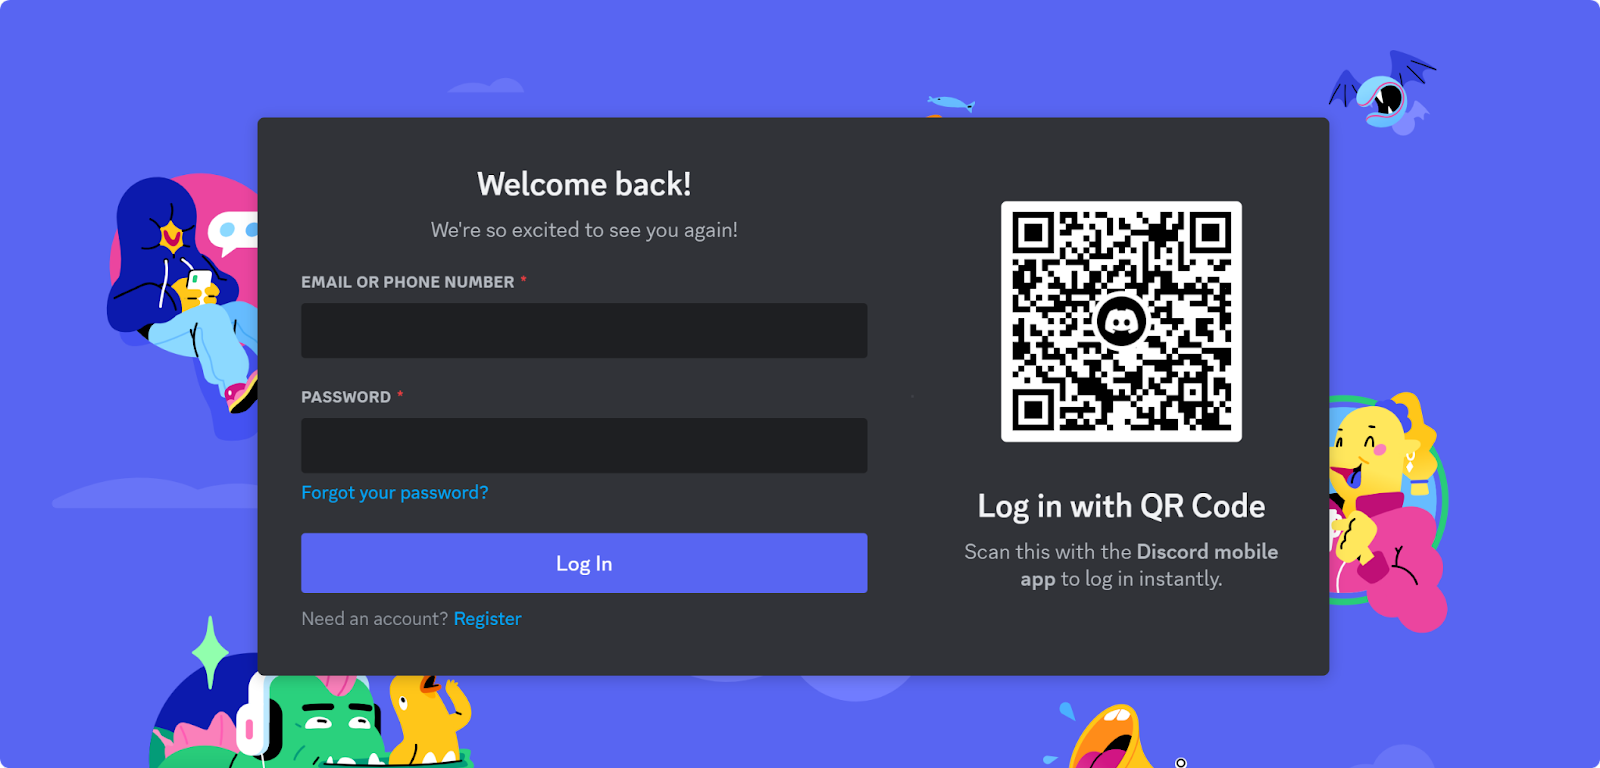
Log in to Your Discord Account
As we mentioned, Midjourney doesn’t have a website where you can go to create AI images. The whole system operates via the bot. To interact with the Midjourney Discord bot, you first need to log into Discord. If you don’t already have a Discord account, check out our guide on creating one.
Join the Midjourney Server
As you might know, users join a server by using 'invite links.' To join Midjourney’s Discord server, you need its invite link, but since it’s a public server, it’s really easy to find it. There are two basic ways you can get ahold of the invite link:
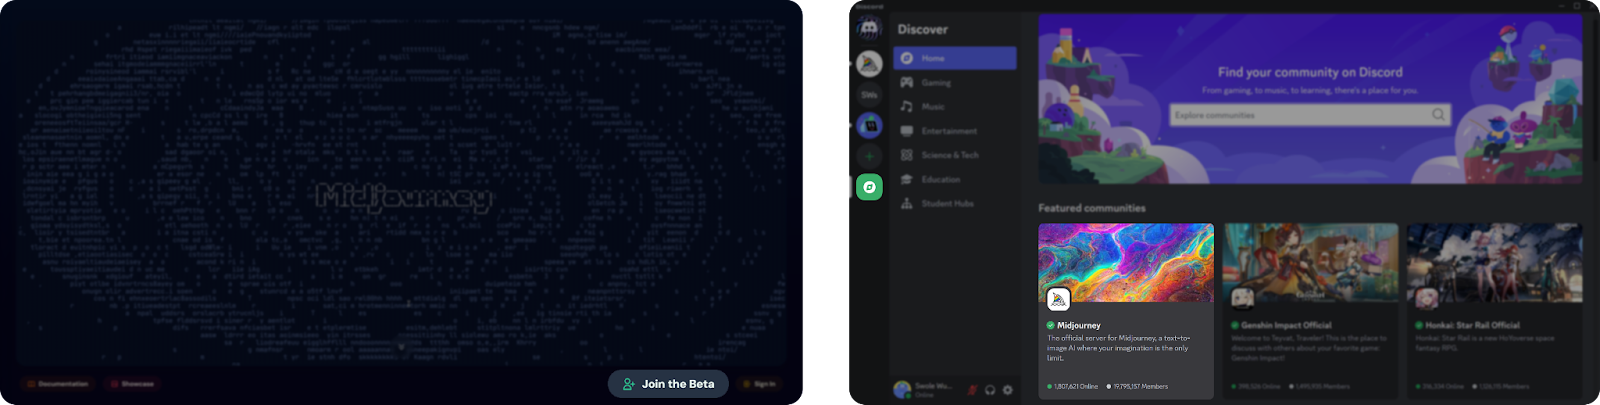
- Visit Midjourney.com and click on the “Join the Beta” button at the bottom right. This method will work most of the time since many companies or apps have their Discord linked to their website.
- Find the Midjourney Discord server using the Server Discovery. Since Midjourney is the Discord server with the most members, 19.9 million as of April 2024, it’s probably the number one suggestion when you visit Server Discovery.
Clicking on the Midjourney card will redirect you to the server. If you use this method to join the server, after redirecting you to the server, Discord will display a notification at the top of your screen saying that you’re currently in preview mode and you need to join the server to interact with it.
There will be a button saying “Join Midjourney” to the right, and clicking that will make you a fully-fledged member.
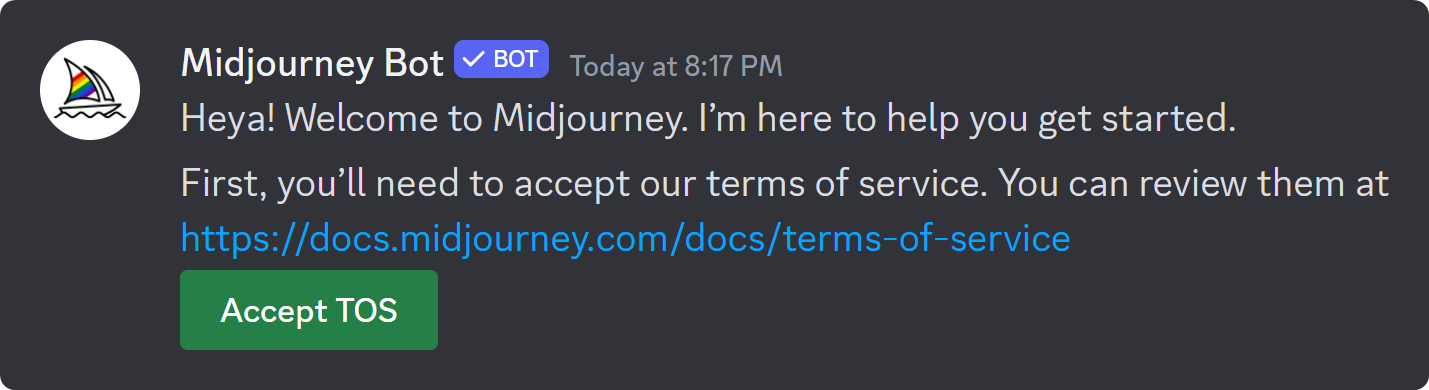
When you first join the server, you’ll receive a DM from the Midjourney Bot welcoming you to the server. After a few seconds, it will send another DM asking you to accept Midjourney’s Terms of Service.
After you accept the terms, the bot will proceed to ask you if you want a tutorial or not. If you select “Start Tutorial,” the bot will go over everything you need to know to be able to use the Midjourney bot.
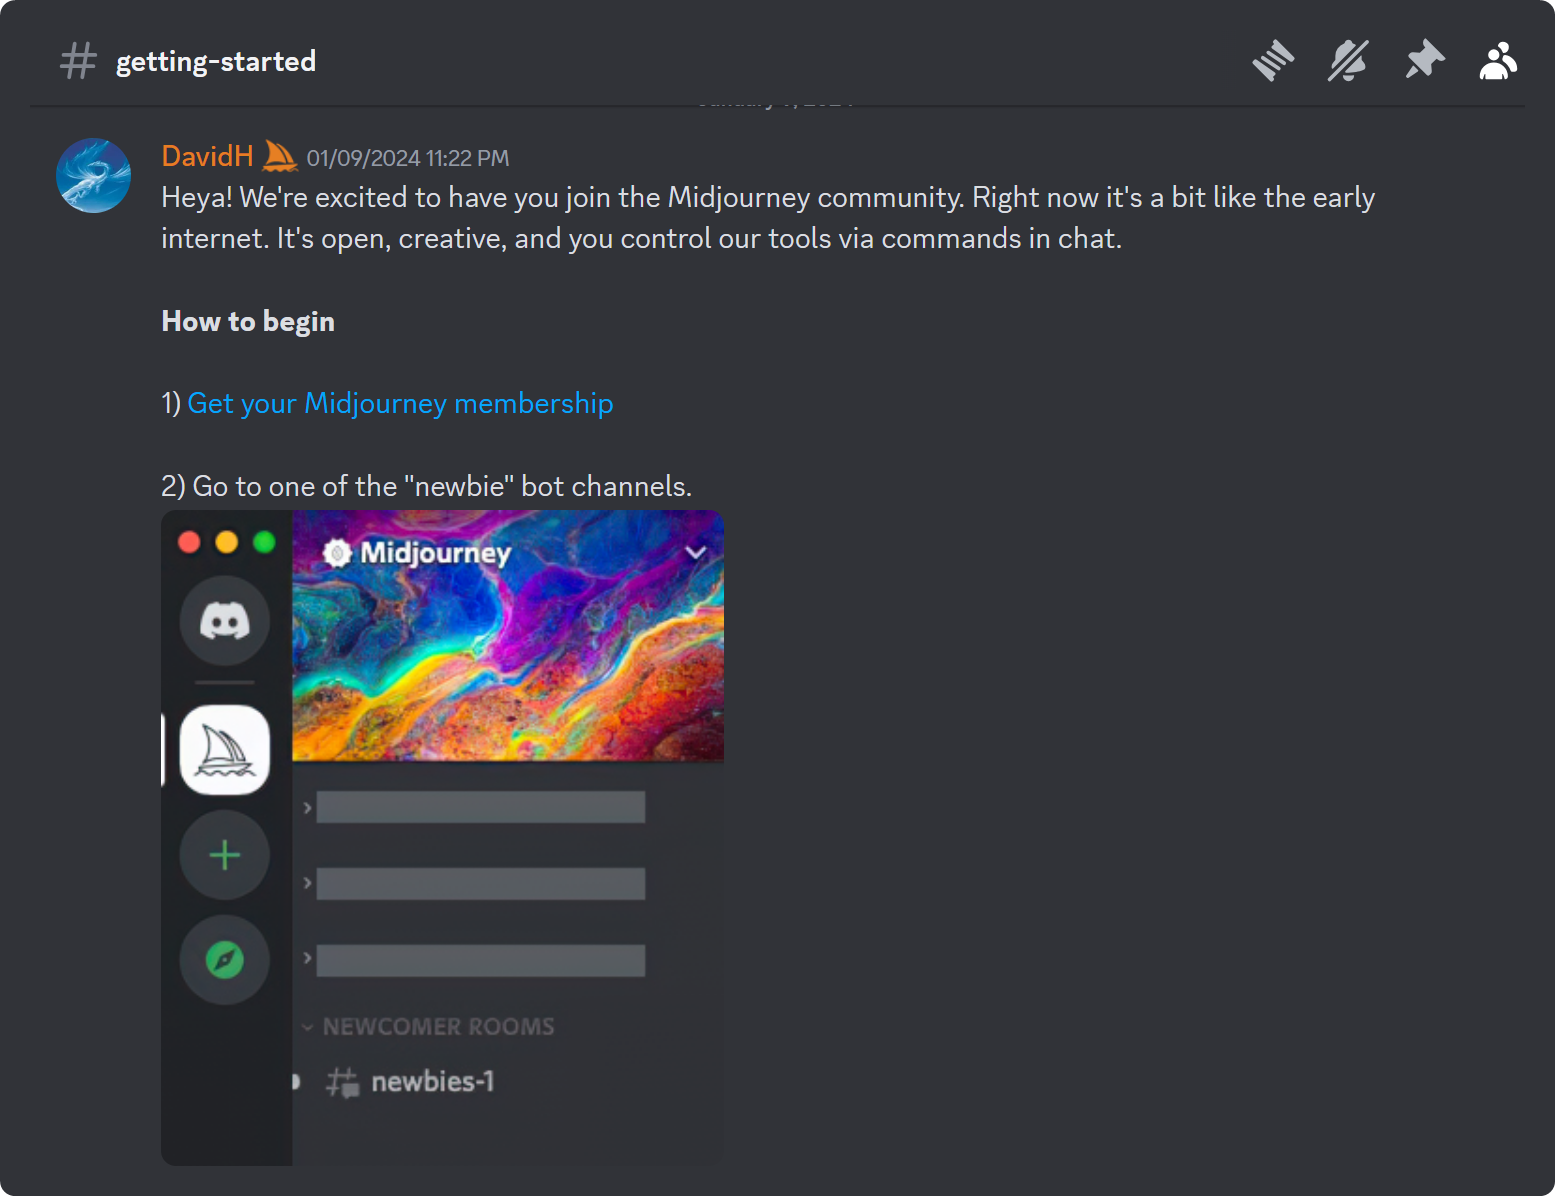
When you join the server, the first channel you will see is #getting-started. There, you can see a basic tutorial on using the bot.
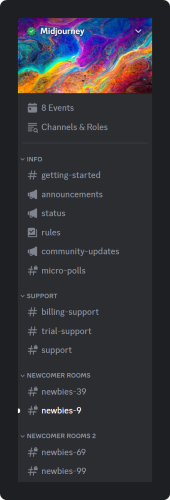
There are a lot of channels in the Midjourney Discord server, but you’re mostly going to use just a few. Here are the channels that you should take a look at:
- #announcements—Announcements about Midjourney
- #newbies—Channel reserved for people who are just starting out with Midjourney
- #prompt-chat—A dedicated channel for discussing Midjourney prompts
- #general—There are a lot of general channels, and they’re all designed for people using the bot
For now, you’re done! You have joined the server. But to be able to use the bot, you first need to subscribe to a Midjourney tier.
Subscribe to a Midjourney Plan
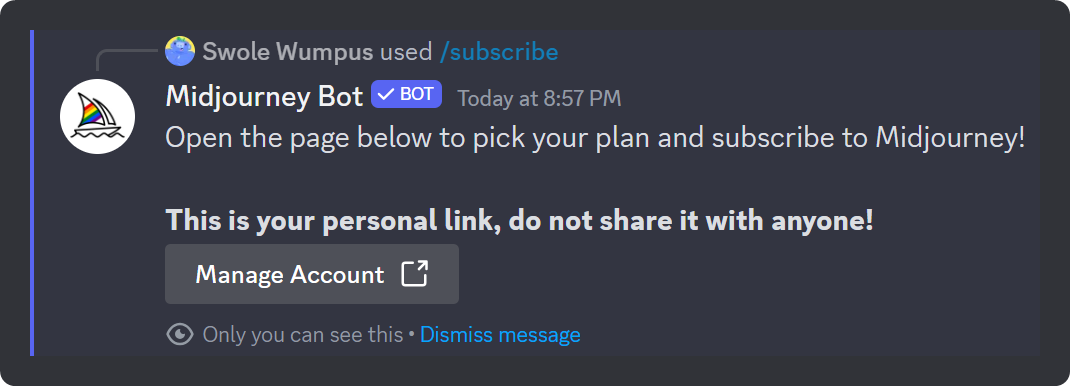
Before you can use the bot, you need a Midjourney subscription. To see if you have one, use the /subscribe slash command in Midjourney Bot’s DMs. The bot will respond with a special link to your account. Do not share this link with anyone.
When you visit the link, you’ll be greeted with all the tiers of Midjourney. The radio button at the top allows you to switch from annual to monthly billing. You should carefully examine each tier's offerings, but if you’re just starting out, the Basic Plan tier should be enough for you.
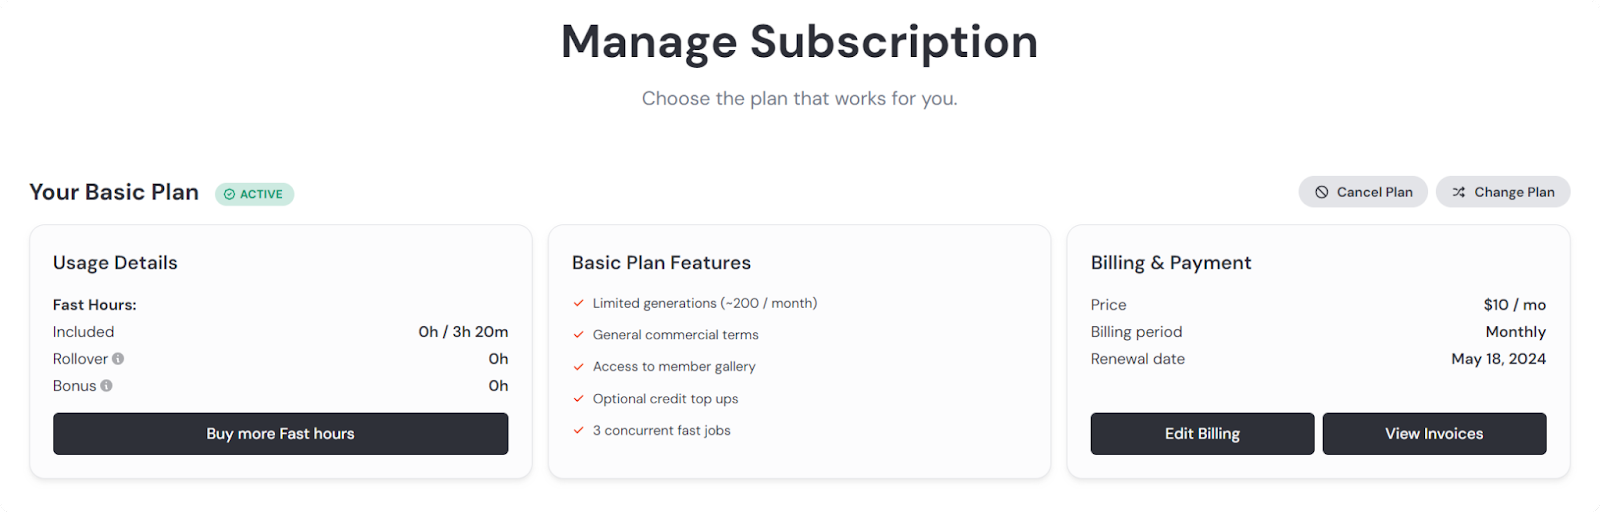
After clicking on the Subscribe button of your preferred tier, you will be directed to a payment page, and after completing it, you will be welcomed with your Manage Subscription page. There, you can see all the details of your account.
Now that we actually have a subscription, let’s move on to trying out the bot.
Trying Out the Midjourney Bot
You can try the bot on the Midjourney server itself or in the DMs of the Midjourney Bot. To try the bot on the server, you should visit one of the “newbie” channels. If you prefer to try it in DMs, navigate to the DMs of the Midjourney Bot—remember, it should’ve sent you a message when you first joined the server.
Before we start using the bot, let’s understand two things: commands and slash commands. Most bots require human interaction to do stuff, and they should be triggered by “commands.” An example of a command would be saying, “Hey Siri, tell me the time.” It will trigger Siri to tell you the time, the logic is the same with bots. You need to tell the bot what to do in order to use it.
Up until the release of slash commands, bots used prefix commands like !level, !help, etc. The prefixes were used to distinguish normal messages from bot commands. When slash commands were introduced in March 2021, bots finally got dedicated commands. When you type /help in a server, Discord will display all available bot commands (from all the bots in the server) that are related to “help.” Some slash commands have parameters that can be plain text, a selection, or files.
The command you’re most likely to use when interacting with the Midjourney bot is the /imagine command. The command has a single parameter: “prompt.” To use the command is easy - just type /imagine {your prompt} to a chat where you can interact with the bot (the Midjourney server or bot’s DMs).
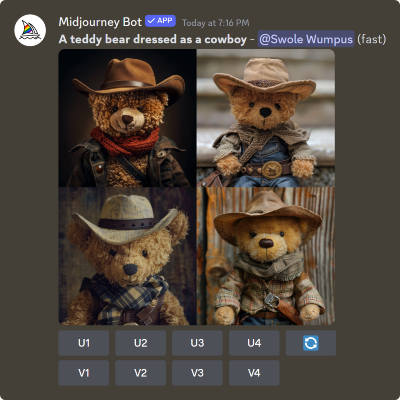
For our first try, let’s try creating a cow dressed as a cowboy riding a horse.
Amazing result! We especially like the first result. You can see that there are multiple buttons in the image the bot just created. Those will help you further work on the image.
Simple Guide to the Midjourney Bot
In this section, we’re going to go over the steps of using the bot. To learn more about everything that the bot is capable of, visit the Midjourney Documentation.
Midjourney Commands
- /blend—This command allows you to upload two to five images which the bot will blend together to create a final image. You can also input the desired dimensions of the final image via the dimensions parameter.
- /describe—This command works just like /imagine, but instead of asking for a prompt, the bot asks for an image that it will “describe” in its own terms.
- /imagine—This is the main command of the bot. It asks for a single parameter: prompt. The bot will use whatever you’ve written in your prompt to create four different images.
- /settings—This command will let you access the settings of the bot. You can change your default style, speed, version, and more in the settings. Since the setting system is kind of complex, you might want to take a look at its documentation.
- /shorten—This command will ask for a single parameter: prompt. When run, the command will do as its name says - it will shorten your prompt. This is helpful, especially when using long prompts.
Now we know the most common commands of Midjourney. Let’s move on to creating an actual image!
Using the Imagine command
The imagine command is the command that you are going to use the most, and lets you create an image using a text prompt. Although it’s very powerful, it’s also very easy to use. To use the imagine command, you should type /imagine until you see the command appear. Then, you should enter a prompt for your image.
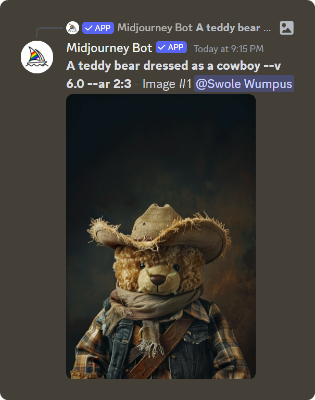
After you use the command by sending it, the Midjourney bot will generate the bot in front of you and will display four variants when it’s finished. As you see below, there are a few buttons. They will help you get to your final image. Let’s see what they are.
Select a Variant
After the bot sends the four different variants, you’ll see 9 buttons:
- Upscale (U1, U2, U3, U4): Clicking these buttons will select that image as your final image. If you like any of them, click the corresponding U button to upscale that image.
- Variants (V1, V2, V3, V4): Clicking these buttons will create variants of the corresponding image. Let’s say you like the first image but not quite. If you click the V1 button, the bot will create variants based on that image.
- Redo: If you don’t like any of the images you see, you can click the redo button for the bot to create four new images.
Let’s redo, generate new variants, and select an image to proceed.
Modify the Image
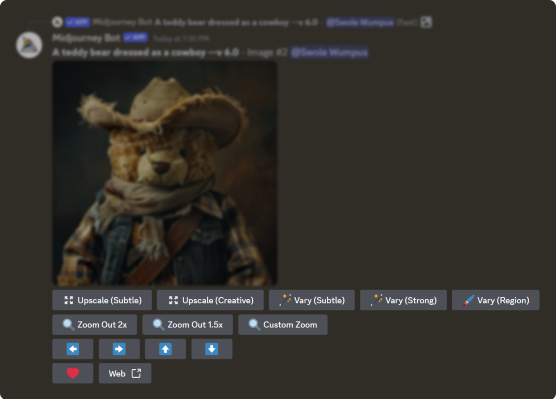
After you upscale an image, you’ll see that there are different buttons now. Let’s go over each and learn what they do:
- Upslace (Subtle): This button will double the resolution of your image but won’t add any new details.
- Upscale (Creative): This button will double the resolution of your image and will add new details, hence “creative.”
- Vary (Subtle): This button will subtly change the image, creating very similar variations.
- Vary (Strong): This button will strongly change the image, creating similar but noticeably different images.
- Vary (Region): This button will open a modal for you that lets you select a region on your image and change it with another prompt.
- Zoom Out 2x: This button will zoom out two times so you can fit more into the frame.
- Zoom Out 1.5x: This button will zoom out one and a half times so you can fit more into the frame.
- Custom Zoom: This button opens a model that prompts you to edit your original prompt, giving you a custom zoom amount.
- Arrows: These buttons will pan the canvas in the selected direction. For example, the default image dimensions are 1:1. If you press the upwards arrow, it will pan the canvas upwards, making the image 2:3. The new part will be generated based on the original image.
- Heart: This button will make you rate (or like) the image. While rating images doesn’t create a huge difference, if you’re one of the top 2000 raters that day, you will gain extra hours. These hours will add to your image creation hours. You can think of them as tokens.
- Web: This button will open the image on the Midjourney website.
Inviting the Bot to Your Own Server
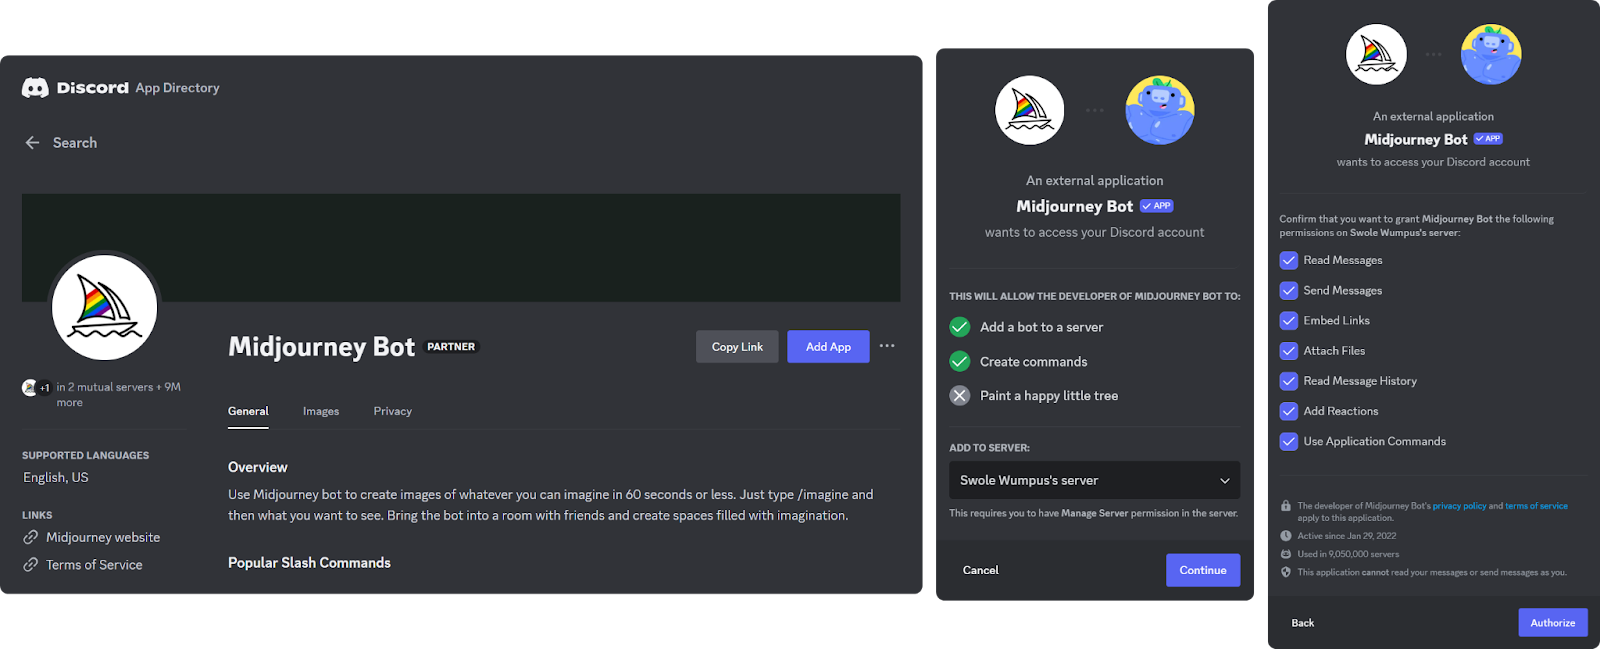
You now know how you can join the Midjourney Discord server and use its bot. As we mentioned before, the actual tool that makes images for you is the Discord bot. And since it’s a bot, you can invite it to your own server!
To invite the bot to your server, click this link to view the Midjourney Bot’s App Directory page. There, you’ll be able to see the Add App button. Clicking it will open the window where you’ll select which server you want to invite the bot to. After confirming it, Discord will ask you to confirm all the permissions the bot requests. If you’re comfortable with all of them, click Authorize to finish the process.
Now you can interact with the Midjourney Bot on your own server.
Earn Money with Your Discord Server
Midjourney charges a subscription for its use - why not charge a subscription fee for your Discord server? Tens of thousands of people have been earning money from Discord, and thanks to Whop, it’s never been easier. If you own a server, you can instantly start charging your members for access to your server, channels, or roles.
It takes less than 10 minutes to start selling with Whop - what are you waiting for?