Reaction roles are a great way to let your Discord server members express themselves. Read this guide to understand what reaction roles are, how to use them, and how to set them up with ease.
Key takeaways
- Reaction roles let Discord users self-assign roles by clicking emoji reactions, eliminating manual role assignment.
- Carl-bot's dashboard offers eight reaction role modes including unique, binding, and verify for different use cases.
- Disable Send Messages and Add Reactions permissions in your role channel to keep it clean and functional.
Roles are one of the primary features of Discord, but they’re not just for differentiating your moderators from regular members. Roles can be a great way to let your users express themselves by opting in and out of custom roles. You can offer all kinds of roles like location, gaming systems, favorite coding language, star signs, and a whole lot more!
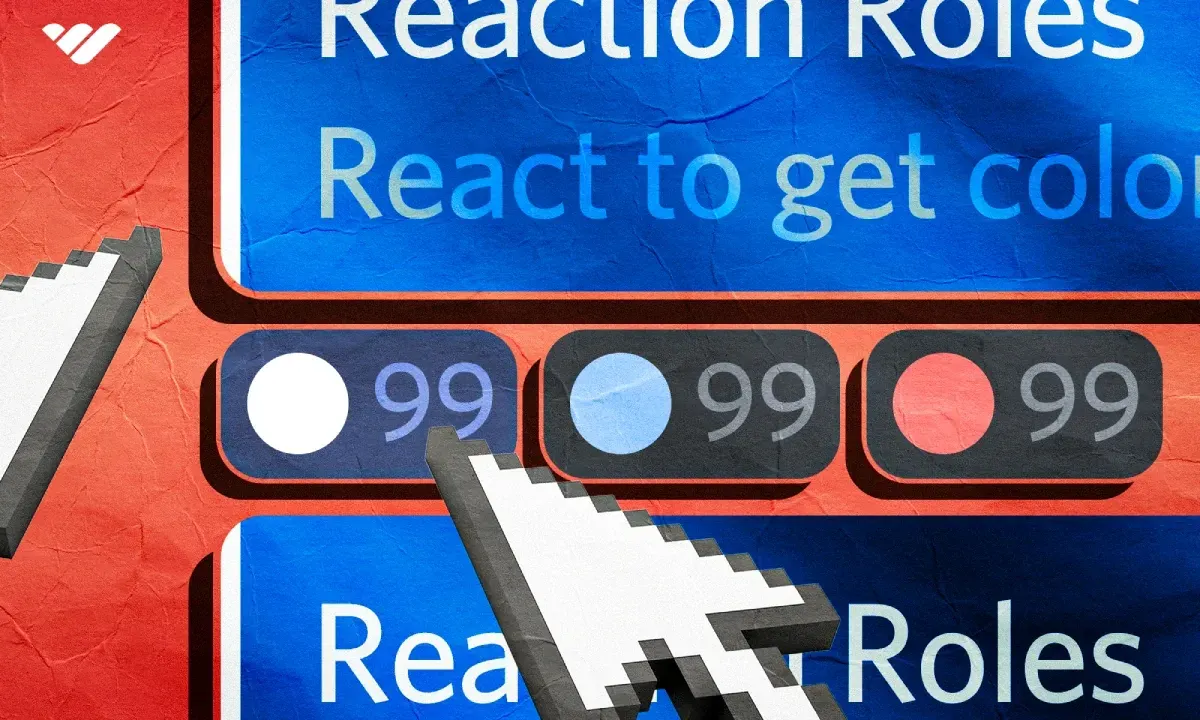
The Reaction Role method is the most common way to let your users decide their roles. You might know that users can add emojis as reactions to messages. Reaction Roles work in the same way! With the help of a bot, you can connect an emoji to a role, and users can assign it to themselves by reacting to a specific message.
Let’s take a look at what reaction roles are, how you can set them up, use them, and a few tips for creating reaction roles in Discord.
What are reaction roles?
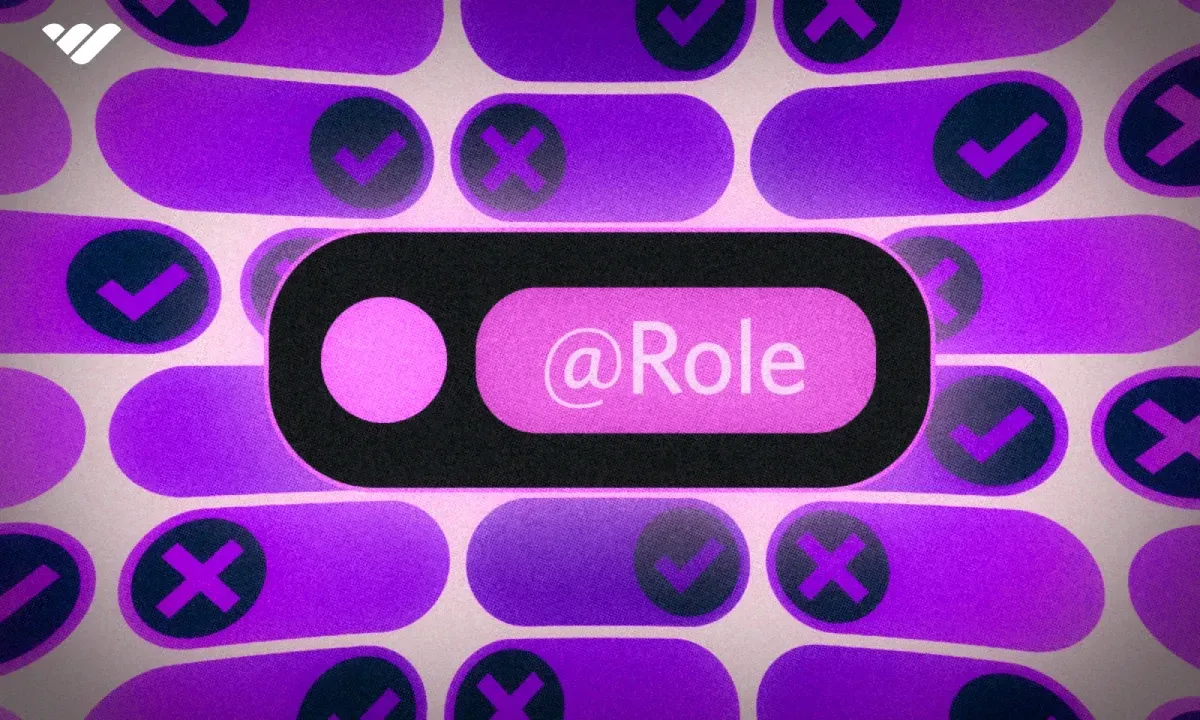
Reaction roles are the conventional way to let users pick custom roles independently. Put simply, users react to a message (created by a Discord bot) with an emoji and get the role that’s related to it.
Let’s say you’re the owner of 'Dog Care Central,' a server about dog care. You’re expected to have a few necessary roles, such as Bots, Members, Moderators, Admins, etc. Your server follows the American Kennel Club style, so you have seven unique channels for the seven dog breed groups.
Instead of everyone being able to see every channel, you decide to let only the users with the related role see channels. For example, only users with the Hounds role should be able to see the #hounds channel. The first concern you might have is: how am I going to know which user has which breed? Am I going to ask all of them one by one and assign the role? Sounds terribly inefficient, right? Well, that’s why you have Reaction Roles.
Rather than assigning roles to each individual user, you let the user choose their own role. The easiest way to do this is to create a #pick-your-role channel with a reaction role message inside it. The reaction role message is a regular message that will provide members with the information they need to know about your reaction roles. In the message, you should list all the available opt-in roles (the roles that users can pick up by themselves) and the emoji they’re related to. Let's continue with our 'Dog Care Central' example and consider what roles you could find there:
- Terriers - 🐶
- Sporting - 🦮
- Hounds - 🐕🦺
- Non-sporting - 💤
- Working - 🏋️♂️
- Herding - 🐑
- Toys - 👑
The reaction role message is almost always created by the bot that governs the reaction roles. Some of them have the option to put the feature in a pre-existing message as well. When created, the bot will automatically add reactions to the message to make it easy for users to select them. According to the example above, if a user clicks on the 🐑 emoji reaction, the bot will give them the Herding role and remove it if they remove their reaction by clicking again.
Let’s take a look at how to set up one of the most popular reaction role bots, the Carl-bot.
How to add reaction roles to a Discord server - the Carl-bot method
While it’s not a bot specifically designed for reaction roles, Carl-bot is fantastic at it. The bot has a wide variety of functions, from fun commands to auto-moderation, but we’re going to take a look at its reaction role feature today. Let’s see all the things you need before starting:
- A server (preferably one that you created)
- Carl-bot invited to your server (check out our guide on using bots to learn how to invite them)
- Carl-bot role having the Send Messages, Add Reactions, and Manage Roles permissions (check out our guide on permissions to learn more)
- An empty channel with a similar name to #roles or #pick-your-roles (check out our guide on creating channels to learn more)
Got them all? Great! Now, let’s start by setting up Carl-bot.
Creating reaction roles with Carl-bot
First of all, let’s understand how we can create reaction roles with Carl-bot. There are two ways: using slash commands and using the dashboard. While the slash command method works great, it’s not easy at all when compared to the dashboard method. So, we’re going to teach you the dashboard method in this guide. Before starting anything, let’s visit the Carl-bot dashboard at its website, carl.gg.
Below, you can see the default main screen, which is Bot Settings. On the right side, you can see all the sections of the dashboard. We’re interested in the Reaction Roles, so click the section button.
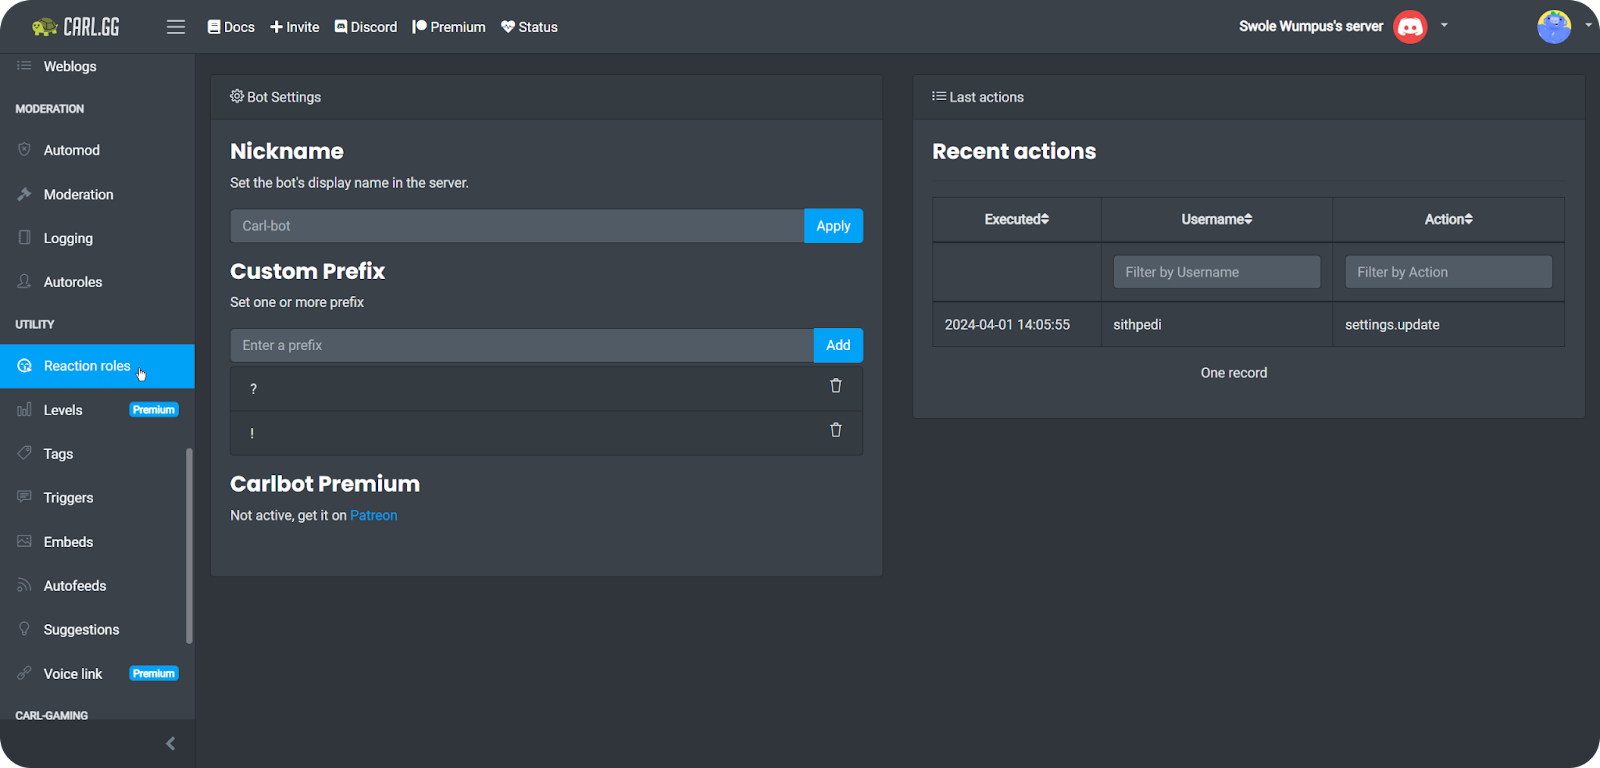
The whole reaction role creation process can be completed in the Reaction Roles section, so there is no need to visit any other pages or apps. Here's how to set it up:
- In the Reaction Roles section, click the “Create new reaction role” button to open the “Create reaction role” modal.
- There, select the Mode of the reaction role. You can see that we’ve selected “Post embed,” but there are two other options as well:
- Post embed—Carl-bot will prompt you to curate a message, which it will post in the selected channel and add reactions to it.
- Use ID—Carl-bot will prompt you to enter a message ID and will add reactions to it.
- Use 'most recent message' in channel—Carl-bot will prompt you to select a channel and will add reactions to the most recent message in it.
- After you’re done with the Mode (and Content if you selected “Post embed” mode) section, it’s time to add the reactions (or emojis.) Click the green “Add emoji” button to add a single reaction. Clicking the button will prompt you to select an emoji and then select a role to connect it with. Once the reaction with that emoji is clicked, the bot will grant the role to the user. We’re going to add all the dog breed examples we’ve provided earlier. It’s useful to note that you can add up to 20 reaction roles.
- Once you’re okay with the emojis you’ve added, it’s time to select the message type. There are eight options, so let’s take a look at each and understand what they mean:
- Unique—When this option is selected, users can only claim a single role from across the reaction roles. If they click on another reaction, their previous reaction (and its role) will be removed. They can also click on a reaction they’ve already clicked to remove the role. For our Dog Care Central example, if you select the unique option, users who take care of multiple breeds won’t be able to get all the roles that apply to them. So be careful when selecting this option.
- Binding—When this option is selected, users can only click on a single reaction role and cannot click on another, hence “binding” the reaction role. If a user reacts with another emoji, they will receive a DM from Carl-bot saying, “You are not allowed to switch roles.”
- Verify—Just like other options, the verify option adds a role when the user reacts, but unlike others, it won’t remove the role once the user removes their reaction. This is usually used for verification gates.
- Drop—Just like verify, but in reverse. The bot will remove the related role if the user clicks on a reaction.
- Normal—This is the default option. Users can get multiple roles and remove them at will.
- Reversed—As its name suggests, this option is the reverse of the normal option. Instead of adding roles, it will remove them, so that users can use roles to opt-out of certain channels or messages.
- Limit—This option allows you to limit the number of roles a user can take on; the functionality is the same as the normal option.
- Temp—This option requires you to have a premium Carl-bot membership and allows you to set up temporary reaction roles that will be removed after some time, which you determine.
- The last two options you should set are “Only allow members with any of these roles to pick up roles” and “Blacklist members with any of these roles from picking up reaction roles.” Both of them have very self-explanatory names, one will whitelist, and the other will blacklist roles from interacting with the reaction role.
- Once you’re satisfied with all the settings, click the green Create button at the bottom right of the modal. This will close the modal and direct you back to the Reaction Roles section. If the section is still empty, refresh the screen. There, you’ll be able to change all of the settings by clicking the Edit button on the right.
Using reaction roles in Discord
Now that we’ve created our reaction role let’s get back to our Discord app and test our reaction roles. You’ll be able to see that Carl-bot has sent a message (because we selected the Post embed option in the second step.)
When you click on a reaction, you’ll see that Carl-bot will immediately assign that role to you. Since we selected the normal option in the fourth step, we can click on as many reactions as we want and get all the roles. If we re-click a reaction, which will remove it, Carl-bot will remove that role from you.
How you can use the reaction roles feature to Its fullest
We’ve covered creating and using reaction roles. Now, let’s examine a few tips for improving your reaction roles, their channel, and the overall user experience.
- Adjust the channel permissions so that no one has the Send Messages and Add Reactions permissions. By disabling the Send Messages permission, we secure the channel's usability, and by disabling the Add Reactions, we ensure the message doesn’t have any reactions that aren’t related to roles. Users will still be able to react to pre-existing reactions; they just won’t be able to add new ones.
- Set up a clear reaction role message so that your users easily understand which emoji grants which role. If there are more than 20 roles you want to grant, organize them into groups and create multiple reaction role messages.
- Define a clear channel name. If you put your reaction roles in the #rules channel, your users might get confused. Create a separate channel just for reaction roles and name it #roles, #get-roles, #pick-your-roles, etc.
- Put your reaction roles channel above your regular chat channels. Almost all servers have rules, announcements, and similar informational channels. Your reaction roles channel should be in the same category as them.
- Display your channel where it's necessary. If you have a bot that welcomes your members, include the reaction roles channel name so your members know that they’re expected to pick some roles. Similarly, you can mention it in your rules channel as well since it’s most likely to be the top-most channel, and all users will see it when they first join your server.
- Don’t overdo your reaction roles. Define which roles you want to offer to your members and rule out unnecessary ones. You can let them pick our colors, pronouns, location, and a few server-topic-related roles, but don’t offer a couple dozen roles. It might overwhelm your members; they’re there to pick roles, not create a CV.
- Briefly explain the roles in the reaction roles message. Let’s take our Dog Care Central server, for example. When users look at our reaction roles, they will understand that they can get roles by reacting, but they won’t understand what those roles mean. So try to briefly explain that the 'Terriers' role will allow them to access the #terriers channel.
Have a Discord server? Monetize it with Whop!
Reaction roles are a great improvement to any server. They eliminate the burden of manually assigning roles to your members. But what about the roles that you don’t want your members to opt in and out of freely? Whop Bot is here to help you!
Tens of thousands of server owners are monetizing their servers and generating income. They use the Whop Bot to assign roles to their subscribers, remove the roles when they unsubscribe, and manage all role aspects of a monetized Discord server. Join Whop now and improve your server even more, all while making money.