The Whop content app lets you share premium content with your audience, whether you’re selling exclusive access or providing valuable resources to your paid community. This guide will show you how to set it up and start using it.
Key takeaways
- The Content app works like Google Docs, letting you create formatted text with images, videos, tables, and files.
- Use Content apps for welcome pages, rules documentation, and user guides to improve whop accessibility and retention.
- Create sub-documents by typing @ followed by a name to organize multiple pages without cluttering your whop.
There are countless ways to make your whop, and one of our favorite is sharing content. This is an especially important feature, as when creating a service it is important to make it accessible by creating informational and introductory documents.
The Content app allows you to do just that.
In this guide, we’re going to look at what Whop apps are, what the Content app is, how you can use it, and everything you can do with it to improve your whop.
What are Whop apps?
To understand what a Whop app is, you should first know what a whop is. A whop is a hub where you can add different modules (called apps) to create and provide content to people on the internet. Owners of a whop can create courses, forums, chat rooms, and more.
Of course, when we say people on the internet, we don’t mean everyone can access your whop and content in it for free - it’s up to you if you want to paywall your whop or make it free.
Apps allow you to create content, and you can add as many apps as you want to your whop. One of the most popular apps on Whop is the Content app.
What can you use the Content app for?
You can think of the Content app as a Google Doc. It’s a free-form text app that allows you to write down content with formatting.
You can add text, images, videos, links, tables, and files to your Content app. There are a lot of uses for the Content app. Let’s examine a few to give you some ideas and inspiration:
- Welcome Page:
You can use the Content app as a start here welcome page to help your users learn and navigate through your whop. You can detail what your whop is about, what apps are in it, how users can use them, what products you have in your whop, and how users can get access to each app.
Having a welcome page that shares information with your users will be extremely helpful in increasing the accessibility and retention of your whop. The easier users understand your whop, the more they will use it. - Rules and Guidelines:
Documenting your whop’s rules and guidelines will help you direct your users in the right direction.
This can be especially useful if you’re looking to create a community in your whop using apps like Chat and Forum. Since every community needs its own guidelines, you can set yours’ up using the Content app. - Documentation:
We mentioned how important it is to make your users understand how your whop operates. Using the Content app to create detailed documentation of your whop can help your users utilize every part of your whop much more easily.
Imagine skipping the tutorial of a game and jumping straight into action. This might seem fun, but it will surely make your experience a bit harder. Having documentation in your whop will help your users find their way through it.
Of course, the Content app isn’t for just the examples above - you can create all kinds of content: tutorials, guides, a blog, or the super secret recipe of your great great grandmother’s chili sauce and sell access to it.
Think of the Content app as a document - you can write down everything that you think might be helpful to your users, have value, or more.
How to add the Content app to your whop and set it up
Adding apps to your whop is a very simple process. The first thing you should do to add the Content app to your whop is going to the Whop App Store by clicking on the App store button under the admin area of your whop.
Once in the App Store, search for the Content app and click on its Add button. This will add the app to your whop and prompt you to select which products should be able to access the app.
Using the Content app
The Configure tab is where you will fill out the Content app. Whether you want to use it as a welcome page or content that you will paywall, you are going to fill it out in this tab.
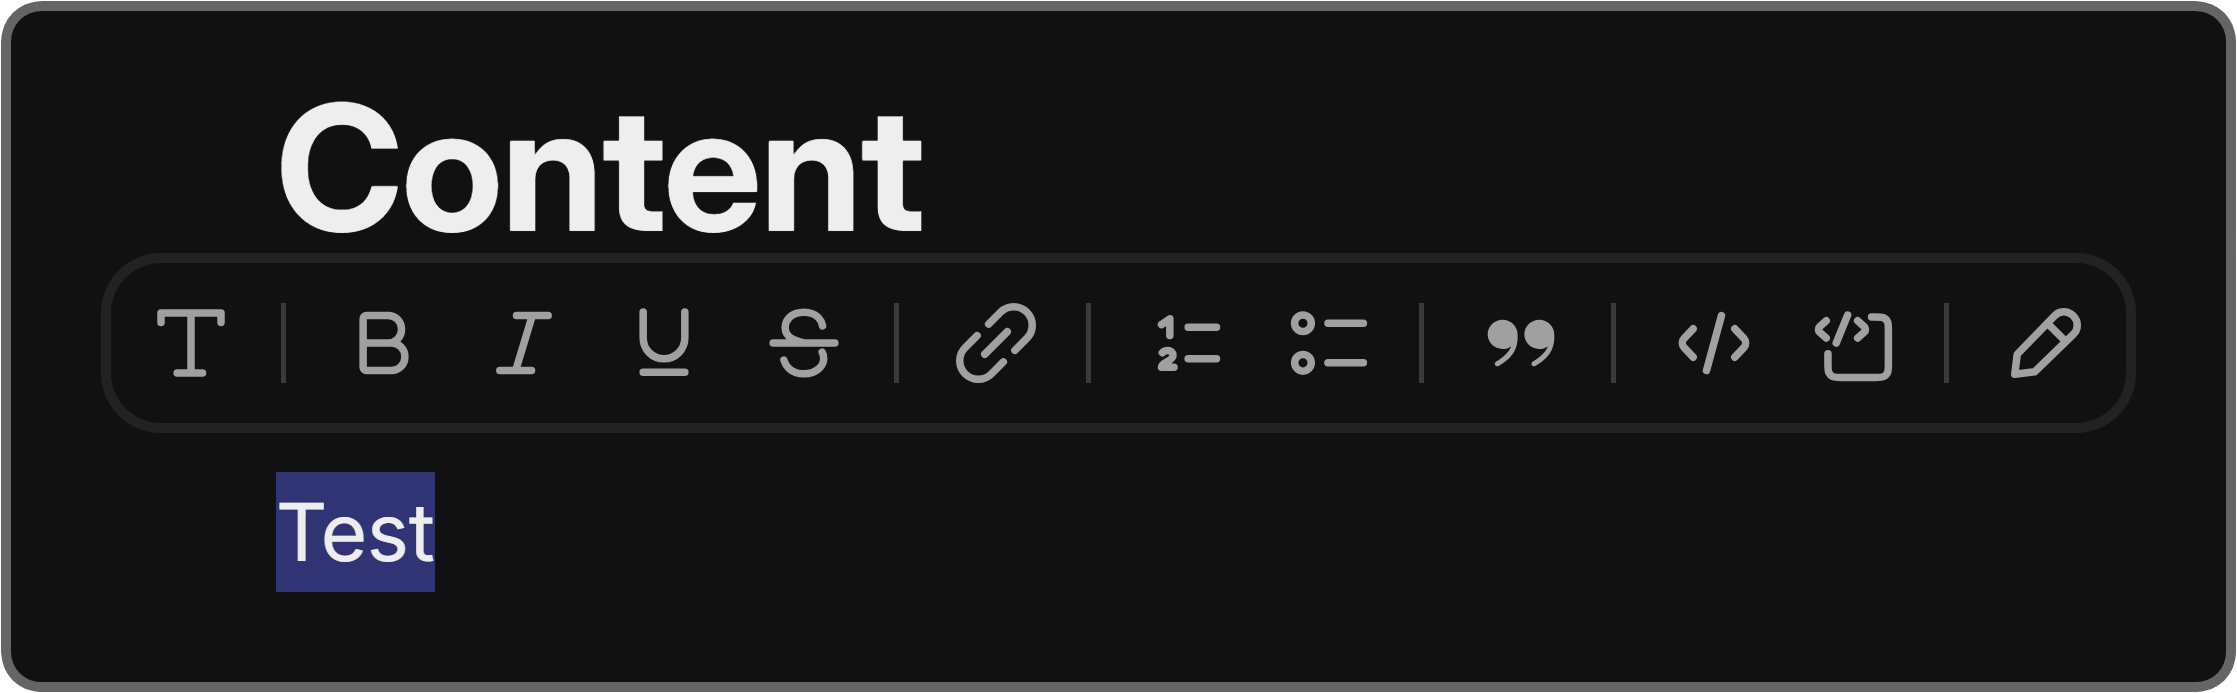
The Content app works just like a Google Doc - you can type plain texts, add titles, codeblocks, and much more. When you highlight a text, you’ll see a formatting menu popping up - clicking those icons will format your text.
Let’s go over each formatting method, starting from the leftmost one:
- Paragraph (T): You can select whether the highlighted text is a regular text, a Heading 1, 2, or 3.
- Bold (B): Clicking the bold button will make your text bold.
- Italic (I): Clicking the italic button will make your text italic.
- Underline (U): Clicking the underline button will make your text underlined.
- Strikethrough (S): Clicking the strikethrough button will strike your text.
- Link (chain icon): Clicking the link button will display a browser dialogue, which allows you to make the highlighted text a hyperlink.
- Numbered list (numbered list icon): Clicking the numbered list button will transform the highlighted text into a numbered list. You can expand the list by entering a new line, and adding two new lines will end the list. You can select multiple lines of text and make them a numbered list.
- Bullet list (bullet list icon): Clicking the bullet list button will transform the highlighted text into a bullet list. You can expand the list by entering a new line, and adding two new lines will end the list. You can select multiple lines of text and make them a bullet list.
- Blockquote (quotation mark icon): Clicking the blockquote button will transform the highlighted text into a blockquote.
- Code (</>): Clicking the code button will transform the highlighted text into an inline code. This is useful when you want to share a single line of code.
- Code Block (terminal icon): Clicking the code block button will transform the highlighted text into a code block. This is useful when you want to share a code snippet.
- Color (pen icon): Clicking the color button will display a list of colors that will change the color of the text when selected.
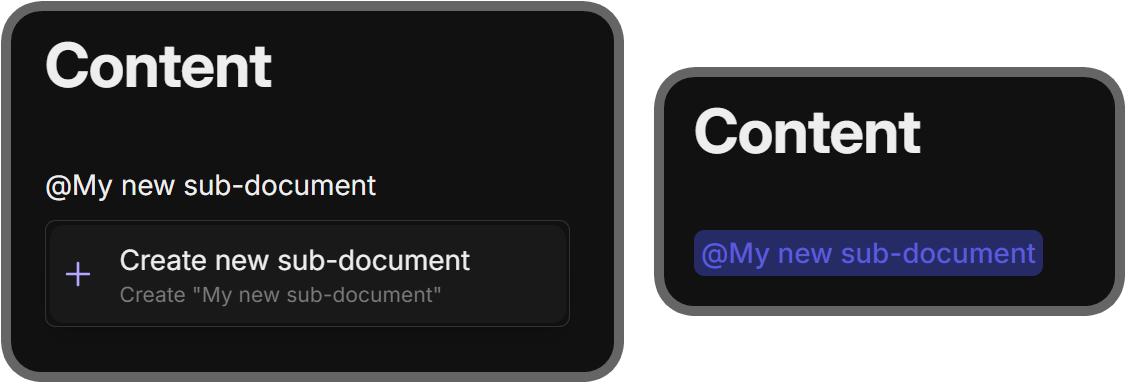
One feature that's not included in the formatting menu is the ability to create sub-documents. Being able to create sub-documents in the content app allows you to create multiple pages in the app instead of adding using multiple instances of the Content app, which might cause clutter after some point.
To create a sub-document on the Content app, all you have to type an at sign (@) and follow it with the name of the sub-document you want to create. As you type, you'll see the Create new sub-document popup appearing. Clicking on that popup or pressing enter will create the sub-document and the link to it.
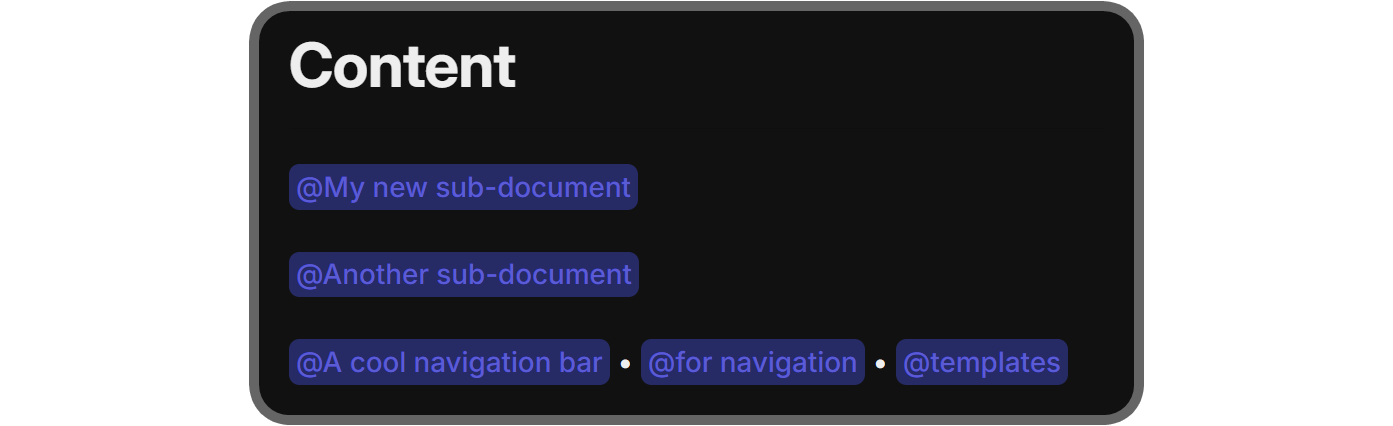
There are two ways you can navigate between sub-documents. The first one is using the path at the top of your screen, which will follow the format of {whop name} > {content app title} > {sub-document title} > and so on. Clicking any of the titles will immediately take you to that page.

Another way of navigating between sub-documents is using links to them or even creating a navigation template for your members to find and switch between them. If you can't see a link for a sub-document as you type @, try refreshing your page.
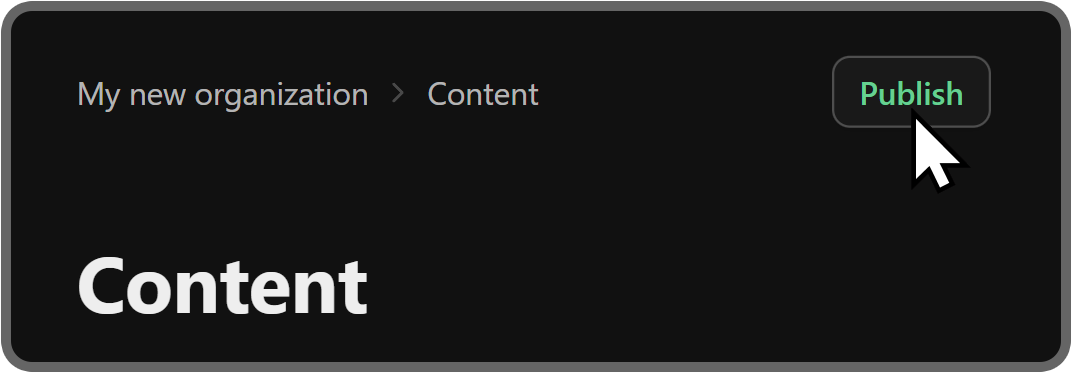
After you're done populating the content of the app, let's save the changes. You can do this by clicking on the Publish button at the top right of the manage app window.
Create content and monetize it with Whop
Whop is the best place to create accessible content and monetize it. Thousands of people have been using Whop to generate an income with their content. You can do that, too.
If you want to create a whop and start earning money, then what are you waiting for? Signing up to Whop and starting selling takes less than 10 minutes.


