The Whop webinars app allows you to sell access to your webinars. Read this guide to understand how to use the app.
Key takeaways
- Whop apps work as modular building blocks, letting you combine multiple tools to create a fully customized platform.
- The Webinars app centralizes event scheduling, hosting details, and audience management in one place within your whop.
- Revenue comes from selling access to your whop rather than charging per webinar, simplifying your monetization strategy.
Hosting premium webinars is a great way to share knowledge and get paid in return, but setting the event up can be time-consuming. There are so many platforms to choose from, but almost none of them will give you the full customizable functionality you want – Whop does.
In this guide, we take a look at the Webinars app on Whop. Read on and learn how you can add it to your whop, and how to use it.
What are Whop apps?
Whop apps can be explained simply as the building blocks of a whop.
When you first create a whop, it’s an empty platform with no functionality – apps help you change that. Imagine you’re a professional day trader, and you want to create a platform where you share trading tips. You’re going to need a platform where you can post announcements, create forum posts, display your trading feed, keep track of a few stocks, and maybe even create an online course.
Well, the specific platform you’re looking for doesn’t exist – but you can create one using Whop apps.

First, you'll add the Announcements app to your whop. It will have a section for you to post announcements in – simple, right?
Then, you could add the Forums app to create a forum, the Trading Feed app to display your trades, the TradingView app to keep track of stocks, the Courses app to create online courses, the Chat app to create a place where your members can talk to each other, and more.
As you can see, apps on Whop can be combined to create any type of platform you want. The best part is that you can add multiple instances of the same app, creating a kitted-out hub for your target audience.
What is the Webinars app on Whop?
As the name suggests, the webinars app helps you to host a webinar in your whop.
Let’s continue with the day trader persona, and say you want to hold a live day trading session where you will connect with your audience, share tips, and show them how you trade.
Sure, you could schedule a Zoom or a Google Meets event and share it with your members. But that means creating the event, making an announcement for it, and finding a way to take payments for this webinar.
The Webinars app offers a solution – instead of manually letting people know, you can add an event to your Webinars app, and your community will all be able to see it. Plus, with Whop, it's incredibly easy to sell access to your webinar.
Let's take a closer look.
How to add the Webinars app to your whop
Adding the Webinars app to your whop is super simple. First, you need your own whop, which you can create in under 3 minutes.
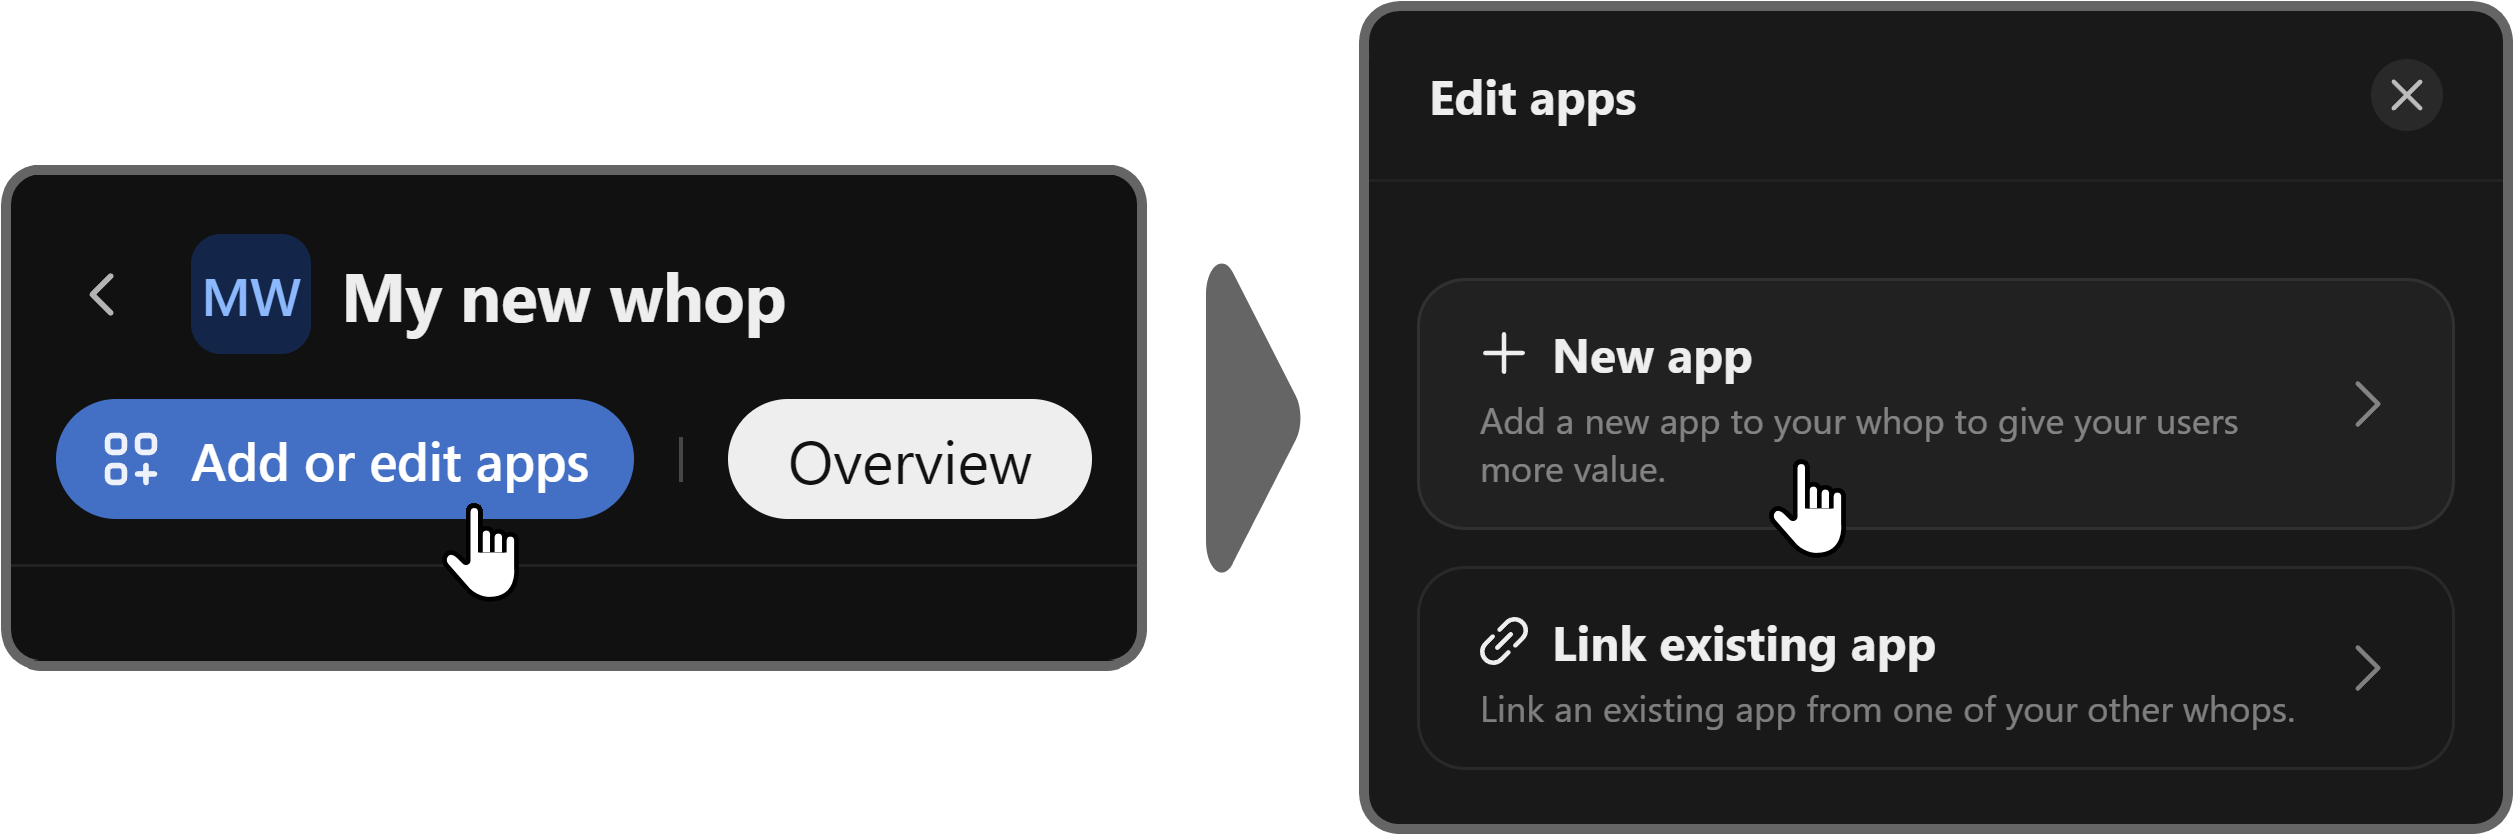
Click on the Edit apps button under your whop’s name to open up the Edit apps popup. There, you’re going to see a list of all the apps in your whop.
You’re also going to see two buttons: New app, which allows you to add a new app to the whop you’re viewing, and Link existing app, which lets you add a mirror instance of an app from another whop in the same organization.
Click on the New app button to see the apps list.
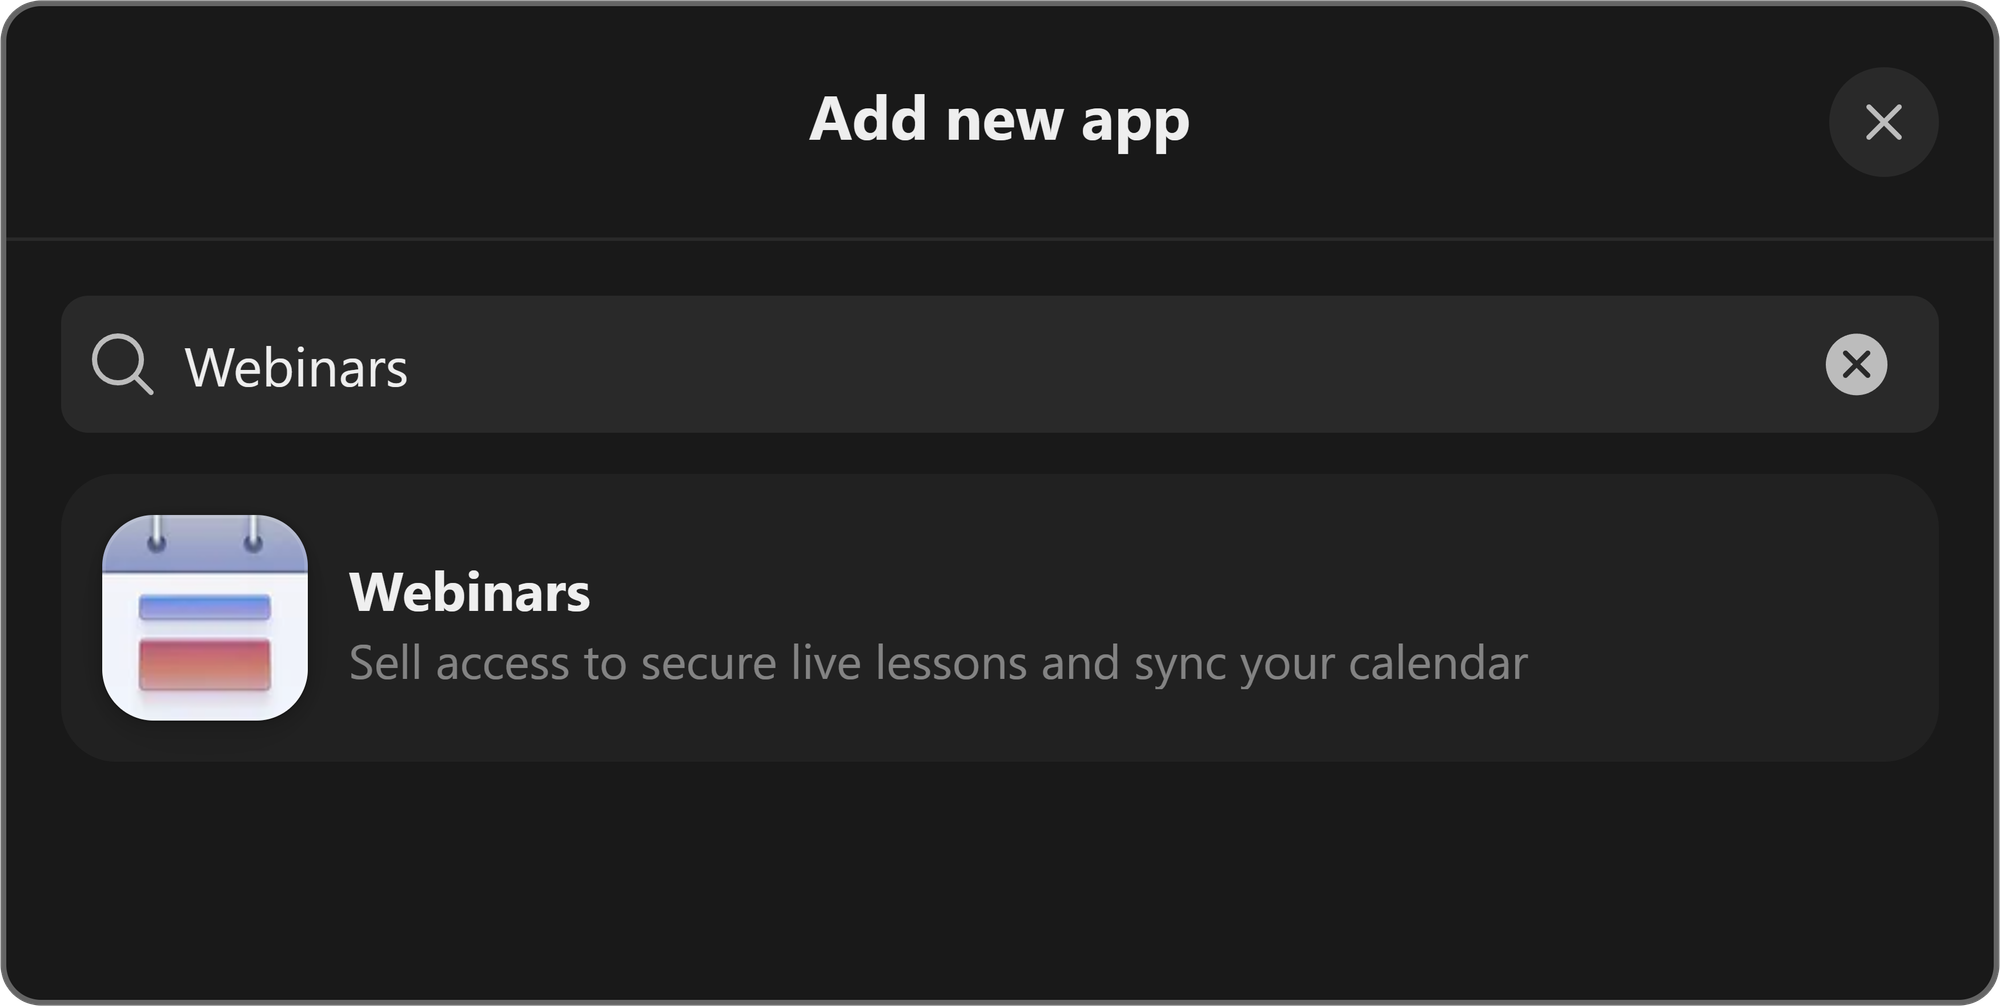
The apps list will be displayed as a popup, and it has a lot of apps. Type the app's name, Webinars, into the search bar at the top of the popup and click on the app.
Clicking on the app will display the app visibility popup, which has two options:
- Draft (hidden): This will add the app as a draft, meaning that your members won’t be able to see the app until you change the visibility to Visible.
- Visible: This will add the app to your whop, so all your members will be able to see it instantly.
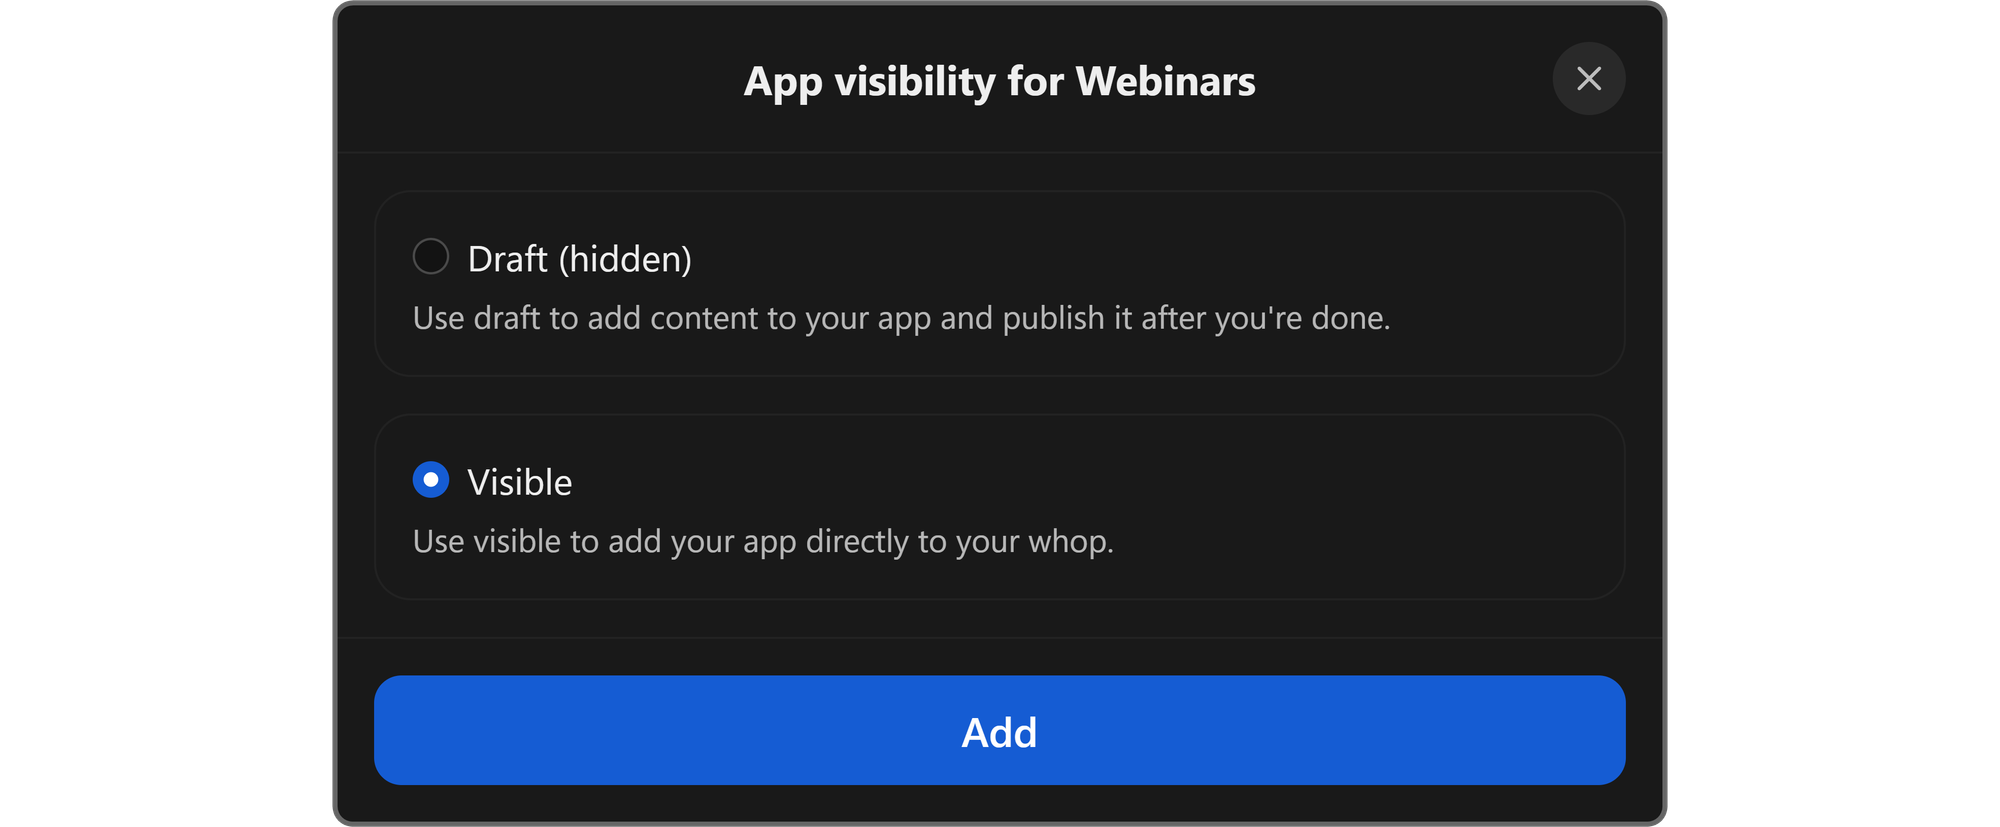
Once you’ve hit the Add button, you’ll see it listed next to the Overview button on the top navigation bar of your whop.
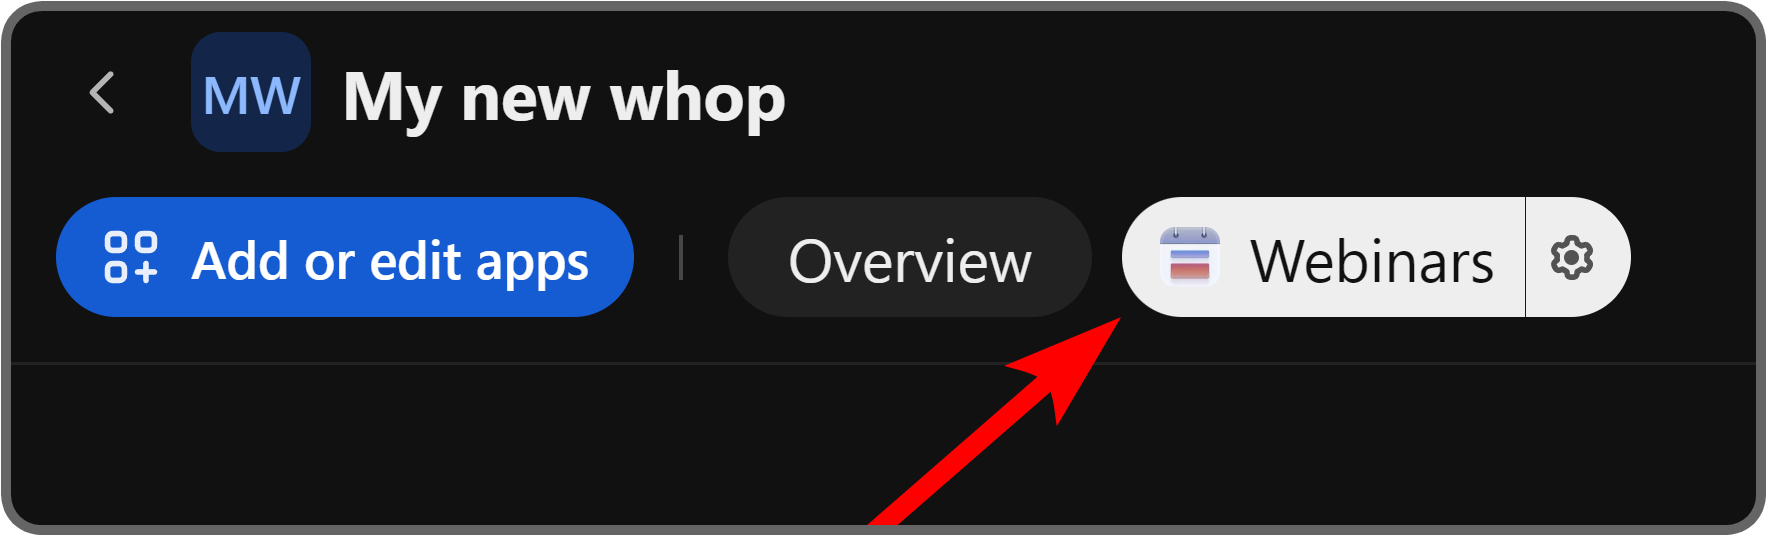
If you click on the app, you’re going to see its settings, where you can start creating events. Let’s see how you can do it.
Using the Webinars app
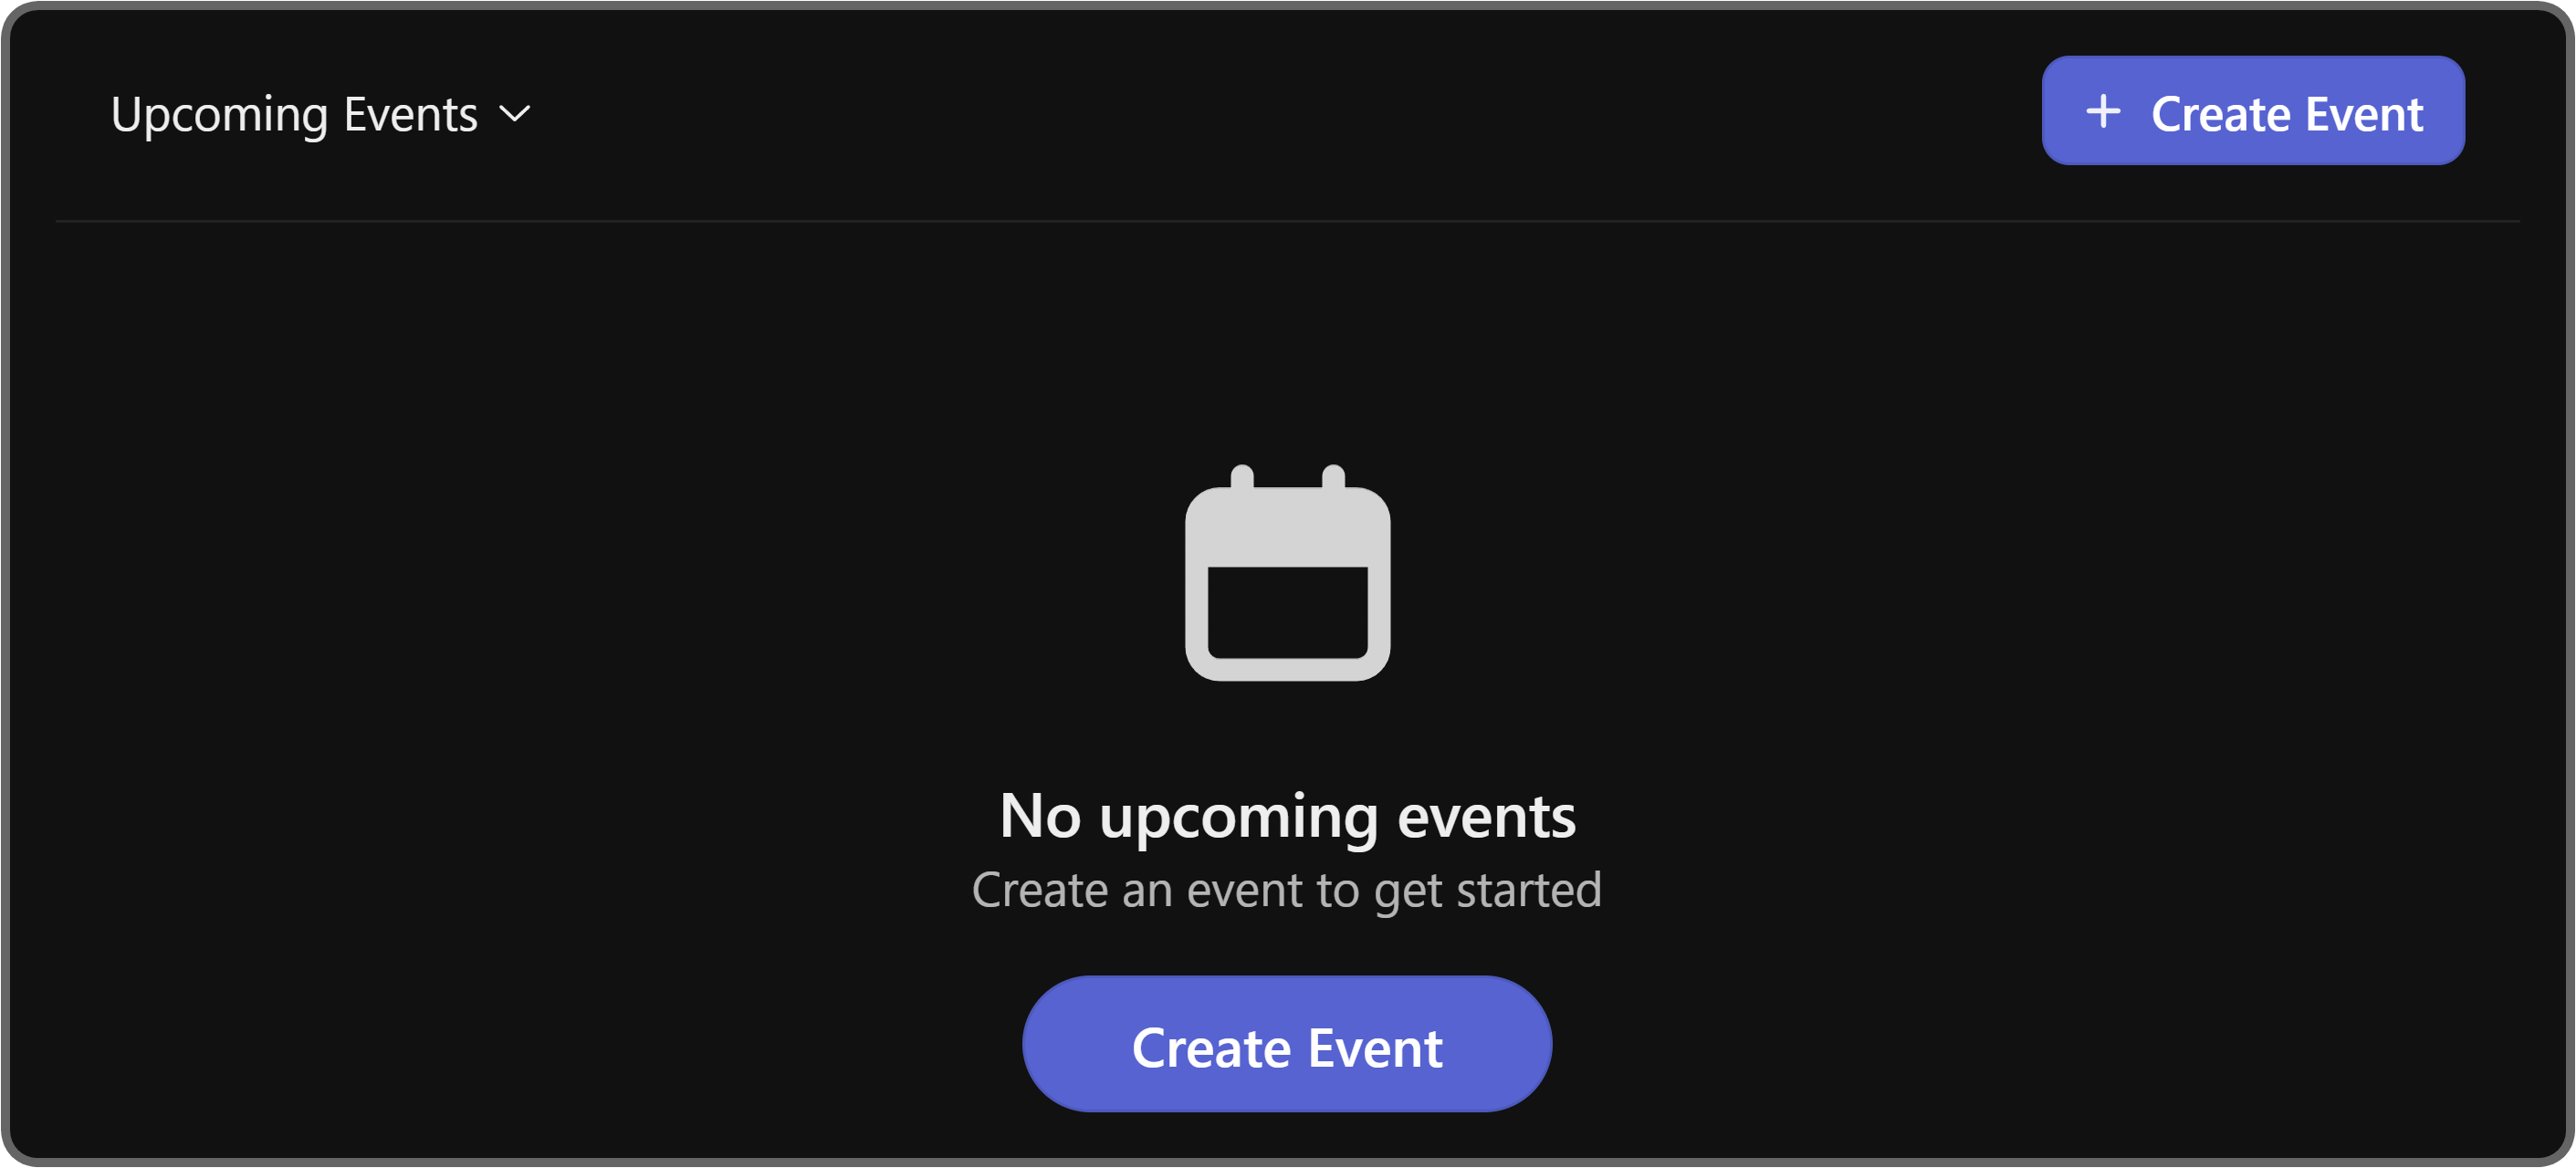
Since you just added the app, you’re going to see the “No upcoming events” text with the Create Event button below it.
Click either of the Create Event buttons to see how you can create one.
Clicking the Create Event button will display the Create Event popup, which has eight options in total. Here's a breakdown of each one:
- Event Image: Clicking the Upload image button will allow you to add a thumbnail for your event. This will help your users distinguish events and generally make them more appealing.
- Event Name: As its name suggests, you set your event’s name in this field. It should be short and to the point.
- Date & Time: This section is where you select the start and end times of your event.
- Repeat: This dropdown menu allows you to set repetitive events for day, week, month, and year.
- Location: This is the section where you provide where the webinar will take place. The options are place (real-life), link, Zoom, and Google Meets.
- Description: This field is for the description of the webinar. You should keep this relatively short while explaining every necessary detail about the webinar.
- Host: This dropdown menu allows you to select who’s going to host the webinar. The default option is yourself, and you can select other people from your whop staff or a custom name.
- Allow RSVP: This toggle option will display a number field when toggled on, and users will be able to RSVP until the number is reached.
After you’re done filling out all the fields, click the Create button to create the webinar event.

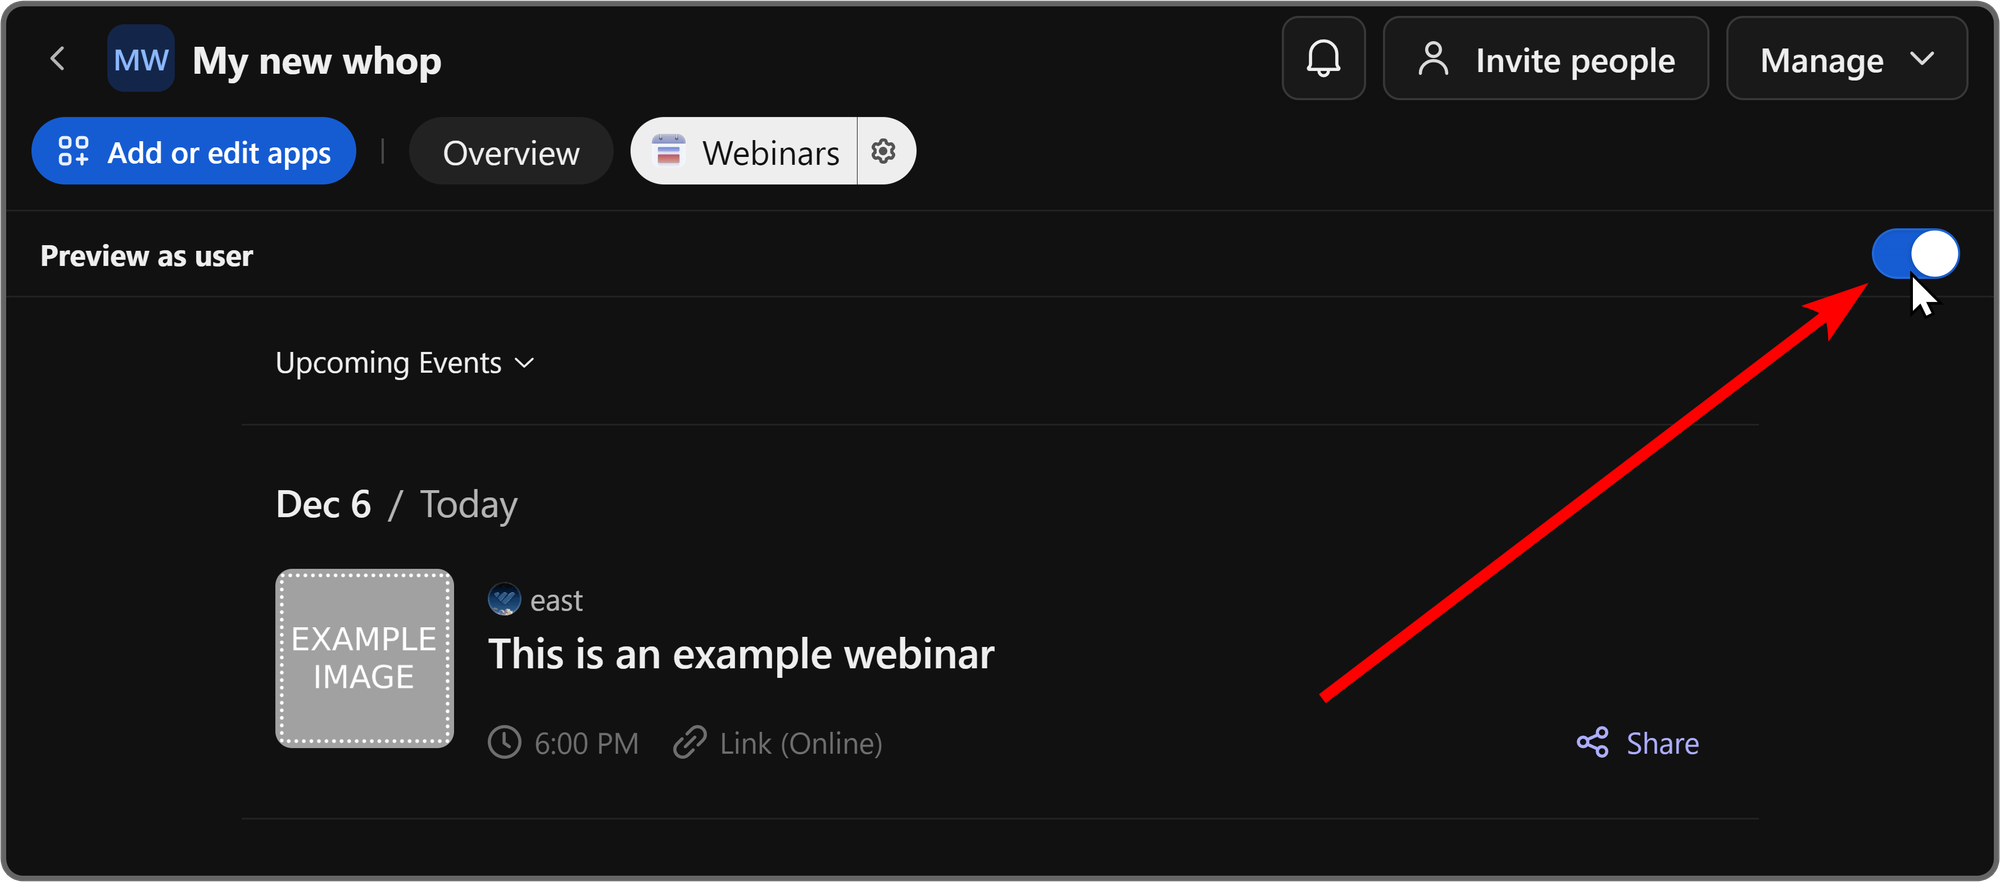
After you create the event, you’ll be able to see it on the app itself. We’ve created an example event that repeats every month to demonstrate:
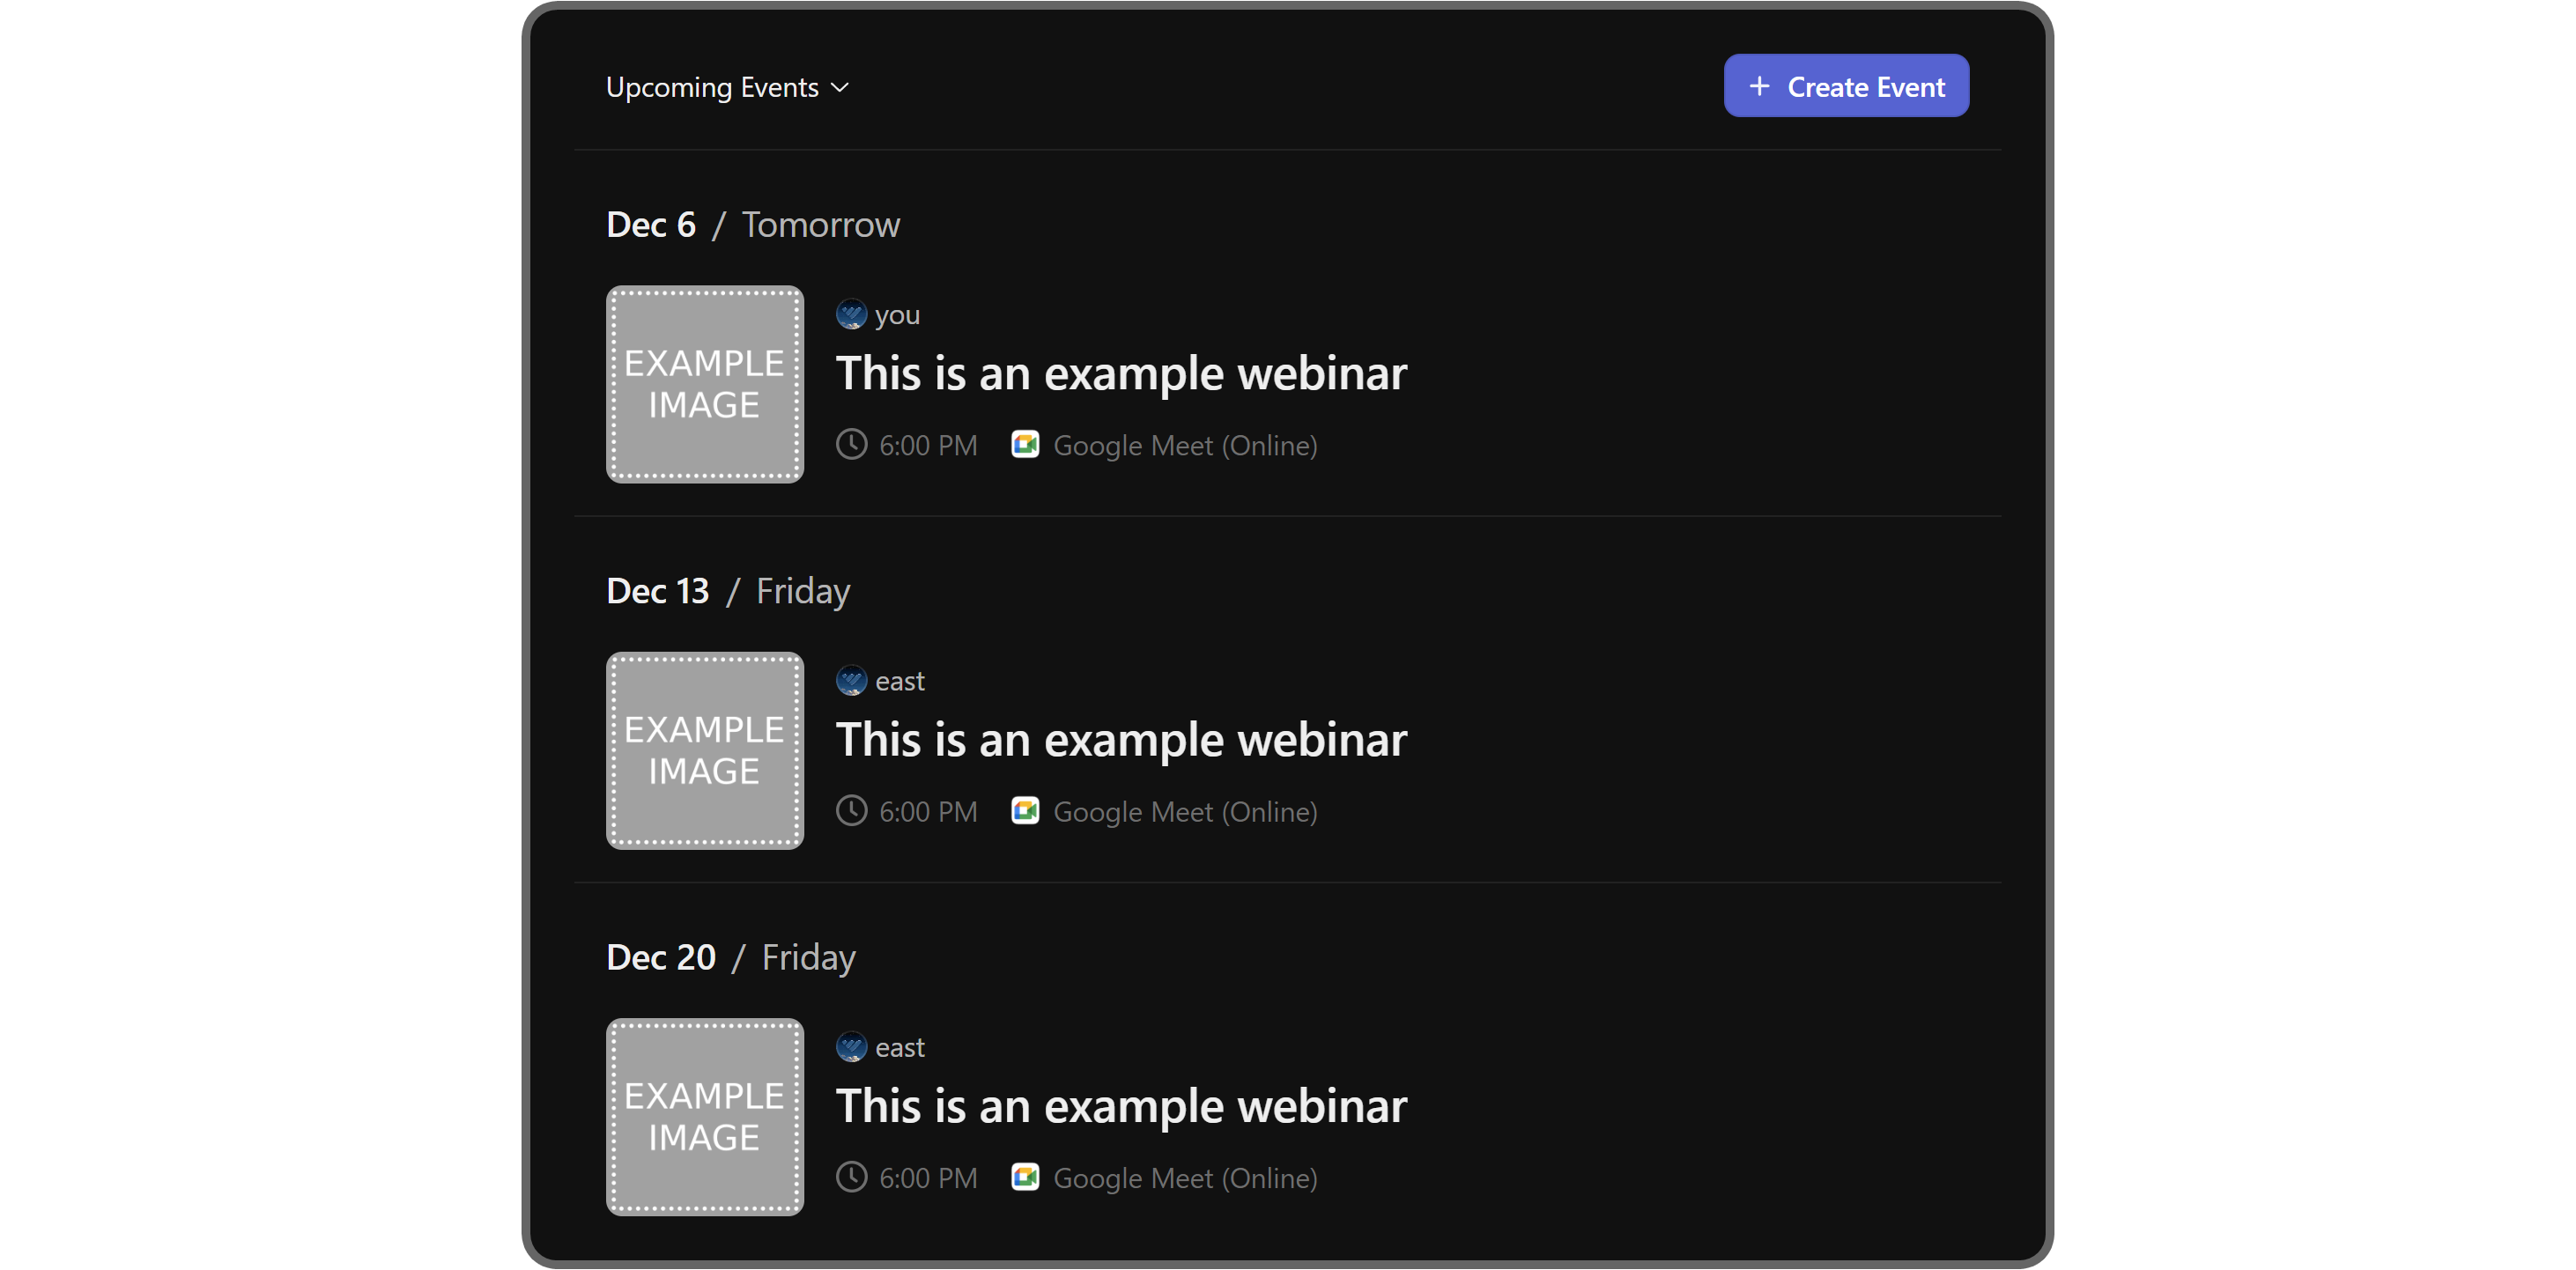
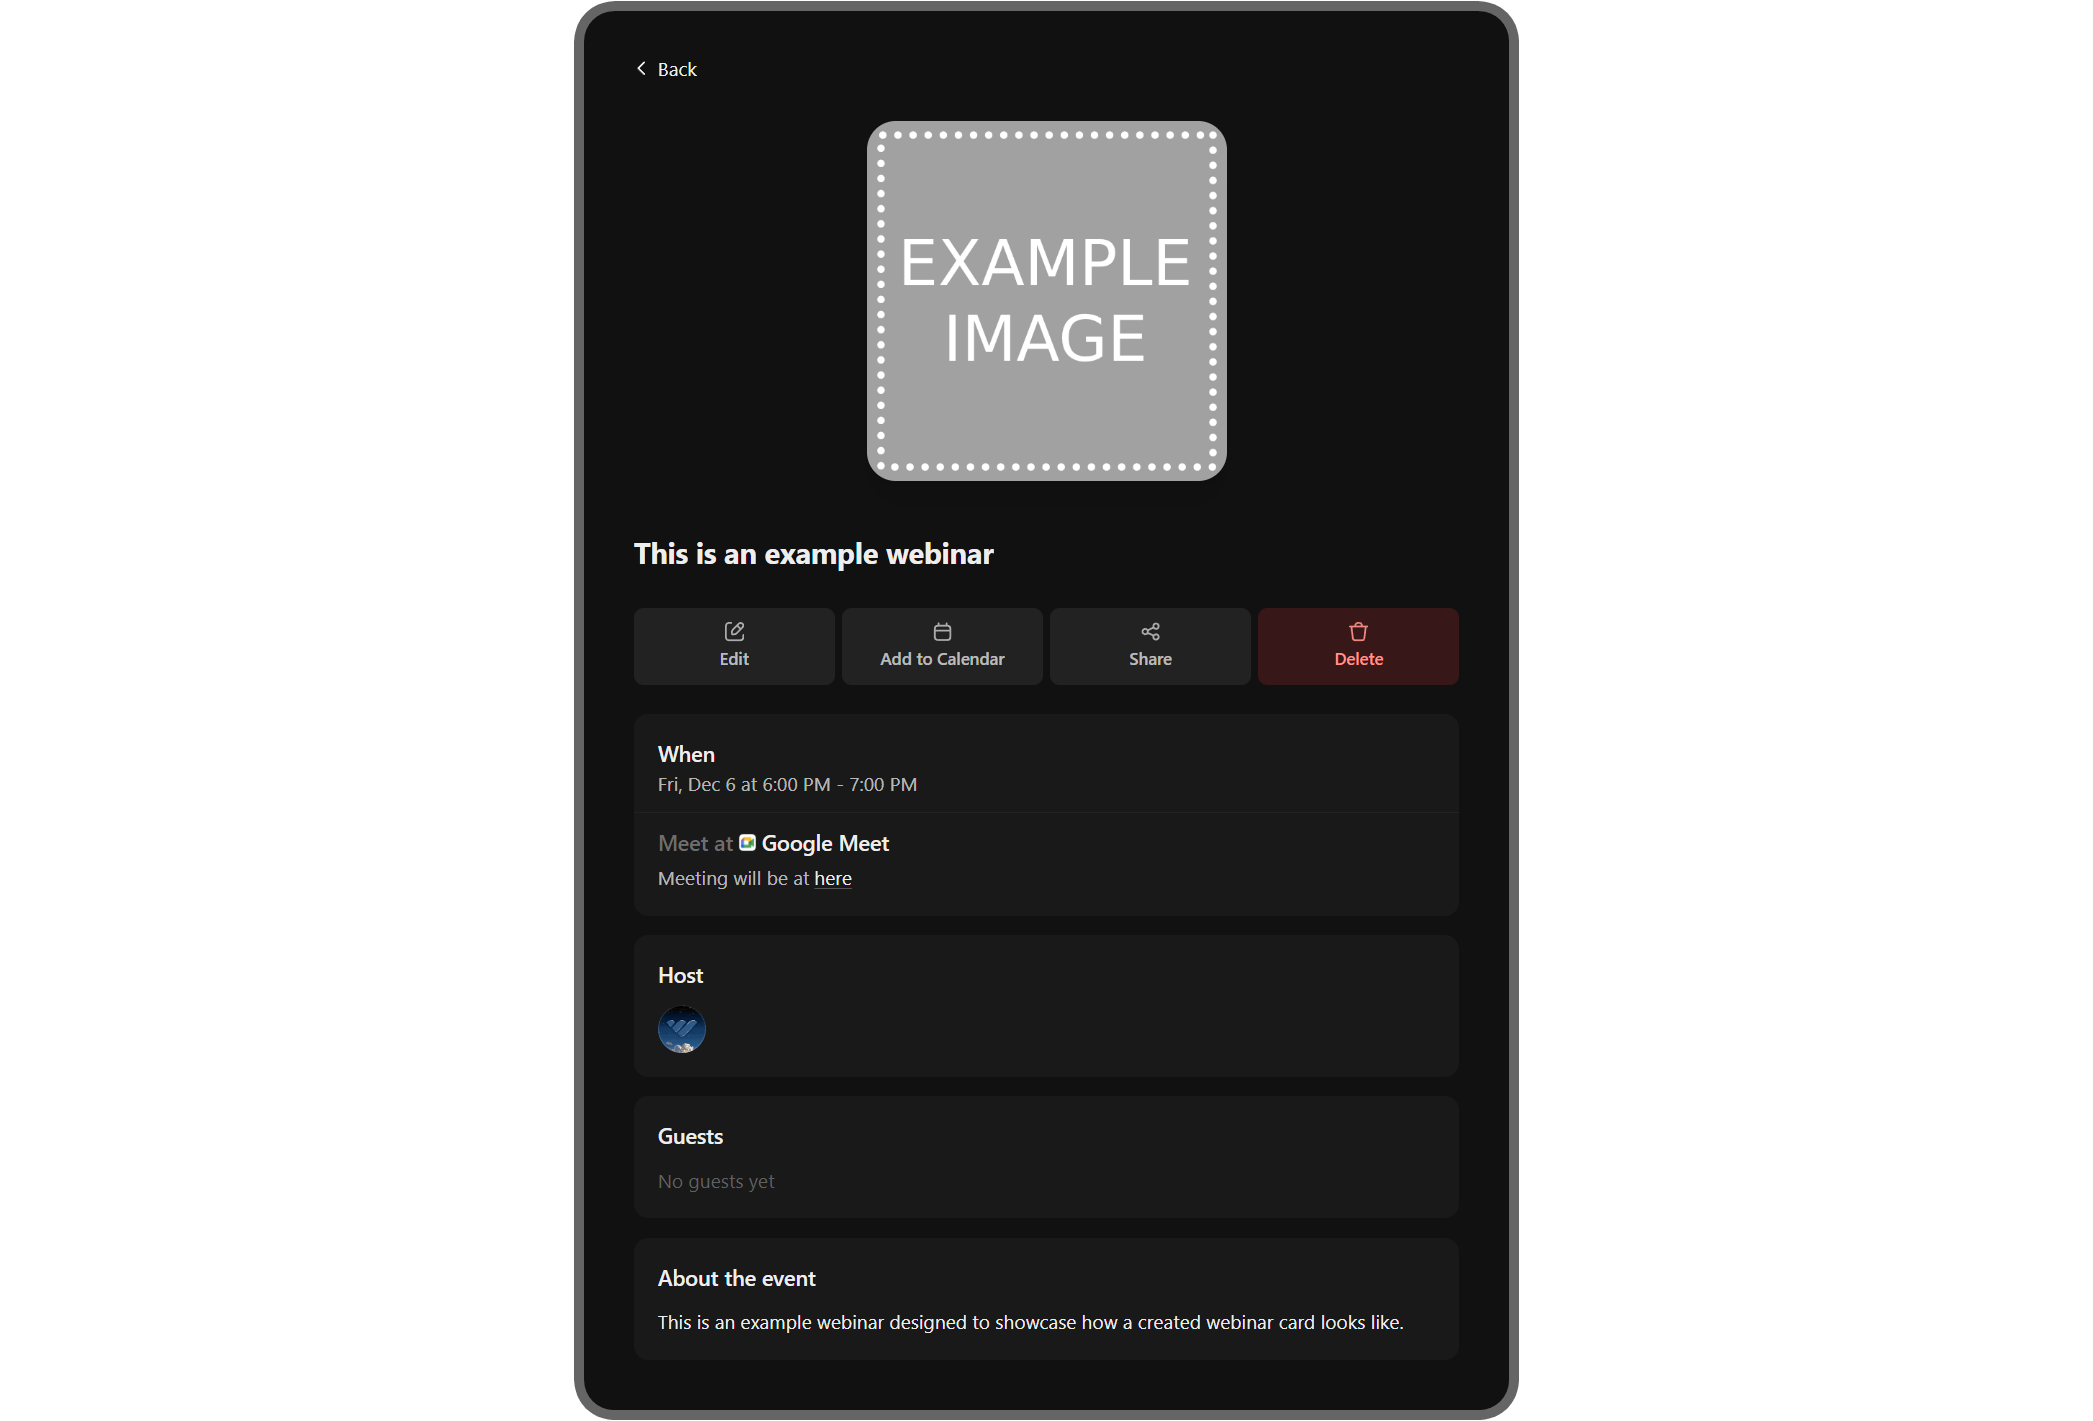
While viewing the app, you can click on an event to edit it, add it to your calendar, share it, delete it, and see its details.
You can also enable the Preview as user setting by clicking on its toggle button at the top right of your screen. This allows you to see the app and interact with it from the perspective of a regular user.
How to create paid Webinars
All right, you know how to add the Webinars app to your whop and how to create events. But how do you charge people, exactly?
Well, you do that by selling access to your whop.
After creating your whop, you should add some pricing options to it so that people can actually obtain access. Pricing options on whop are customizable and can be free, paid, waitlisted, or even private.
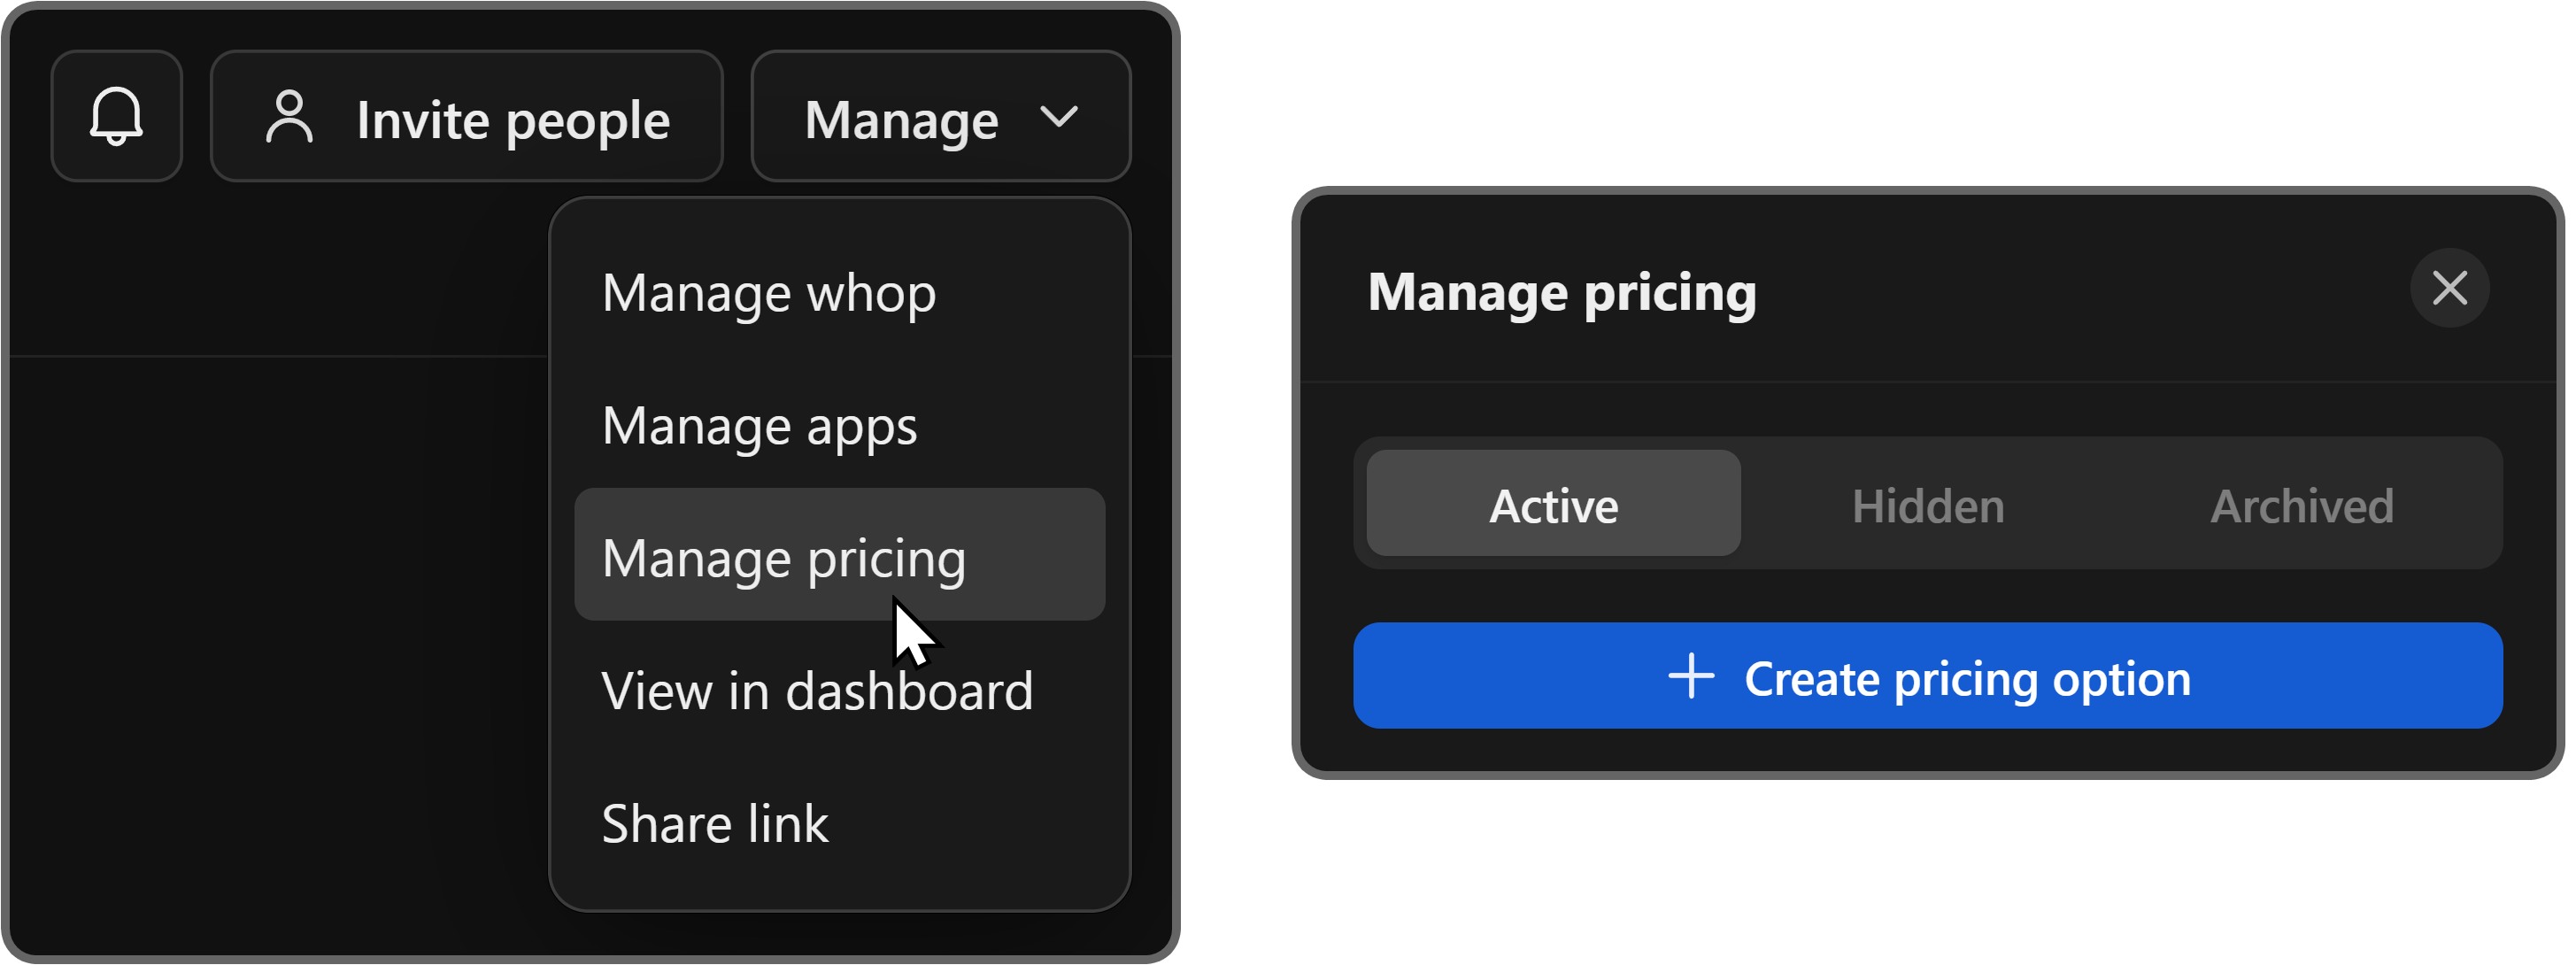
You can add a pricing option to your whop by clicking on the Manage button at the top right of your whop and selecting the Manage pricing option from the menu.
This is going to display the Edit pricing popup on the right side of your screen, where you can see all pricing options and create new ones using the Add pricing option button.
To learn all the details about creating pricing options on your whop, check out our How to add pricing options to a whop guide.
Monetize your events with Whop
Now you know how to host premium webinars with your whop, it’s time to get started. Join a thriving community of creators who are already monetizing their digital products with Whop.
Sign up today, set up your own whop in just minutes, and start your journey towards earning with every event you host!