The Files App on Whop allows you to upload files and give paid or free access to them. Find out how in this guide.
Key takeaways
- The Files app lets you share any file format with members, from PDFs to videos, like a built-in Google Drive.
- Admins control whether members can download or only preview files, giving flexibility over content distribution.
- Members can easily search, sort, and view shared files in list or grid format for quick access.
Online files are one of the most important things we use in our day-to-day lives. From reading ebooks to sending documents and signing digital contracts, files have become integral to almost every online experience. This is why Whop has created the Files app - so you can share files with your whop members effortlessly.
Files app is like any other whop app - you can add it to your own whop and start using it right away. In this guide, we’re going to learn what whop apps are, what the Files app is, and how you can add it to your whop and use it.
What are Whop apps?
In simplest terms, Whop apps are modules of a platform.
Let’s take Discord, for example. Discord is the platform itself, and text channels are a module of it. This goes for voice channels, forum channels, etc.
When you first create your whop, it will be a blank canvas on which you can create your dream platform. Let’s say your dream platform is a place where all aspiring day traders can come together - they will connect and learn from each other. They can also take the courses prepared by professionals in your team and more. You can add whop apps (remember to think of them as modules) to your platform, but only the ones you need - no need to make clutter.
You can add the Chat app so your members can communicate, the Forums app so your members can gather feedback, the Content app which will guide your members on using your whop, and the Video Calls app so that you can host video calls as a guild - the possibilities are endless.
What is the Files app on Whop?
You can think of the Files app on whop as a file directory. Imagine a Google Drive folder with files of all kinds in it. That is the Files app.
There are a lot of uses for the files app. Let’s continue with our day trading platform example: you have just hosted a webinar, and you want to provide access to all the slides you've used to your members. Since all the slides you have are in .PDF format, you can host all of them on the Files app so that other members can see and download them.
Of course, the Files app supports all kinds of file formats, from PDFs to MP4s.

As you see, the Files app can be used in any situation where you need to host and/or share files with other people. It’s a great app to have - but how do you add it to your whop, exactly? Let’s take a look.
How to add the Files app to your whop
Adding the Files app to your whop is as easy as adding any other app. But before you can add apps, you actually have to have a whop. If you don’t already, check out our How to create your own whop guide and get started right away.
If you already have your own whop, let’s see how you can add the Files app to it:
- Click the App store button under the admin area of your whop to go to the Whop App Store
- Find the Files app and click on its Add button
- Select which products will be able to access it and click Done
That's it - you've just added the Files app to your whop. Now, let's see how you can upload files to it.
Using the Files app
After you add the Files app to your whop, you'll be met with its regular preview mode - it allows you to see the app from the perspective of a regular user and actually use the app in some cases.
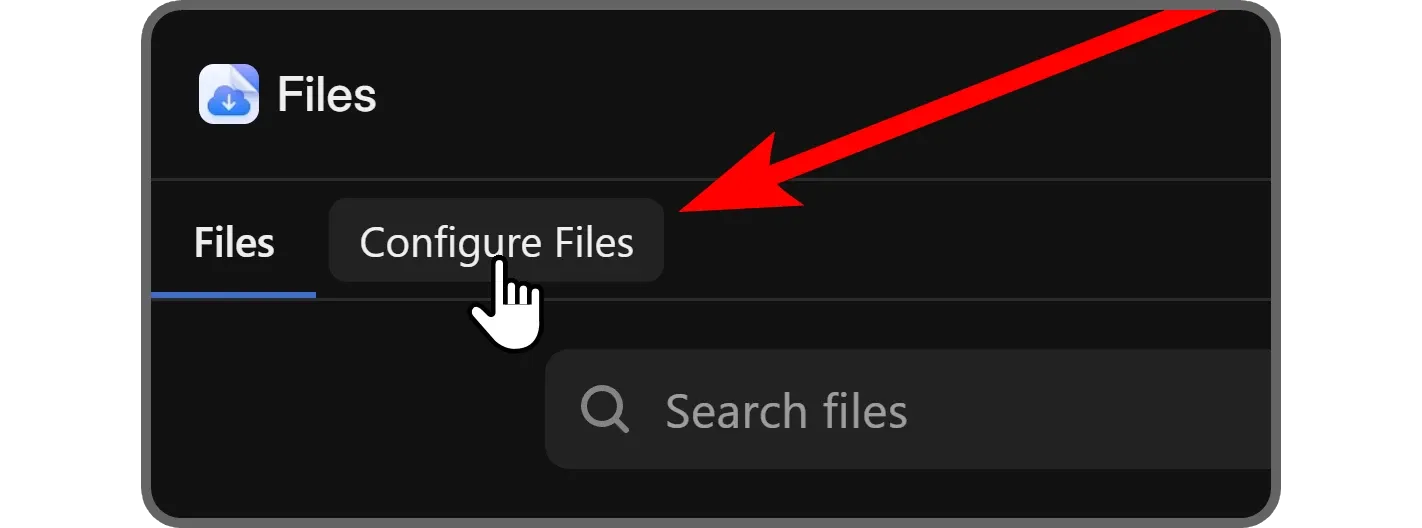
To be able to upload, edit, and remove files from the Files app on whop, you have to enable the admin view mode. You can do this by clicking on the Configure Files button at the top left of the app.
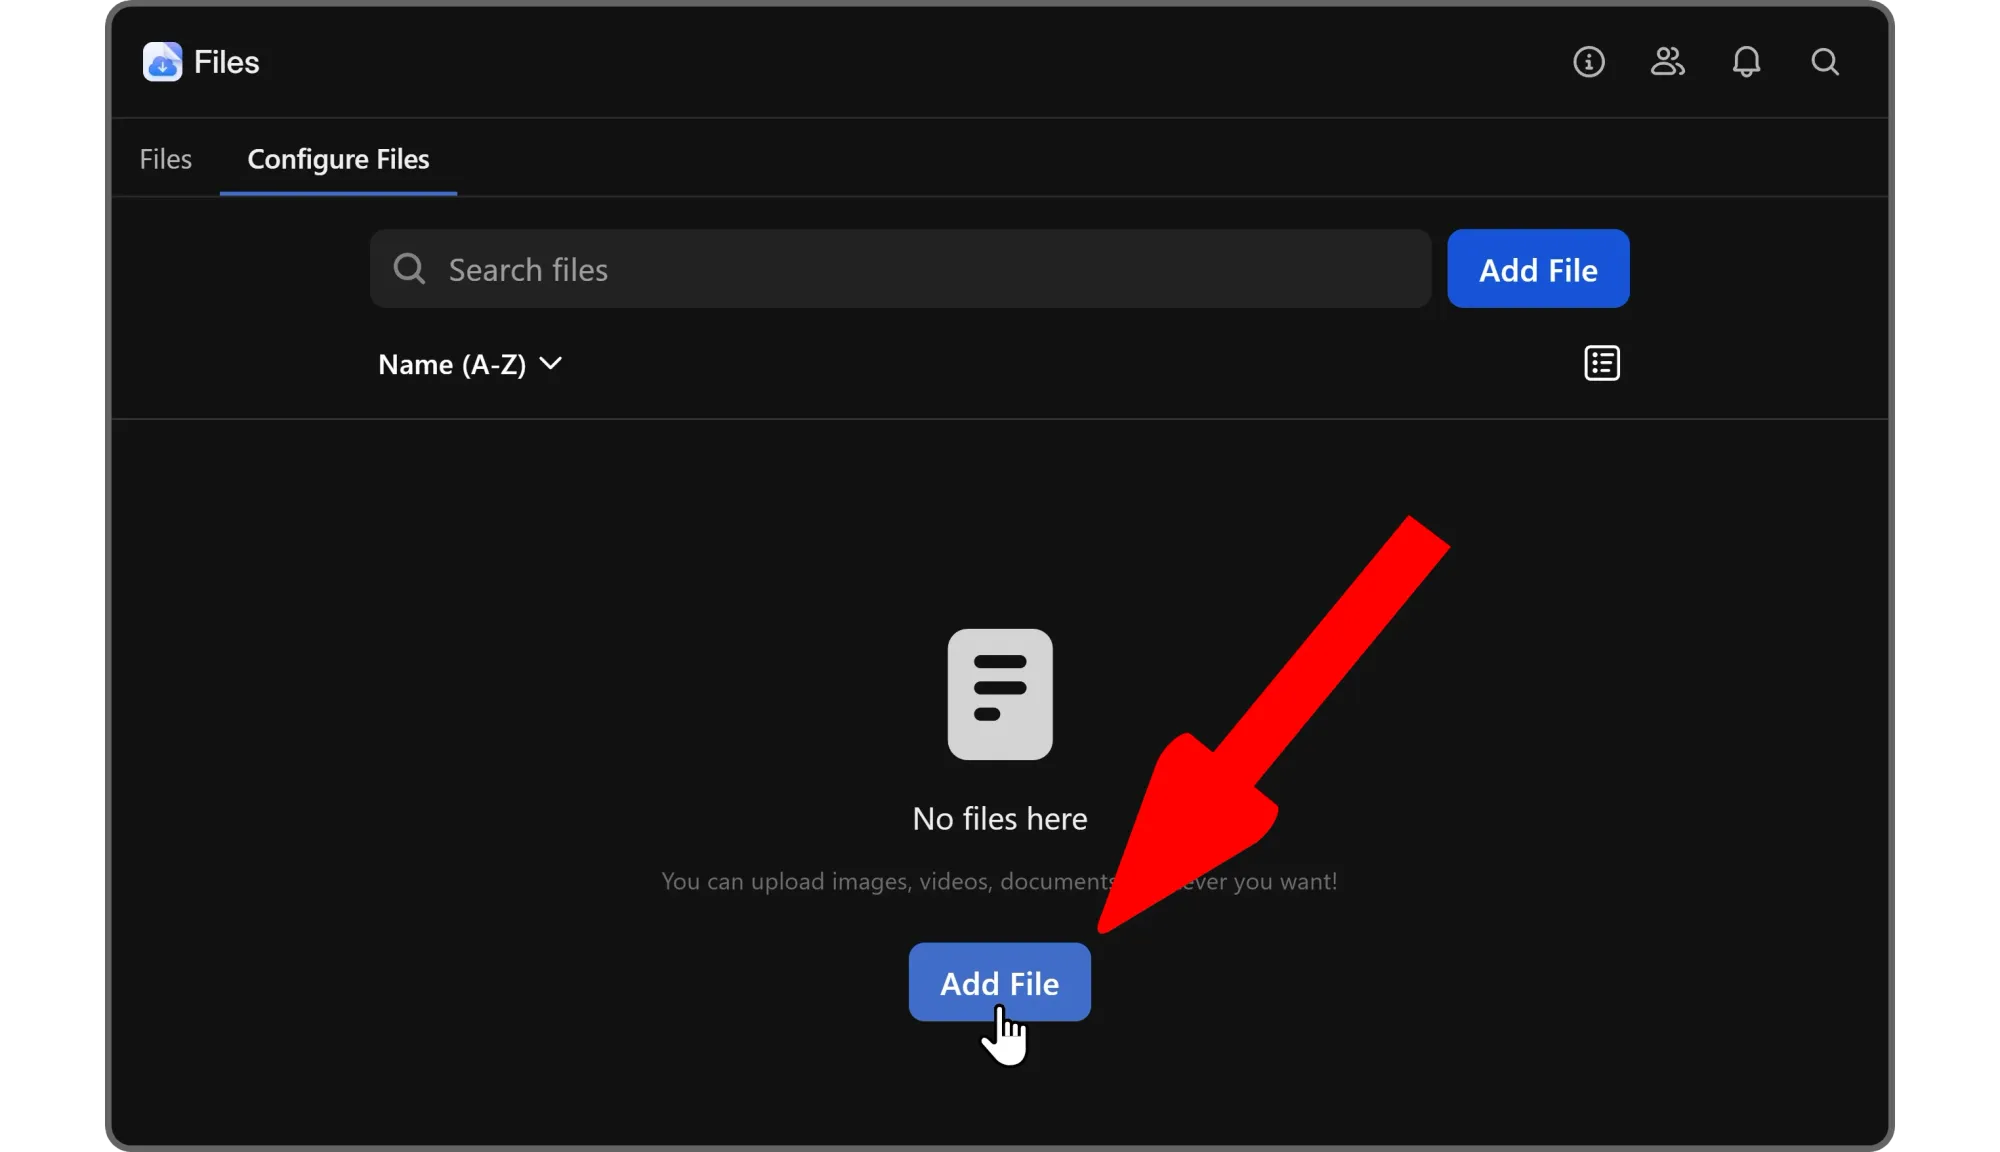
Let's click either one of the Add file buttons on the app to see the file selection dialogue. There, selecting a file will start uploading it to the app, and your members will be able to access and download the file right away.
After uploading a file, you can preview it by clicking on it. If you click the context menu button on the right side of files, however, you're going to see three options: Download, Edit, and Delete.
Clicking the Download button, as its name suggests, will download the file. If you click the Edit button, you're going to see the Edit file popup, where you can upload an icon to the file, change its file name, and determine if people can actually download the file or not.
If you disable the Allow downloads option on the Edit file popup, members will still be able to preview the file by clicking on it, but they won't be able to download it . Once your changes are done, click the Save button to publish the changes.
Pro Tip: Although the original name of the file includes its extension (like .pdf), you don’t have to include it in the name.
If you want to remove a file that you've uploaded, you can use the Remove button in its context menu, which will display a confirmation message. You should keep in mind that this action is irreversible.
After uploading all the files and making the necessary edits, you can click the Files button at the top left of the app to see what the final result looks like to your members.
They will be able to sort the files alphabetically or by creation time and search the files using the search bar at the top of the app. They can also change how the list looks - by default, it has the List view style, but users can change it to Grid view using the view selection button at the top right of the list.
Create your dream platform with Whop
Whop is the perfect place to create the perfect platform you’ve been dreaming of, and it’s super easy to do. Whop has been helping thousands of creators with creating and monetizing their platforms - you can be one of them.
Signing up to Whop, creating your platform, and getting started selling takes less than 10 minutes.


