Discover how to create, monetize, and promote your Discord server using Whop. This guide shows you easy steps to generate income from your online community.
Key takeaways
- Discord servers can become subscription-based income sources by creating communities around topics you're passionate about.
- Whop's integration with Discord automates member access management, handling payments and role assignments seamlessly.
- Successful paid Discord communities require promotion across social media platforms and joining marketplaces like Whop.
While Discord was originally created for gamers to communicate while playing their favorite games, the platform can be (and has been) used for pretty much anything – from organizing hangouts with friends and family to facilitating book clubs and even serving as the hub for some businesses to make sales.
However, Discord isn't just for fun and games - for many, it is a source of income. Individuals and organizations commonly use Discord is to launch subscription-based communities that are centered around a given topic. For example, users might pay a monthly fee to access a community of experts or pay to use bots that track sports betting data or stock market information.
For many people, joining paid Discord servers is a great way to connect with other extremely passionate hobbyists in a safe and fully relevant environment.
While monetizing your Discord server can be extremely beneficial as a second stream of income (or as a first if you are truly dedicated), many people don’t bother to go down this route as believe it will be too challenging. Thankfully, it’s much easier than it seems to create a Discord server with an amazing community and monetize it on Whop Marketplace.
This guide will tell you everything you need to know about creating a paid Discord server.
If you already have a Discord server, you can jump ahead to:
1. Create Your Discord Server
Let's start right at the beginning. Before anything else, the first thing you should do is create an account on Discord. After registering and confirming your email address, you can choose to either use Discord entirely in your browser or download the app.
After creating your account, you should set a profile picture, add a profile description, and otherwise make your profile your own. You can even set a custom status containing a link to your server. Discord Nitro members have personalization options, too, like a custom profile color scheme and banner image.
It is important to make your personal profile reflect your personality, as people will be more inclined to join your server if they see that it is moderated by real and dedicated people.
After you’ve set a profile picture, added a description, or anything else you need to make your profile yours, you can begin creating your server.
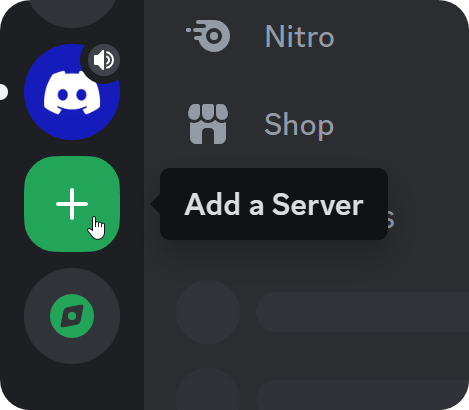
Click the green plus sign (+) on the left side of the app to initiate the process - you may need to scroll down if you are a member of other servers already. You’ll then be asked what you plan to use the server for, using a short list of options. Select whichever option is most relevant to your server.
Depending on your answer, it’ll give your server a different list of pre-generated channels, but don’t worry - you can edit these anytime. Each channel represents a different topic of discussion, so you should add channels that are relevant to the subject of your server. For example, if you started a server for a book club, you might have the following channels:
- #general
- #book-discussion
- #book-suggestions
- #off-topic
- #voice-chat
After you’ve added what you plan to use the server for and added or removed channels as you see fit, you can edit the name and icon of your server in the top left. This is one of the biggest chances your server has to make a first impression, so choose these wisely!
Remember, though, that you can always change them later. It is best to use logos, icons, or photographs that best represent your community, business, or organization. Our Discord sizing guide can help you with it.
2. Create a Whop Account
Before linking your Discord server to Whop, you'll need to create a Whop account and add your company.
It’s easy to get started with Whop, and it takes less than 5 minutes to create an account for your business.
How to Create a Whop Account and a whop
First of all, you need to create a Whop account. Click here to get started. After completing the signup, you'll be directed to create a whop.
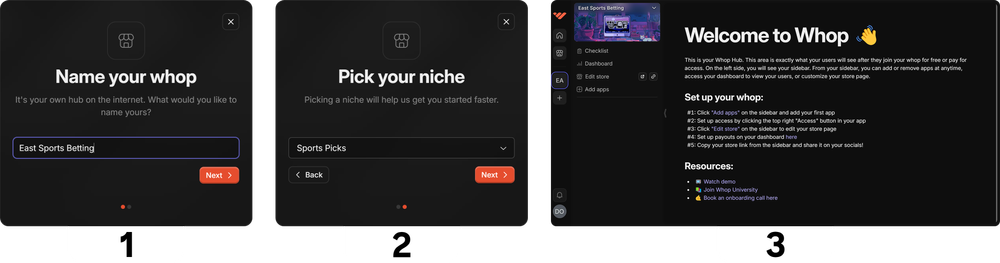
You can think of whops as a community platform in itself - it's a modular platform that lets you integrate apps like Discord, chat, forums, TradingView, video calls, downloadable files, ebooks, courses, and more. Let's take a look at the steps of creating a whop:
- The first step you'll see is the "Name your whop" step. There, select a cool name and click Next.
- In the second step, you'll be asked to pick which niche your whop will cater to - there are over 25 niches for you to pick. Once you're done, click Next.
- There you go! You just created a whop!
3. Add the Discord App to Your whop and Connect Your Server
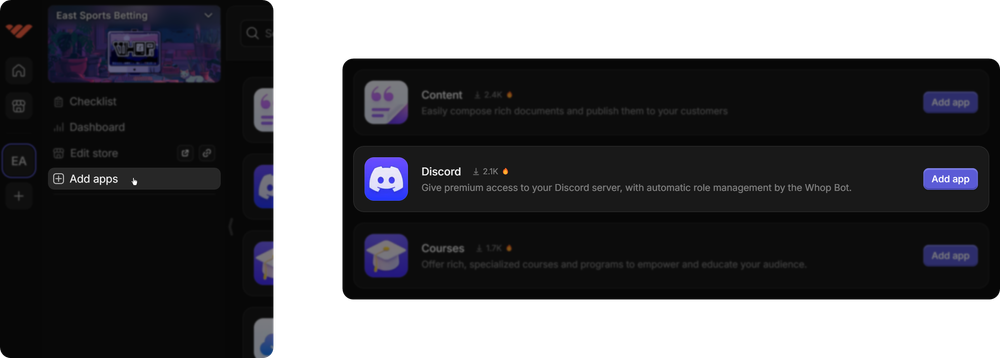
When you're looking at your whop, you can see the checklist, dashboard, edit store, and add apps buttons on the left-hand side. When you add apps to your whop, they will be listed under those. In this case, we want to add the Discord app.
Let's click on the Add apps button to open the list of all available apps. Find the Discord app and click the Add app button right next to it.
Once you add the Discord app, you'll be automatically directed to the app page. There, you'll see three tabs at the top: Set up, Preview as user, and Access.

Let's start with the Set up section and move on to others. In this section, the first thing you should do is to connect your Discord.
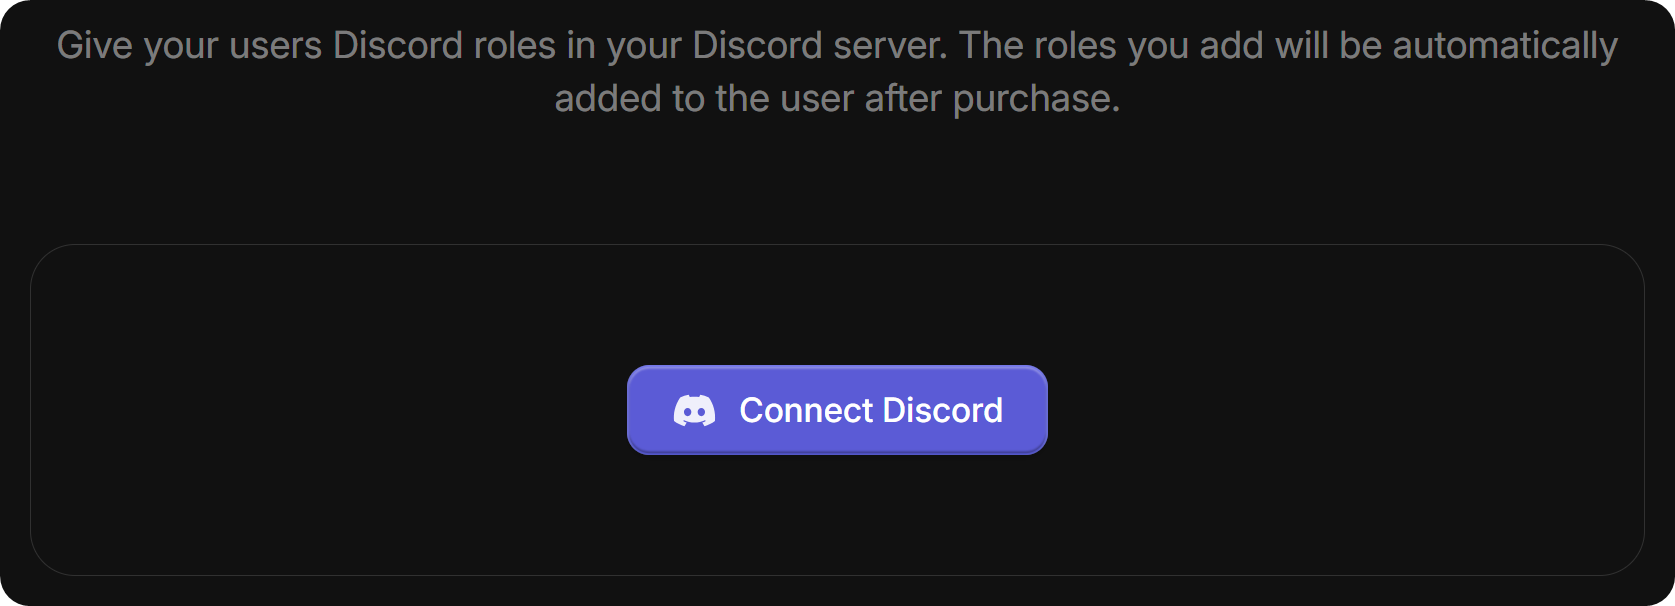
Clicking the Connect Discord button will direct you to adding the Whop Bot into your server, which will help you with user access and roles in the server. You can safely add the bot to your server without any safety concerns.
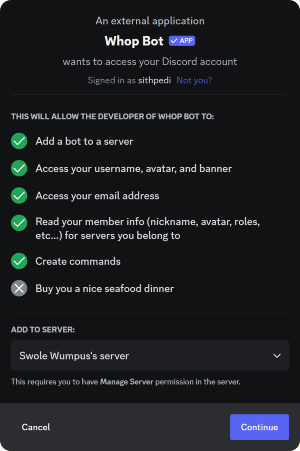
When you add a bot to a Discord server, it will automatically create a new role for the bot. One of the most important aspects of Discord roles is their hierarchy.
Roles with administrative permissions can't use their power against a role if it's below that role in the role hierarchy. This is why you'll see that the whop will ask you to move the Whop Bot's role to the top of the hierarchy after you add the bot to your server.
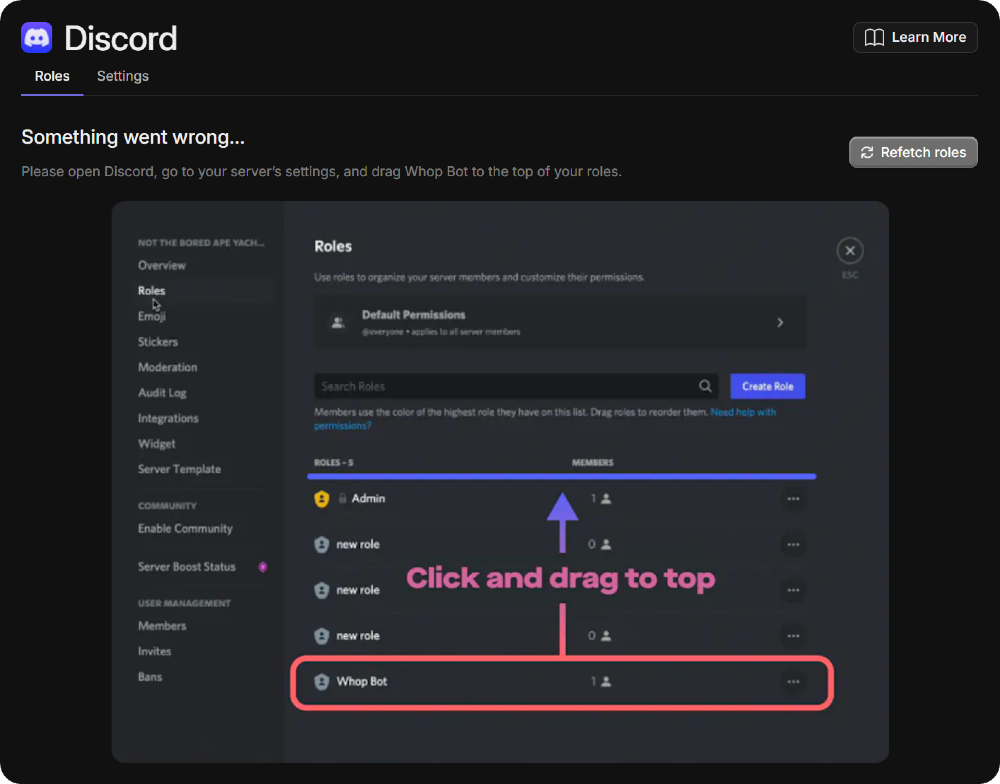
Once you fix the hierarchy, click the Refetch roles button at the top right of the app window to unlock the full functionality of the app.
Once you click the Refetch roles button, the Whop Bot will check if its role is in the correct position (at the top) and will display the app's settings.
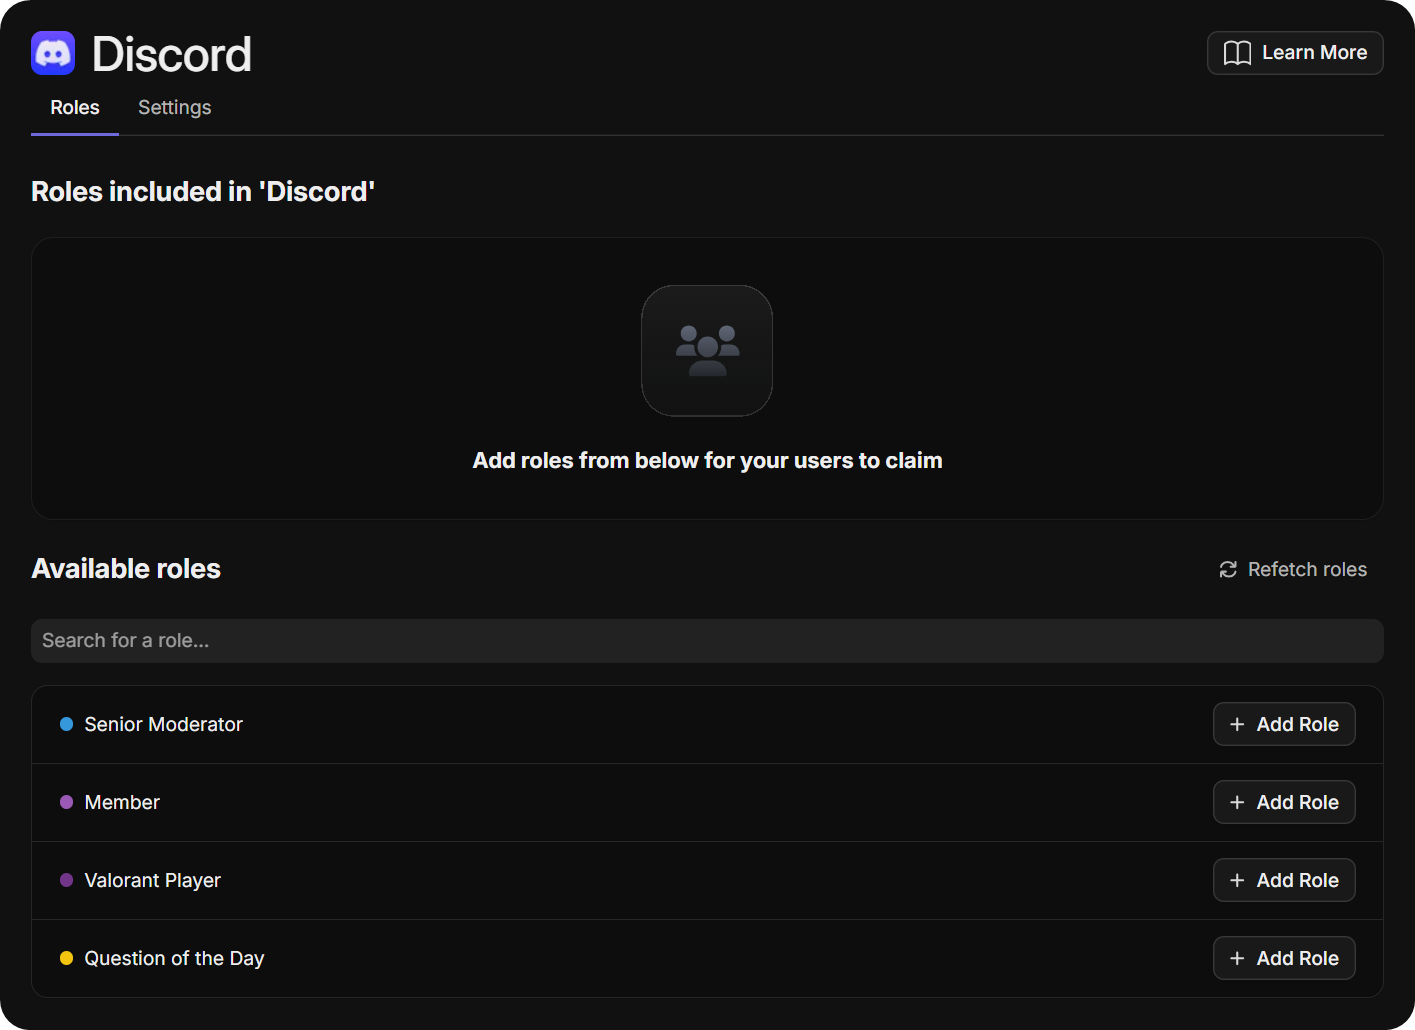
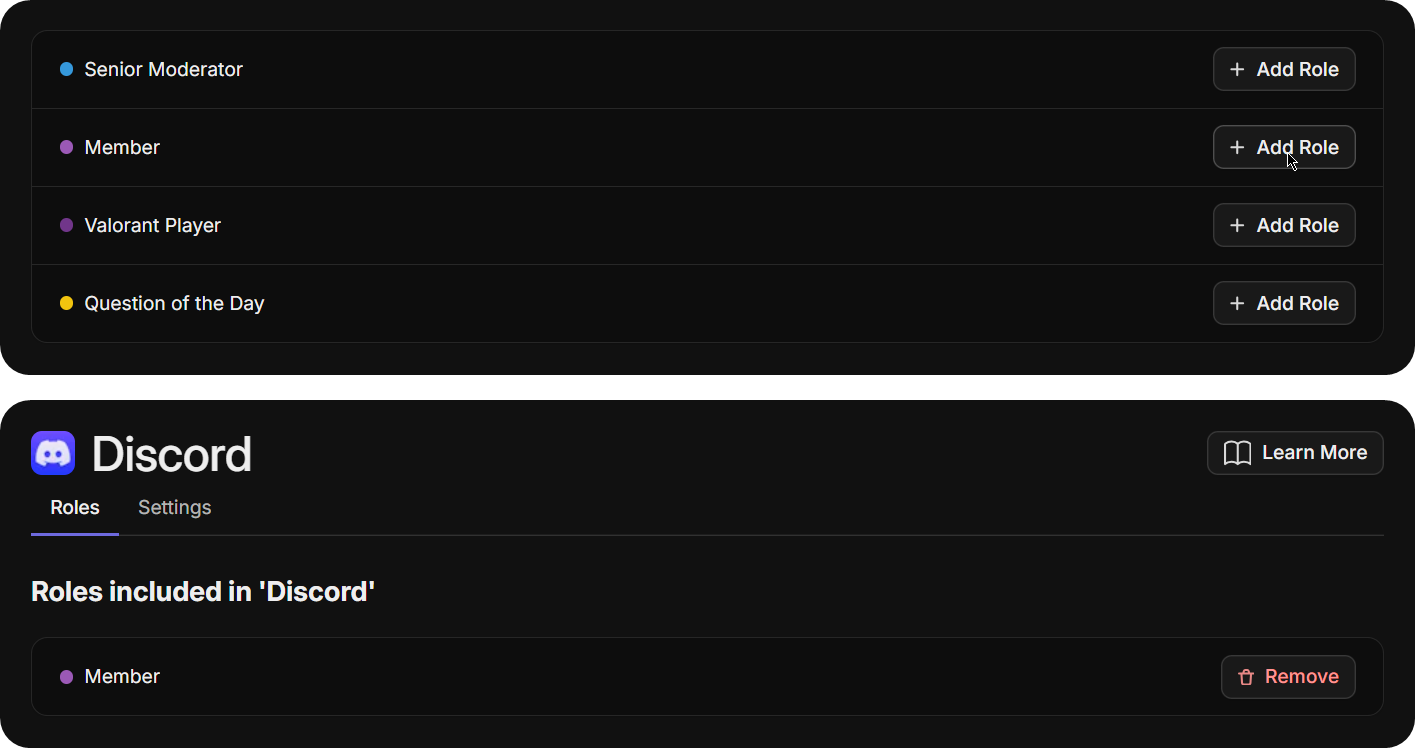
Now that you can access the full settings, let's connect a role to your whop.
Clicking the Add Role button next to your roles list will include them in the Discord app of your whop. In the Access section of the app, which we will get to later down the line, you can select how people can access these roles.
When you click on the Add Role button, the role will be moved up to the "Roles included in 'Discord'" section.
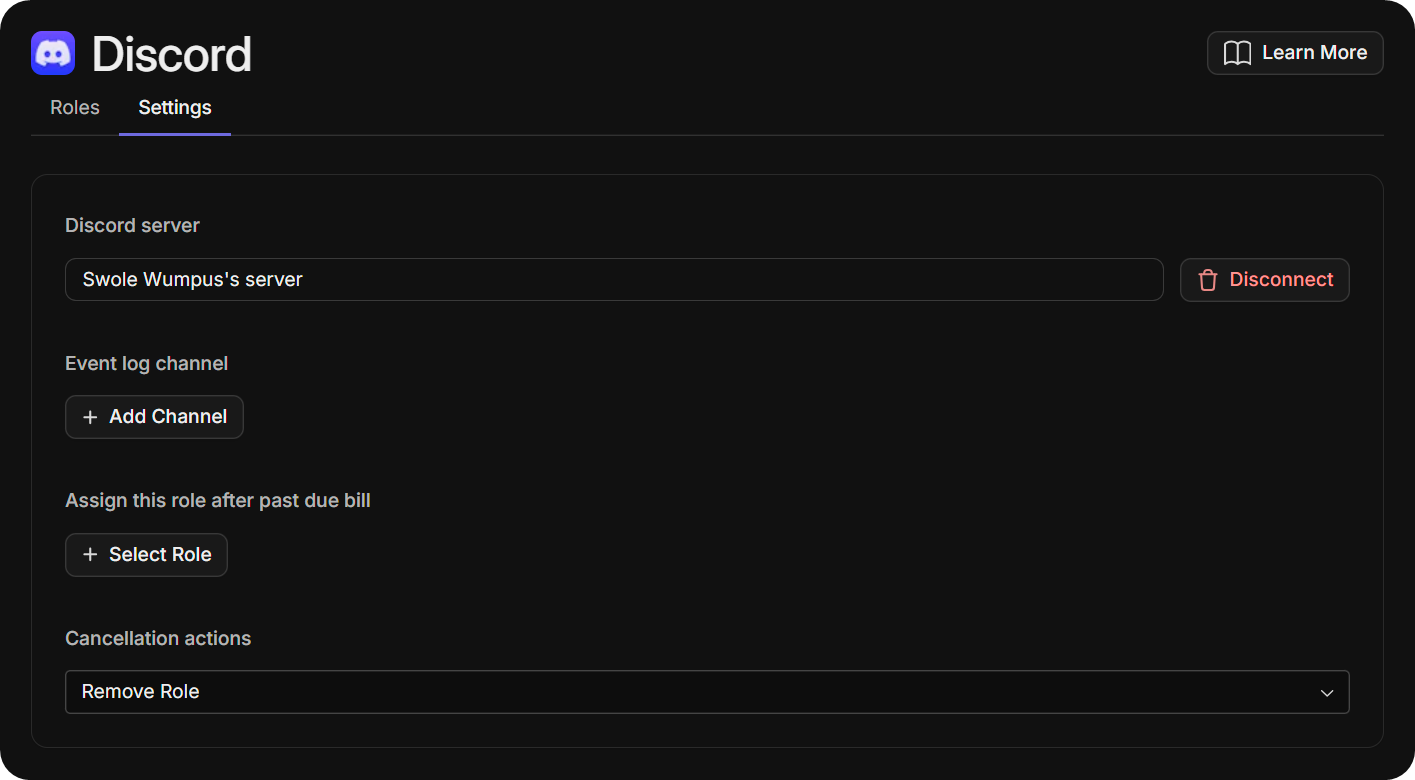
Before moving on to the Preview as User section of the Discord app, let's take a look at the Settings tab under the Set Up section. You can find the button to go to the Settings tab right under the Discord title. There, you have four settings you can adjust:
- Discord server - you can change the server that your whop is connected to using this setting.
- Event log channel - you can set up a log channel for the Whop Bot using this setting.
- Assign this role after past due bill - if you want the Whop Bot to assign users a specific role after their bill is due, you can use this setting.
- Cancellation actions - you can select what will happen to the users that will cancel their membership. There are four options: no action, remove role, kick user, and remove all roles.
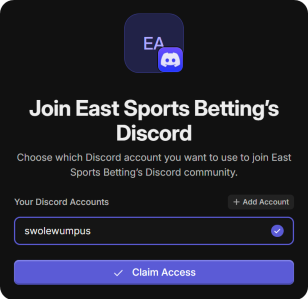
Now that we've covered all parts of the Set up section, let's move on to the Preview as User section. As its name suggests, this section shows how whop members will see the Discord app when they click on it.
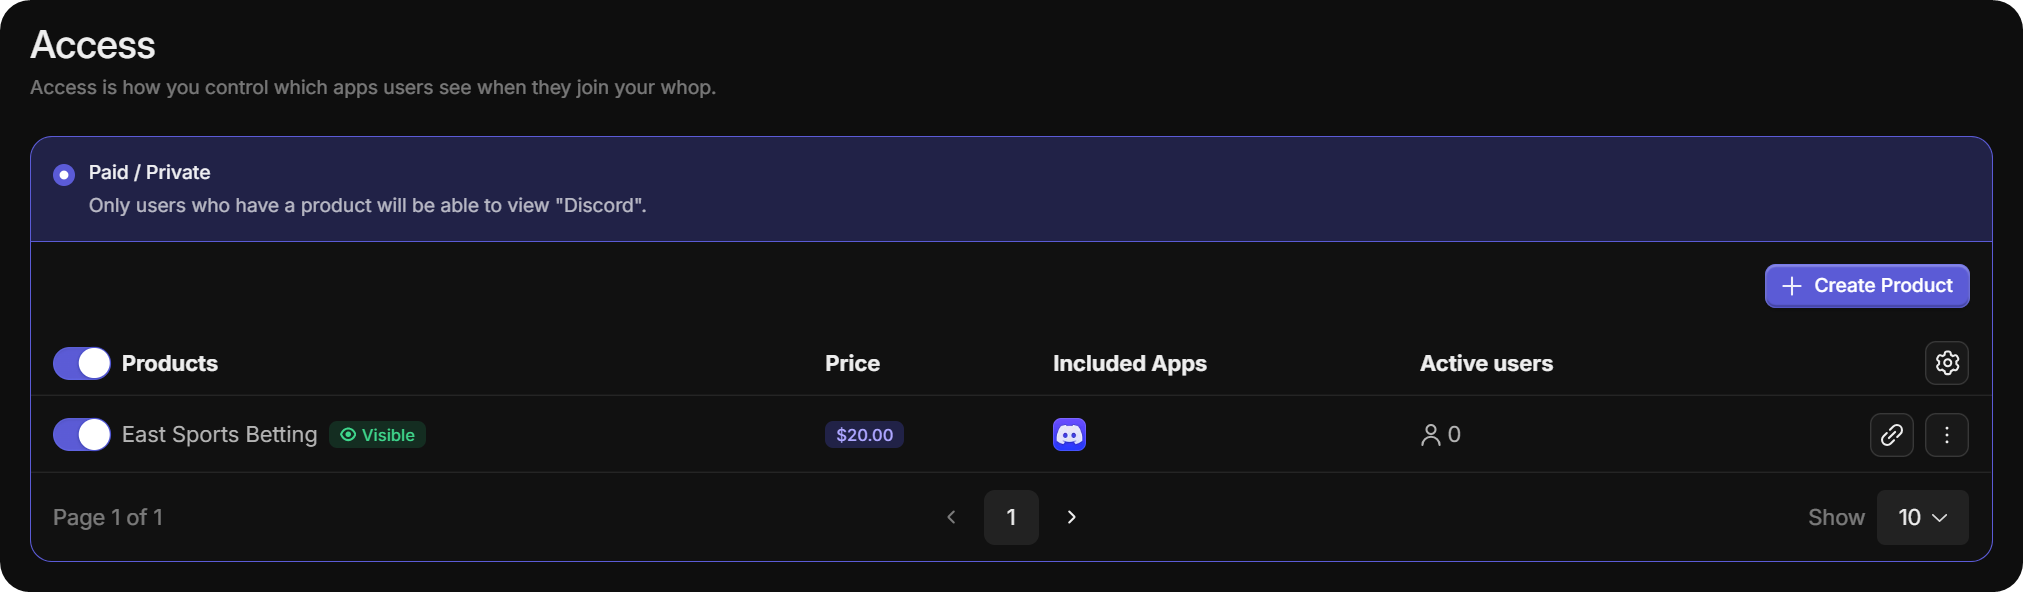
Now, finally, we can talk about the Access section. In this section, you'll determine which product is linked to which product. You can create products using the Create Product button on the top right - check out our Creating a New Product guide to learn more. Once you create a product, people who have it will be able to access the Discord app, join your server, and the Whop Bot will automatically assign the roles to them.
Once you’ve finished that, congratulations! Your Discord server - and additional settings, which will give users access to more channels and content, depending on how you set up your server - is now integrated with Whop!
You’ll just need to follow a few more simple steps in order to add a payment method to your account and start monetizing.
4. Promote Your Server
After creating your Discord server and adding it to your whop, it’s time to promote it. It’s a good idea to send the link first to friends and family who might be interested in joining your community. If you created a server about NFTs, for example, it’s definitely a good idea to send the link out to all of your friends who you know collect them. You never know who they will tell about your new server, too, and who might be interested based on their word-of-mouth recommendation.
While you can and should reach out to those close to you to promote your server, your advertisements should not end there. Most people who join Discord servers also use other social media like Twitter, Facebook, Instagram, and TikTok. You should promote your server there, too, by creating relevant and useful content and sharing it with prospects. For example, if you start a book club server, as we mentioned earlier, you might create a TikTok about your favorite books of 2022 and plug your server at the end.
You also have the option to join the Whop Marketplace. The Whop Marketplace is home to thousands online communities and products, including paid Discord servers. By joining the marketplace, you put your paid group in front of buyers actively searching for their next purchase.
Make Your Paid Discord Server With Whop!
No matter what topics you are passionate about, it’s easier than it seems to create a community surrounding them and start monetizing your server.
If you’re ready to start making money with your Discord server then join Whop today. Your wallet – and your flourishing community – will thank you!