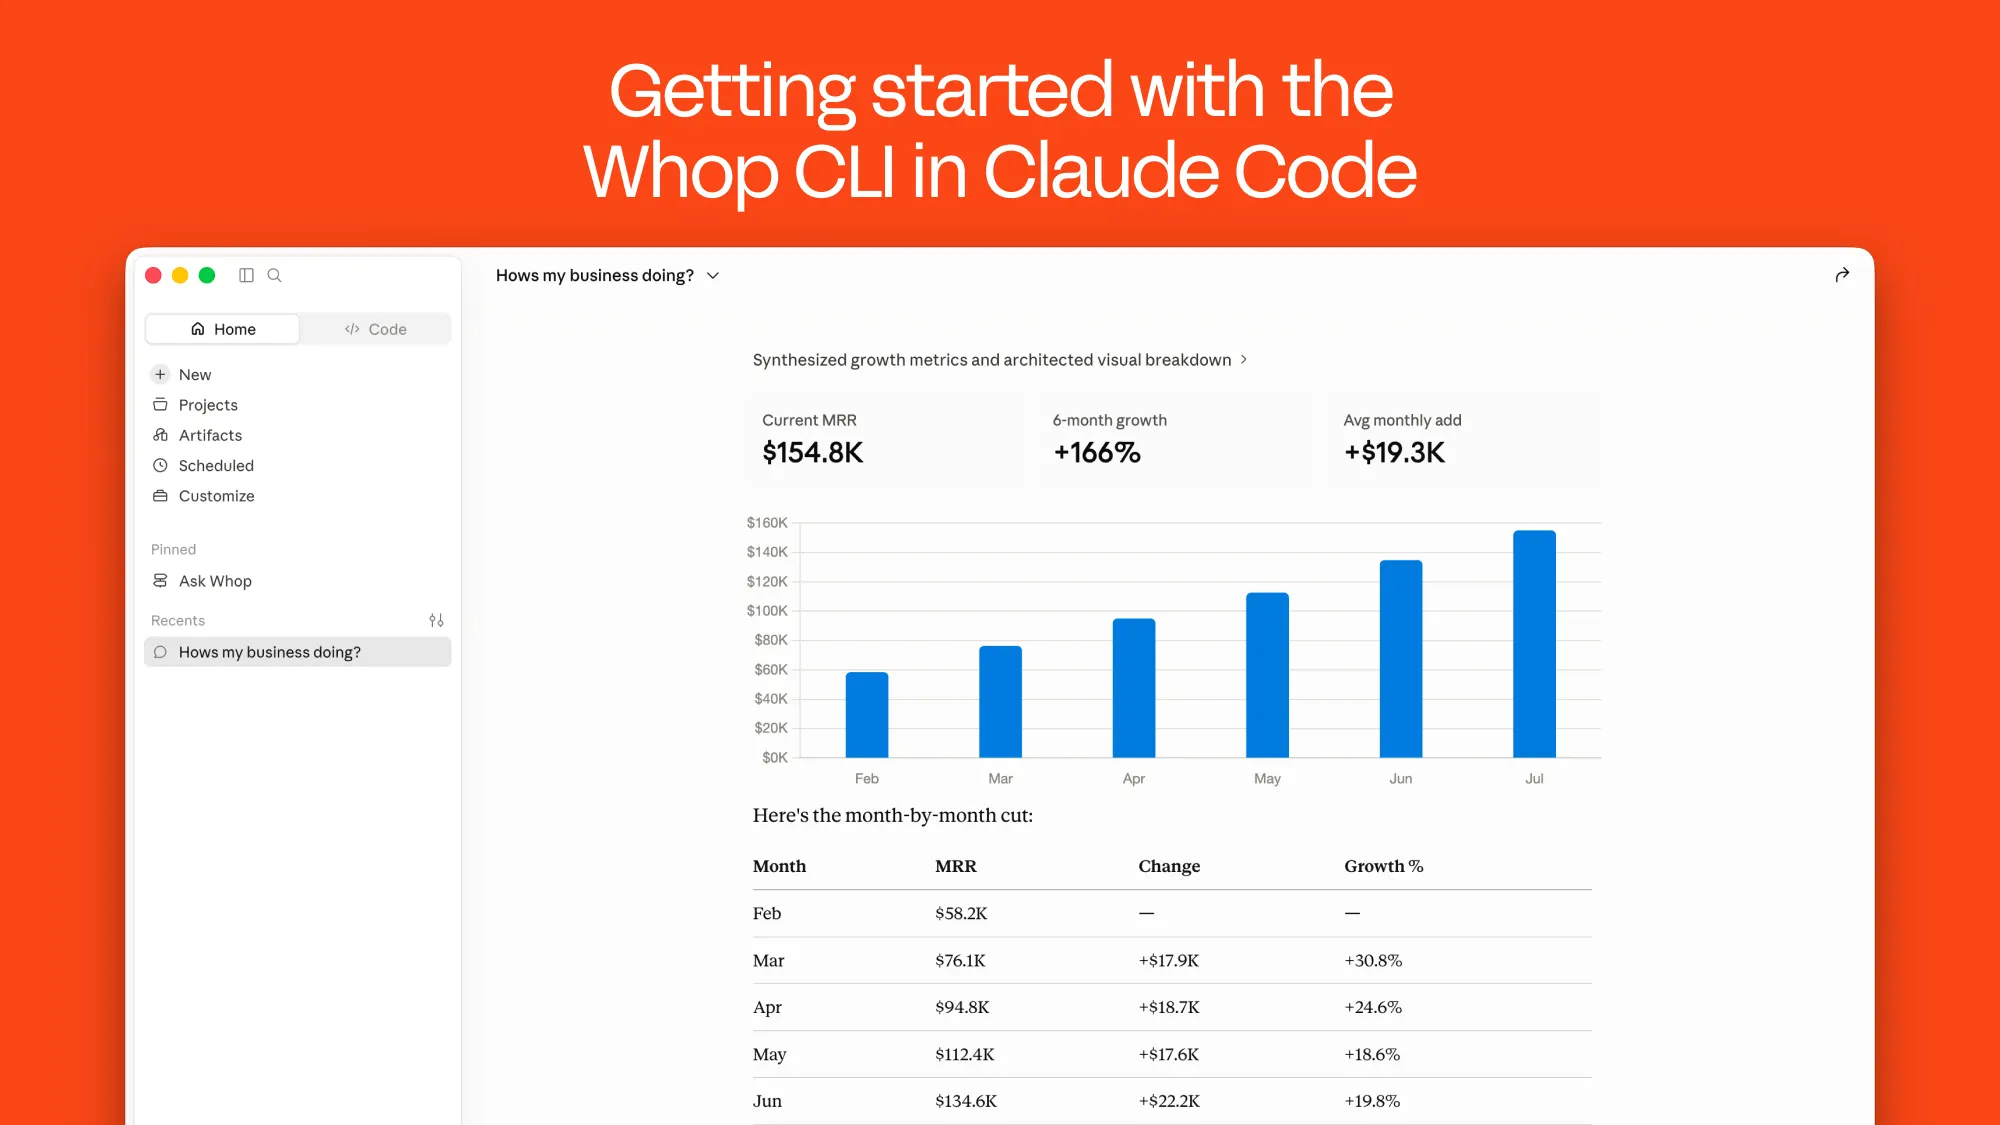
You can start using the Whop CLI in Claude Code by installing it and running the whop command.
Key takeaways
- Install the Whop CLI, sign in, and add Whop skills so Claude can operate your business.
- Describe an outcome and Claude chains commands to create products, pricing, and live checkout links.
- Browser login covers reads and edits, but moving money or managing keys requires API key login.
You can run your business from Claude Code by installing the Whop CLI, adding the CLI skills made by Whop, and instructing Claude to use it.
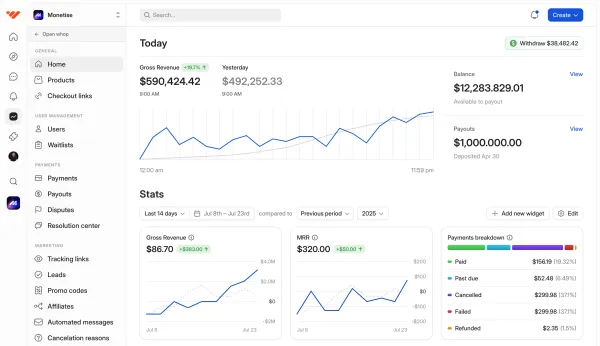
The Whop CLI is the Whop.com dashboard's command-line twin, and it lets Claude and other agents do the things you'd otherwise manually do on Whop.com like see what you're selling, create products and pricing, generate live checkout links, and change any of it on request.
In this tutorial we're going to cover the short setup (install the CLI, sign in, and sync the skills that teach Claude to use it) and then the first quick actions you can take with it like seeing your business through Claude, creating a product with a working checkout link, and changing its price.
It takes one prompt to start a business
The sections below walk through the CLI's core features one prompt at a time, but the reason the Whop CLI is powerful is that Claude can chain all of the CLI commands without you having to intervene at every individual step.
The Whop CLI covers products, pricing, checkout, and even building entire apps on Whop so you can skip the steps and ask Claude for the outcome:
Build me a members-only sneaker cook group with a 50-seat cap and a waitlist that opens a seat the moment someone cancels.
Build me a beat store where producers upload loops, buyers preview them in the browser, and every purchase generates a license PDF.
Build me a listing description generator for real estate agents that's free for three listings, then $29 a month with team seats.
A few minutes after running one of these prompts, you'll have a working app with products and checkout, live on Whop, and you never opened the Whop dashboard.
Installing the Whop CLI
There are five steps we're going to take to set up the Whop CLI.
First, we're going to install the Whop CLI, confirm it works, then sign in to your Whop account, and select the company you want the CLI to operate.
After selecting the company you want to work with, we'll add the Whop CLI skills to Claude Code so that it inherently knows how to use the CLI to the fullest without you having to manually teach it.
Let's install the Whop CLI first by running the command below:
curl -fsSL https://whop.com/install.sh | sh   # macOS and Linux
brew install whopio/tap/whop                  # Homebrew
npm install -g @whop/cli                      # Windows (needs Node.js 22+)
Then, confirm the CLI is available by running the command:
whop --versionSign in and select a business
Once the install is complete, let's log in to your account. You can do this by using either the whop or the whop login command.
whop command will display a list of all commands you can use.Once you run one of them, you'll be prompted to select if you want to log in with Whop, which opens a new browser tab for you, or use an API key, which requires you to paste a Whop account API key.
Logging in with Whop then gives you a list of all the businesses you have and prompts you to select one.
whop auth account biz_XXXXXXXX command, and adding the skills like we'll do below will teach Claude how to do this.You can find the correct company ID that starts with
biz_ by using the command whop auth account --list, or once the skills are added, by simply asking Claude to "show my Whop business accounts".Logging in using an API key
For reading your balance, ledgers, payouts, and disputes, you can use the browser login. But if you want to move money, swap currencies, manage keys and webhooks, you're going to need the API key login.
When you select the API key login option with whop login, you'll be prompted to paste your API key. You can get one by following these steps:
- Go to your company dashboard at Whop.com, and open the Developer page (at the bottom of the dashboard navigation bar)
- In the Developer page, click the Create key button under the Company API keys section
- Assign the permissions you wish to grant to the API key (not enabling permissions means CLI commands will fail)
- Copy the API key, run the
whop logincommand, select the API key option, paste your API key, and log in
Adding the Whop CLI skills to Claude Code
Now, let's add the Whop skill to your local skills directory.
Running the command below installs the Whop skill, which teaches your Claude Code (or any agent) how to manage a Whop account, create ad campaigns, handle authentication, deploy apps, and take many more Whop actions via the CLI.
whop skills addAt this point, the CLI is authenticated and configured for the selected business account, and Claude Code has the Whop skills it needs to use the CLI.
Seeing your business through Claude
Open Claude Code either on the terminal or the desktop app, and give your first Whop CLI-related prompt to it:
Using the Whop CLI, show me what I'm selling right now.
This will trigger Claude to run the whop products list command to get a list of the products, and the whop plans list for the pricing. Then, it will give you the results in plain English.
Creating a product and a checkout link
Now, let's ask Claude to create a product and a checkout link. Something that people can actually buy.
Of course, the prompt we'll use is just an example. Either try it on a test company you have or alter the prompt:
Create a product called Lifetime premium for my Whop company, price it at $20 one-time, and give me the checkout link.
This will trigger Claude to run three commands and reuse the IDs between them:
whop products create --title "Lifetime premium"
whop plans create --product_id prod_XXXXXXXX --plan_type one_time --initial_price 20
whop checkout-configurations create --plan_id plan_XXXXXXXX
The last command gives you a hosted checkout link that is ready to share. If you would rather embed that checkout inside your own app, our guide on adding checkout to a Next.js app walks through it.
Changing the price of a plan
On top of creating products and giving you information about your company, the Whop CLI lets Claude and other agents edit things in your company as well.
For example, you can change the price of products using prompts like:
Raise the price of Lifetime premium to $25.
This will trigger Claude to run the command:
whop plans update plan_XXXXXXXX --initial_price 25Let's say you want to run a campaign where users can get a free trial to your app. Normally, this would require you to go to your company dashboard, edit the product, and enable free trials.
With Whop CLI, however, you can just ask Claude to add a 3-day free trial to your product(s), like:
Add a 3-day free trial to all of our subscription products.
This will trigger Claude to run the CLI command:
whop plans update plan_XXXXXXXX --trial_period_days 3Products you create on Whop, whether manually in the dashboard or with the CLI, have unlimited stock.
The Whop CLI even supports adding and editing the stock count of your products. Asking Claude to do so will trigger it to run the command:
whop plans update plan_XXXXXXXX --stock 50 --unlimited_stock=falseWhat Claude won't do alone with the CLI
The Whop CLI marks destructive commands like deletes, payouts, and transfers in the manifest agents read, so Claude (or the agent you use) always asks for confirmation before running one.
Everything we did in this tutorial runs on the browser log in from the setup step, so do your balance, ledger, payout, and dispute reads. Moving money between accounts, swapping currencies, and managing API keys or webhooks still need an API key login.
Keep exploring the Whop CLI
We touched on the basics of the Whop CLI in this tutorial. If you want to learn more about everything you can do with the Whop CLI, simply ask your Claude or use the command whop --help.
You can also put the CLI to work on real projects. For example, Claude can create the products and plans while you follow our YouTube clone build.
The CLI updates itself in the background. Run whop upgrade to update it immediately. If the upgrade output says skills are out of date, run whop skills add again.