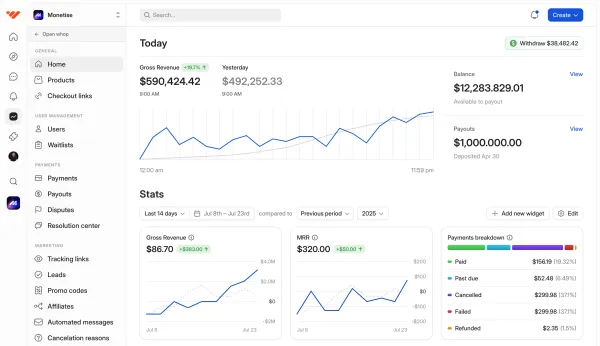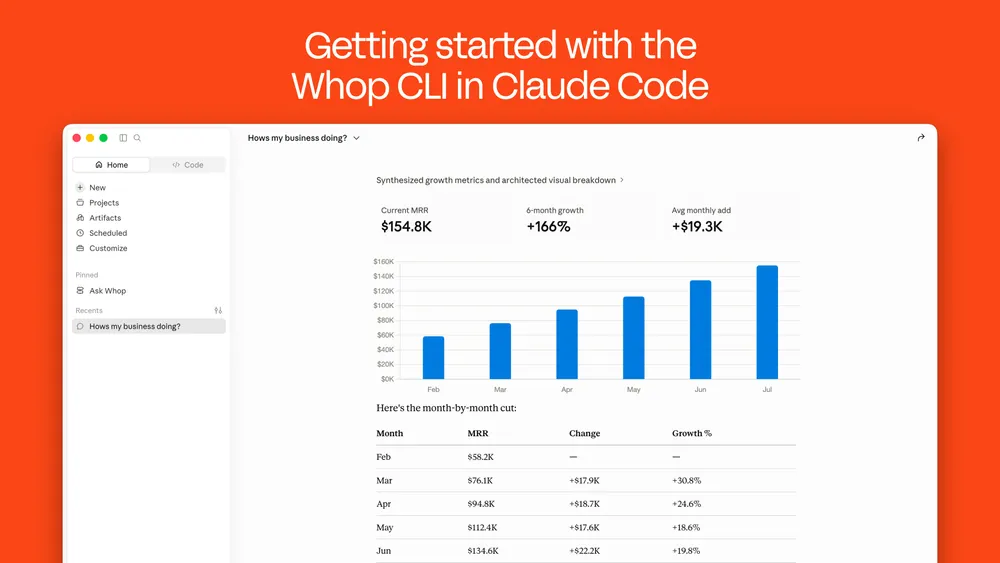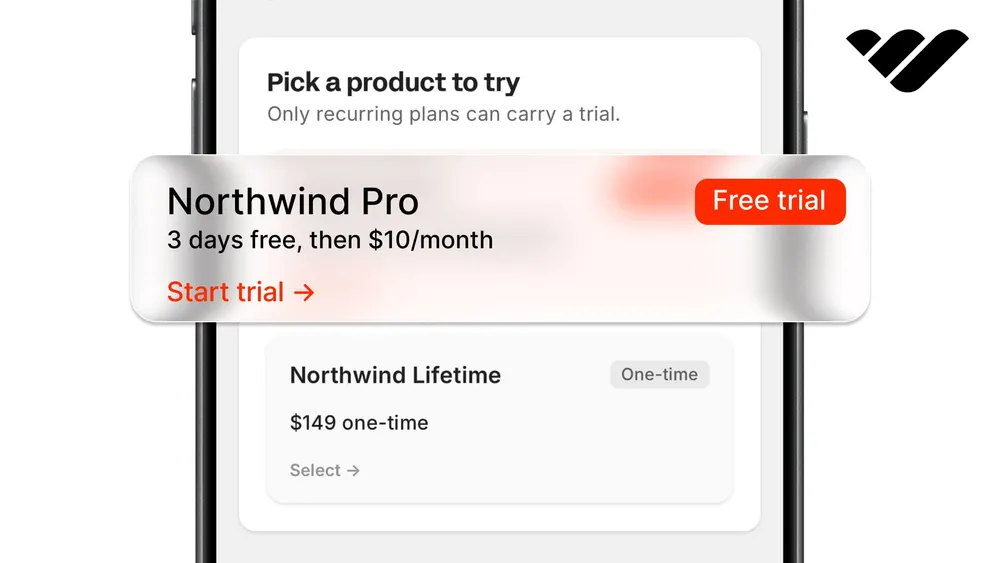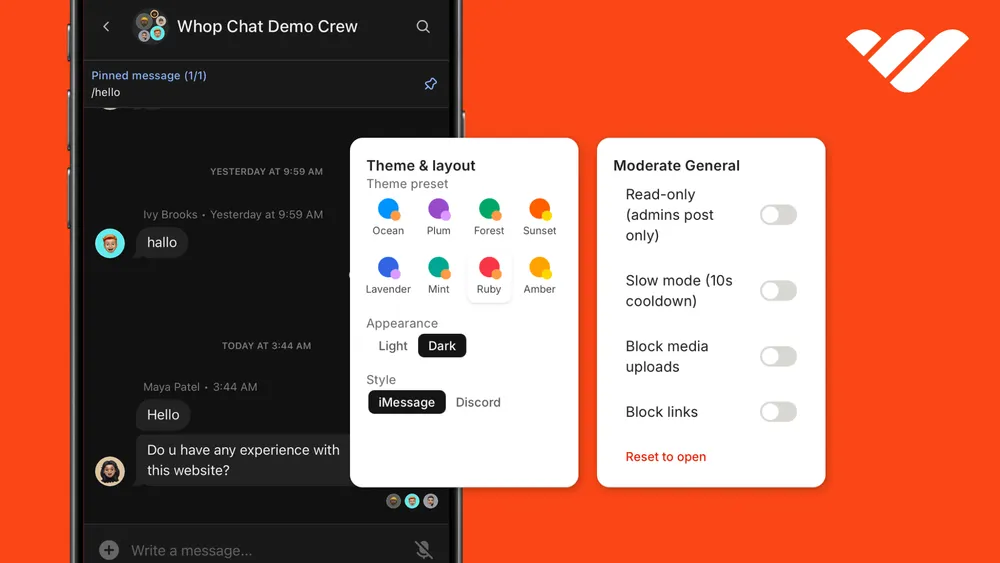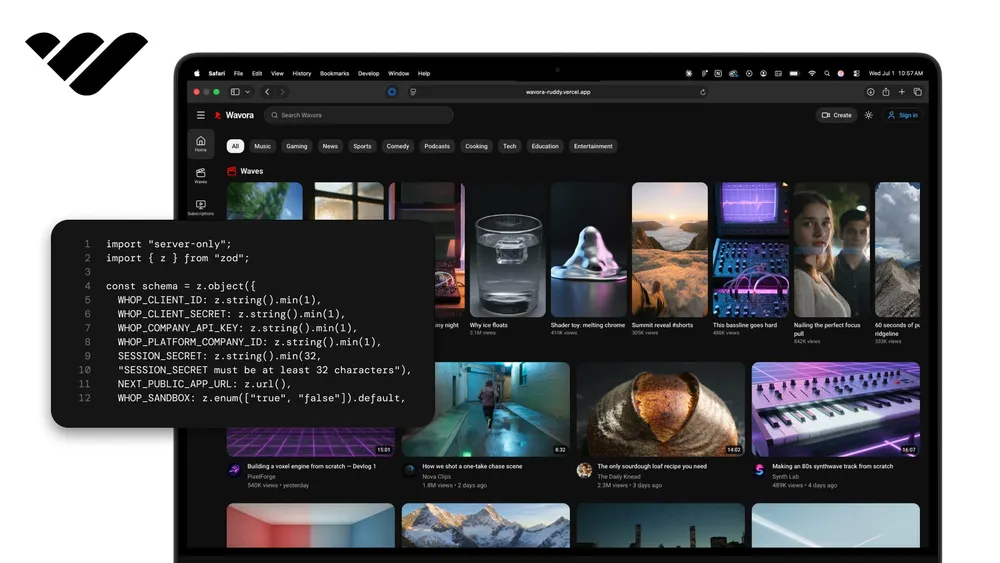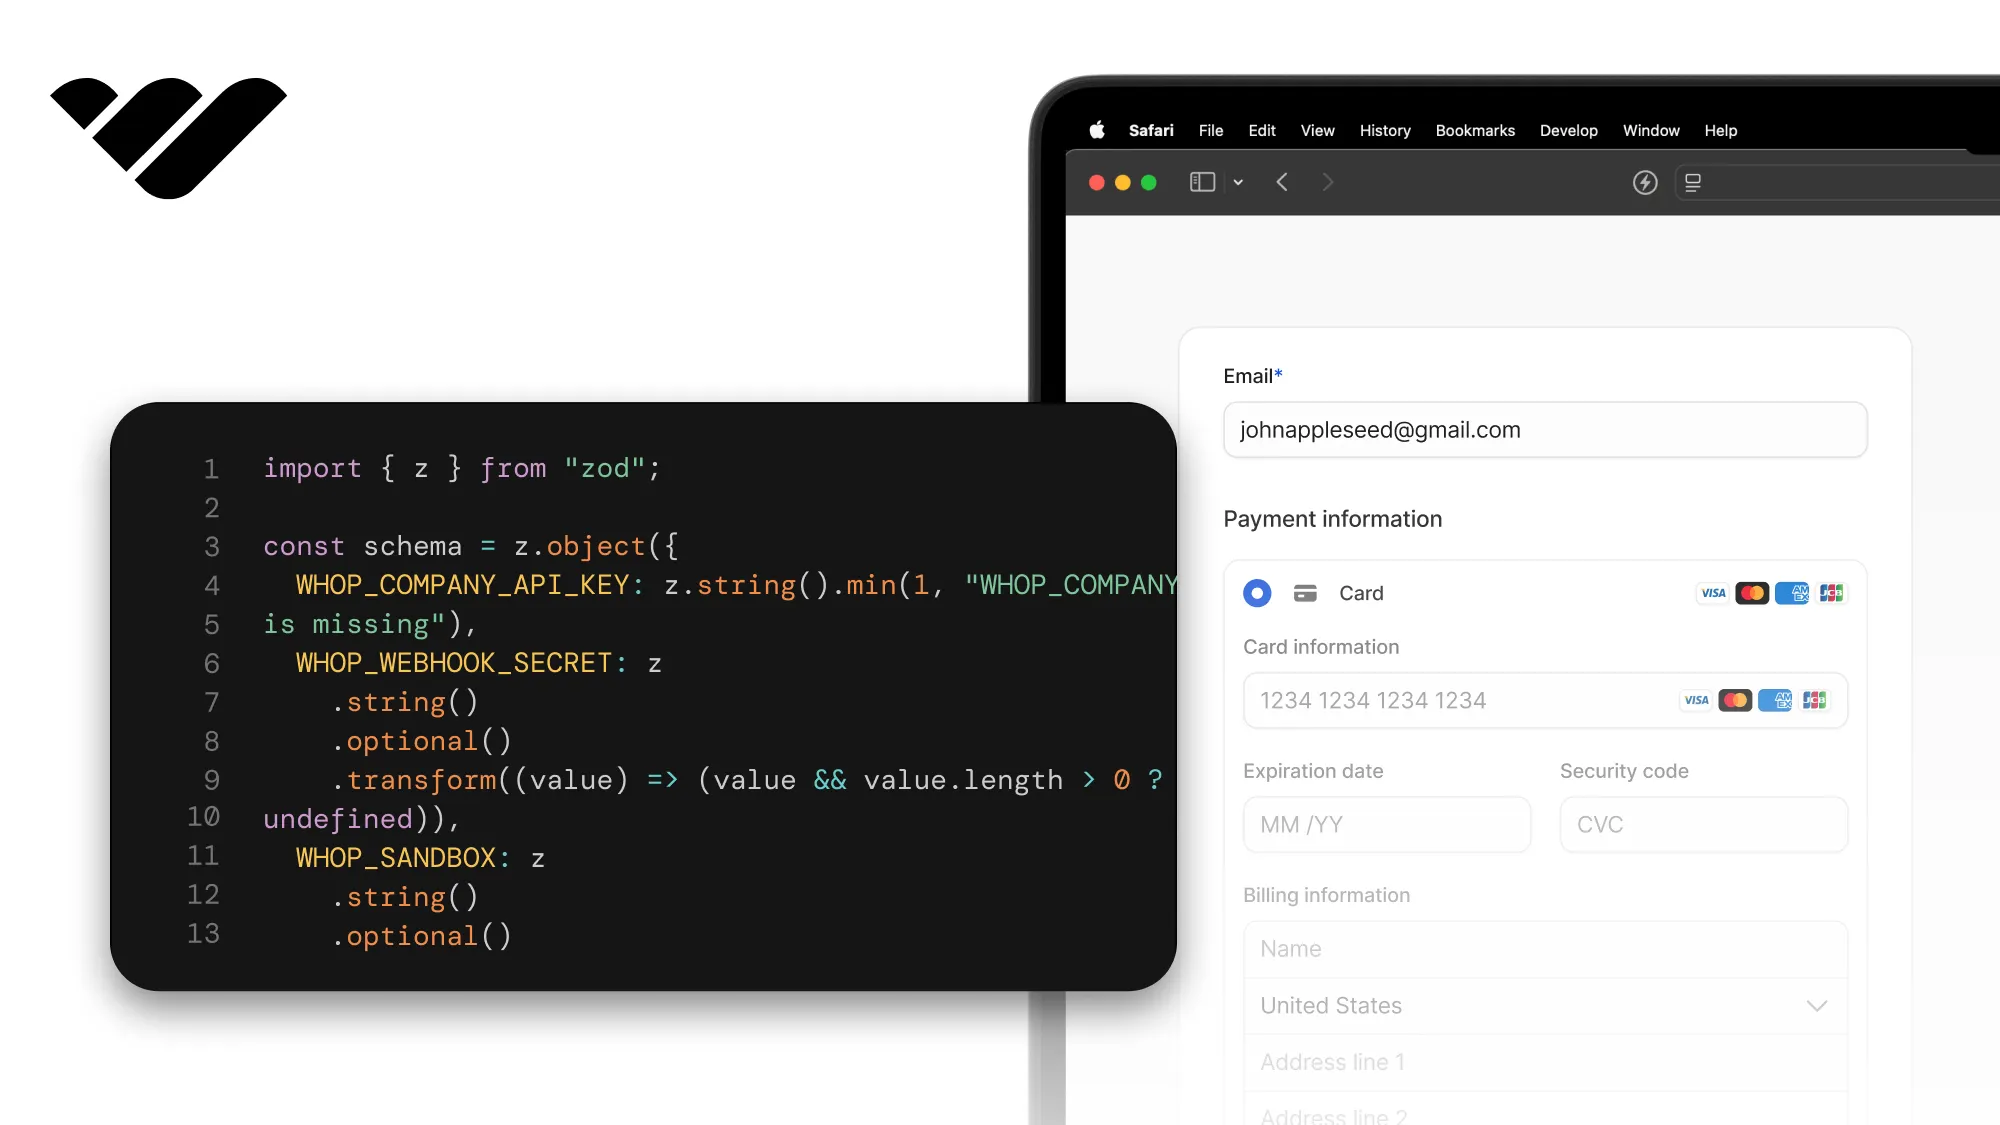
You can integrate a checkout API into your app using Next.js and Whop, without building a payment form or touching card details. Learn how in this guide.
Key takeaways
- Embed Whop's checkout in your Next.js app to accept payments without building forms or storing card data.
- Attach your own order ID to the checkout before the buyer pays, so every payment maps back to a sale.
- Confirm payments server-side and deliver via webhook, so purchases unlock even if the buyer's browser dies.
You can sell products in your app without building a payment form, storing card information, or handling the entire payment backend by yourself.
By integrating the Whop checkout API, you can drop a checkout in your page and tag it with your own order ID before the buyer ever sees it.
In this tutorial we're going to cover creating a product and a price from the terminal using the Whop CLI, tagging a checkout with your own order number, putting the payment form inside your page so the buyer never leaves it.
We'll also confirm the payment on our server before trusting it, and hand over what was bought from a webhook, so the delivery still happens when the buyer's laptop dies halfway through.
You can check out the entire flow in our companion demo here and its repository here.
Prerequisites
For the sake of this tutorial, we're going to work on an existing Next.js app and we'll add files under lib/, components/, constants/, app/pricing/ and app/api/, plus one content security policy line in next.config.ts.
The code we'll use is TypeScript, but Whop provides SDKs for Python and Ruby as well. The payment form is a script tag that can be used on any page that serves HTML, and the webhook is an ordinary signed POST.
A Rails or Django app does all of this in the same order with the same four objects.
Set up a sandbox account
We're going to start off by using the Whop sandbox. It's going to allow us to test how payments work without touching real money.
Go to Sandbox.Whop.com, create a sandbox account, create a whop using the Start a business button on the left sidebar, and open its dashboard once created.
We're going to cover switching to the production environment at Whop.com later in the guide.
Get an API key
While you're viewing the dashboard of your new company, go to the Developer page of the dashboard and find the Company API keys section. There, click the Create button to create a new API key and grant the following permissions:
access_pass:createaccess_pass:basic:readplan:create,plan:basic:readcheckout_configuration:createpayment:basic:read,developer:manage_webhookwebhook_receive:paymentsmember:basic:readmember:email:readmember:phone:readpromo_code:basic:readpayment:dispute:readpayment:resolution_center_case:read
After you create the API key, take note of it. We're going to add it to the environment variables soon.
Install the packages
Now, let's install the Whop SDK, the Whop checkout, and Zod using the command:
npm install @whop/sdk@^1 @whop/checkout@^0.6 zod@^4@whop/sdk allows us to talk to Whop from our server, @whop/checkout is the payment form we're going to drop into our page, and zod checks that things arriving from outside are shaped the way we expect.
Environment variables
To add the necessary environment variables, go to or create the .env.local file in the project root and populate it with:
| Variable | Example | Where it comes from |
|---|---|---|
WHOP_COMPANY_API_KEY |
apik_... |
The key we just made |
WHOP_WEBHOOK_SECRET |
whsec_... |
Shown when we create the webhook, later |
WHOP_SANDBOX |
true |
Typed by hand. Remove it or set to false for production |
APP_URL |
http://localhost:3000 |
Our app's own address |
Check the env vars on startup
Go to lib/ and create a file called env.ts:
import { z } from "zod";

const schema = z.object({
  WHOP_COMPANY_API_KEY: z.string().min(1, "WHOP_COMPANY_API_KEY is missing"),
  WHOP_WEBHOOK_SECRET: z
    .string()
    .optional()
    .transform((value) => (value && value.length > 0 ? value : undefined)),
  WHOP_SANDBOX: z
    .string()
    .optional()
    .transform((value) => value === "true"),
  APP_URL: z.string().url("APP_URL must be a full URL"),
});

export type Env = z.infer<typeof schema>;

let cached: Env | undefined;

export function getEnv(): Env {
  if (cached) return cached;

  const parsed = schema.safeParse(process.env);

  if (!parsed.success) {
    const problems = parsed.error.issues
      .map((issue) => `${issue.path.join(".")}: ${issue.message}`)
      .join("\n");
    throw new Error(`Environment is not configured.\n${problems}`);
  }

  cached = parsed.data;
  return cached;
}
How a sale moves through this
All the following sections build a part of the bigger money flow so let's take a look at the bigger picture before we start.
There are four elements involved: a product (prod_) is that we sell. A plan (plan_) is its price. The checkout (ch_) is a prefilled payment form, and the payment (pay_) is the money landing.
When a customer clicks on "Buy," our server creates a pending order and asks Whop for a checkout. Whop returns a checkout ID and the embedded payment form loads in our page, attached to that ID.
After the buyer completes the payment, we confirm it with Whop and Whop posts to our server to let us know the money has landed.
Both of the last two steps find the same order, because we attached its ID before the buyer saw the card field.
Connect to Whop
Go to lib/ and create a file called whop.ts:
import { WhopClient } from "@whop/sdk";
import { getEnv } from "@/lib/env";

let cached: WhopClient | undefined;

export function whop(): WhopClient {
if (cached) return cached;

const env = getEnv();

cached = new WhopClient({
token: env.WHOP_COMPANY_API_KEY,
baseUrl: env.WHOP_SANDBOX
? "https://sandbox-api.whop.com/api/v1"
: "https://api.whop.com/api/v1",
});

  return cached;
}baseURL is with a capital URL. Using baseUrl will send every call to the live site where your sandbox keys won't work. The address also has to end in /api/v1, otherwise you stay on the sandbox but everything returns 404.Create something to sell
Now, we need a product and a price to make things work. One of the easiest ways to create them is using the Whop CLI. You can download it using the command:
npm install -g @whop/cliThen, use the context menu (three dots to the right of the product created) to copy its product ID. After that, go to the Checkout links page to find the product, and copy its plan ID from there the same way.
After downloading the CLI, sign in with whop auth login and pick the API key option rather than the browser one and use the key you created in the sandbox dashboard.
Browser logins always sign you in to Whop.com and cannot reach the sandbox. You can also follow the commands below to do it:
# macOS and Linux
export WHOP_API_BASE_URL="https://sandbox-api.whop.com/api/v1"

# Windows PowerShell
$env:WHOP_API_BASE_URL = "https://sandbox-api.whop.com/api/v1"

whop auth login --method api-key --api-key <your key>
WHOP_API_BASE_URL is not remembered between terminal windows. If you open a new one and run a CLI command without setting it again, you'll be working on your live Whop.com business instead of the sandbox.Let's create the product first using the command:
whop products create --title "Pro pass" --description "Sold through our own checkout." --visibility visiblewhop skills add command to install all the CLI skills your agents should know. Then, you can simply ask it to create a product, and it'll handle it.The create product command we used prints a prod_ ID. Paste it into the plan command, which will not run without it:
whop plans create --product_id prod_XXXXXXXXX --plan_type one_time --initial_price 49.99 --visibility visibleThat prints a plan_ id. Go to constants/ and create a file called whop-ids.ts, and put both in it:
export const WHOP_IDS = {
  productId: "prod_XXXXXXXXX",
  planId: "plan_XXXXXXXXX",
  priceUsd: 49.99,
} as const;
Keep our own record of the sale
Now, Whop is about to hold the money. But first, we need something of our own for it to point back at. Go to lib/ and create a file called orders.ts:
import { randomUUID } from "node:crypto";

export type OrderStatus = "pending" | "paid";

export interface Order {
  id: string;
  status: OrderStatus;
  userId: string;
  paymentId?: string;
  createdAt: string;
  paidAt?: string;
}

const orders = new Map<string, Order>();

export function createOrder(userId: string): Order {
  const order: Order = {
    id: randomUUID(),
    status: "pending",
    userId,
    createdAt: new Date().toISOString(),
  };

  orders.set(order.id, order);
  return order;
}

export function markPaid(id: string, paymentId: string): Order | undefined {
  const order = orders.get(id);
  if (!order) return undefined;
  if (order.status === "paid") return order;

  const paid: Order = {
    ...order,
    status: "paid",
    paymentId,
    paidAt: new Date().toISOString(),
  };

  orders.set(id, paid);
  return paid;
}
userId is however our app already identifies the buyer, usually the signed-in user, and it is ours rather than anything Whop gives us.The user ID has to come from somewhere that the browser cannot reach. Go to lib/ and create a file called auth.ts:
// Replace this with however the app already knows who is browsing: a session
// cookie, a JWT, whatever is in place. It has to run on the server, and it must
// never read an identity out of the request body, because the browser can put
// anything there.
export async function currentUserId(): Promise<string | null> {
  return "user_demo";
}
Put our order number on the checkout
In this route, we write our own order first, then ask Whop for a checkout that carries that order's ID. We attach the ID we get to the checkout form. Go to app/api/checkout/ and create a file called route.ts:
import { NextResponse } from "next/server";
import { whop } from "@/lib/whop";
import { currentUserId } from "@/lib/auth";
import { createOrder } from "@/lib/orders";
import { WHOP_IDS } from "@/constants/whop-ids";

export async function POST() {
  const userId = await currentUserId();

  if (!userId) {
    return NextResponse.json({ error: "Sign in first." }, { status: 401 });
  }

  const order = createOrder(userId);

  const checkout = await whop().checkoutConfigurations.create(
    {
      plan_id: WHOP_IDS.planId,
      mode: "payment",
      metadata: { order_id: order.id },
    },
    { headers: { "Idempotency-Key": `checkout-${order.id}` } },
  );

  return NextResponse.json({ orderId: order.id, sessionId: checkout.id });
}
The route asks who is signed in and works from that, so a buyer cannot check out as somebody else. That Idempotency-Key header stops a retry of the same request from turning into two checkouts.
@whop/sdk 0.0.42 the idempotencyKey option is accepted and never sent. We set the header ourselves, as above, or the request goes out with no protection at all.Put the checkout on our page
We can use an embedded checkout or a Whop-hosted checkout page, but we don't want the buyers to leave our platform, so we'll go ahead with the embedded option.
sessionId is the checkout we just made, so the form that appears is already carrying our order number.
Go to components/ and create a file called Checkout.tsx:
"use client";

import { useState } from "react";
import { WhopCheckoutEmbed } from "@whop/checkout/react";

type Stage =
  | { name: "idle" }
  | { name: "paying"; sessionId: string }
  | { name: "checking" }
  | { name: "done" }
  | { name: "failed"; message: string };

export function Checkout({
  environment,
  returnUrl,
}: {
  environment: "production" | "sandbox";
  returnUrl: string;
}) {
  const [stage, setStage] = useState<Stage>({ name: "idle" });

  async function start() {
    const response = await fetch("/api/checkout", { method: "POST" });

    if (!response.ok) {
      setStage({ name: "failed", message: "We could not start the checkout." });
      return;
    }

    const { sessionId } = (await response.json()) as { sessionId: string };
    setStage({ name: "paying", sessionId });
  }

  async function confirm(receiptId: string) {
    setStage({ name: "checking" });

    for (let attempt = 0; attempt < 10; attempt++) {
      const response = await fetch("/api/verify", {
        method: "POST",
        headers: { "Content-Type": "application/json" },
        body: JSON.stringify({ receiptId }),
      });

      if (response.ok) {
        setStage({ name: "done" });
        return;
      }

      if (response.status !== 202) {
        setStage({ name: "failed", message: "We could not confirm that payment." });
        return;
      }

      await new Promise((resolve) => setTimeout(resolve, 2000));
    }

    setStage({ name: "failed", message: "Whop is taking longer than usual to confirm this." });
  }

  if (stage.name === "done") {
    return <p className="text-lg font-medium">Payment confirmed. Your Pro pass is active.</p>;
  }

  if (stage.name === "checking") {
    return <p className="text-neutral-600">Checking the payment with Whop.</p>;
  }

  if (stage.name === "paying") {
    return (
      <WhopCheckoutEmbed
        sessionId={stage.sessionId}
        environment={environment}
        returnUrl={returnUrl}
        theme="light"
        onComplete={(_planId, receiptId) => {
          if (receiptId) void confirm(receiptId);
        }}
        fallback={<p className="text-neutral-600">Loading the checkout.</p>}
      />
    );
  }

  return (
    <div className="flex flex-col gap-2">
      <button
        type="button"
        onClick={() => void start()}
        className="rounded-lg bg-neutral-900 px-5 py-3 font-medium text-white"
      >
        Buy
      </button>
      {stage.name === "failed" ? (
        <p className="text-sm text-red-600">{stage.message}</p>
      ) : null}
    </div>
  );
}
Since we pass onComplete in the code above, the buyer stays on the same page after completing the purchase instead of getting redirected to somewhere else.
The returnUrl still has to be a full address, since some payment methods do bounce through a bank and need somewhere to land.
Go to app/pricing/ and create a file called page.tsx:
import { Checkout } from "@/components/Checkout";
import { getEnv } from "@/lib/env";
import { WHOP_IDS } from "@/constants/whop-ids";

export default function PricingPage() {
  const env = getEnv();

  return (
    <main className="mx-auto flex min-h-screen max-w-md flex-col justify-center gap-6 px-6">
      <div>
        <h1 className="text-2xl font-semibold">Pro pass</h1>
        <p className="mt-1 text-neutral-600">One payment, lifetime access.</p>
      </div>

      <p className="text-4xl font-semibold tabular-nums">
        ${WHOP_IDS.priceUsd.toFixed(2)}
      </p>

      <Checkout
        environment={env.WHOP_SANDBOX ? "sandbox" : "production"}
        returnUrl={`${env.APP_URL}/pricing`}
      />
    </main>
  );
}Open
next.config.ts and add frame-src https://*.whop.com and script-src https://t.whop.tw. If there is no policy yet, skip this.Now, run npm run dev and open /pricing. Clicking the Buy button should load the payment form with the price you set. It's time to build the route that handles the finished payments.
Confirm the payment on our server
After a payment is complete, the browser tells us a payment finished and hands us a receipt ID, which is the pay_ ID from earlier. But we always want to confirm it with Whop.
Go to app/api/verify/ and create a file called route.ts:
import { NextResponse } from "next/server";
import { z } from "zod";
import { whop } from "@/lib/whop";
import { WHOP_IDS } from "@/constants/whop-ids";

const bodySchema = z.object({
  receiptId: z.string().min(3),
});

export async function POST(request: Request) {
  const parsed = bodySchema.safeParse(await request.json());

  if (!parsed.success) {
    return NextResponse.json({ error: "missing_receipt" }, { status: 400 });
  }

  let payment;

  try {
    payment = await whop().payments.retrieve(parsed.data.receiptId);
  } catch {
    return NextResponse.json({ error: "not_readable_yet" }, { status: 202 });
  }

  if (payment.plan?.id && payment.plan.id !== WHOP_IDS.planId) {
    return NextResponse.json({ error: "wrong_product" }, { status: 400 });
  }

  if (payment.substatus !== "succeeded") {
    return NextResponse.json({ error: "not_paid" }, { status: 202 });
  }

  const orderId =
    payment.metadata && typeof payment.metadata.order_id === "string"
      ? payment.metadata.order_id
      : undefined;

  return NextResponse.json({ orderId: orderId ?? null, paymentId: payment.id });
}
That payment.metadata.order_id is the number we attached before the buyer typed anything.
Marking the order paid and handing over the bought product happen in the next section, so this route doesn't change anything. It just answers a single question for the browser: is that payment real?
substatus, not status. succeeded only ever appears on substatus, so a check against status waits forever.A 202 means the payment is real but not readable yet, so the component asks again. With the test card it usually settles instantly and this never runs, which is exactly why it is worth leaving in.
Now pay. Open /pricing, click Buy, and use 4242 4242 4242 4242 with any future date and any three digits. The page should end up saying the payment is confirmed.
Get told when the money lands
We verify the payment on our server but it only helps while the buyer is still on the page. In case they close the tab, nothing is going to let us know the payment went through. This is why we need webhooks.
A tunnel like
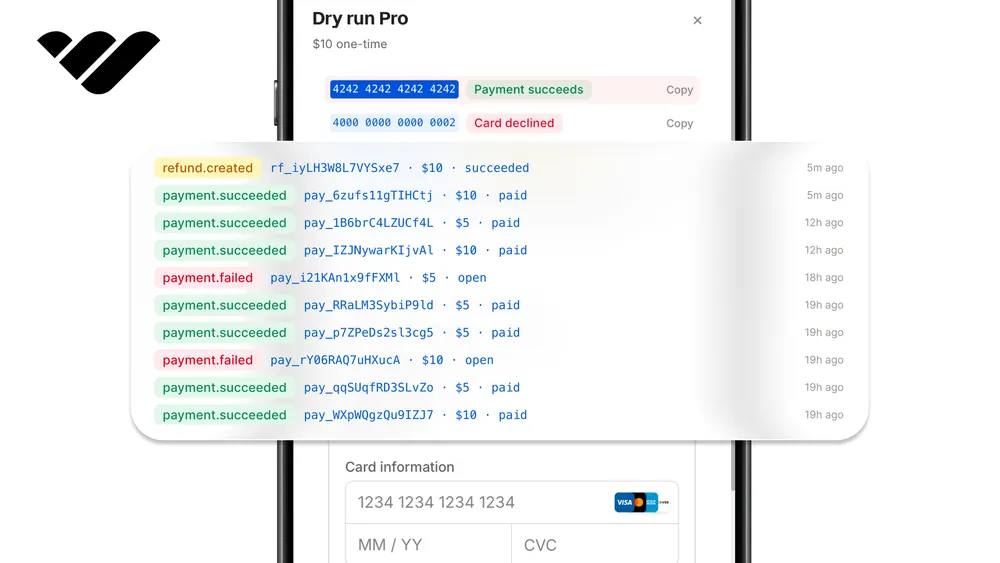
ngrok http 3000 pointed at your dev server works too.In the sandbox dashboard, open the Developer page and create a webhook under the Webhooks section, pointing at your app's address plus /api/webhooks/whop. Then, enable the payment.succeeded and payment.failed events.
We only act on the first one for now, but subscribing to both means failures already reach the handler when you want to do something with them.
Make sure the API version is set to v1, and then copy the signing secret into WHOP_WEBHOOK_SECRET in the environment variables.
Go to lib/ and create a file called webhook-log.ts:
const seen = new Set<string>();

export function recordDelivery(webhookId: string): { firstTime: boolean } {
  if (seen.has(webhookId)) return { firstTime: false };

  seen.add(webhookId);
  return { firstTime: true };
}
Then go to lib/ and create a file called fulfil.ts:
import { markPaid } from "@/lib/orders";
import { recordDelivery } from "@/lib/webhook-log";

export interface WhopWebhookEvent {
  type: string;
  id: string;
  data: Record<string, unknown>;
}

export type FulfilResult =
  | { outcome: "fulfilled"; orderId: string }
  | { outcome: "already_done"; orderId?: string }
  | { outcome: "ignored"; reason: string };

function readOrderId(data: Record<string, unknown>): string | undefined {
  const metadata = data.metadata;
  if (!metadata || typeof metadata !== "object") return undefined;

  const orderId = (metadata as Record<string, unknown>).order_id;
  return typeof orderId === "string" ? orderId : undefined;
}

// Replace this with what "they bought it" means in this app: flip a column,
// insert a row, send the licence key, add them to the group.
async function grantAccess(userId: string): Promise<void> {
  console.log(`granting access to ${userId}`);
}

export async function fulfil(
  event: WhopWebhookEvent,
  deliveryId: string,
): Promise<FulfilResult> {
  if (event.type !== "payment.succeeded") {
    return { outcome: "ignored", reason: `nothing to do for ${event.type}` };
  }

  const orderId = readOrderId(event.data);
  if (!orderId) {
    return { outcome: "ignored", reason: "no order_id in metadata" };
  }

  const { firstTime } = recordDelivery(deliveryId);
  if (!firstTime) {
    return { outcome: "already_done", orderId };
  }

  const paid = markPaid(orderId, typeof event.data.id === "string" ? event.data.id : "unknown");
  if (!paid) {
    return { outcome: "ignored", reason: `no order matching ${orderId}` };
  }

  await grantAccess(paid.userId);

  return { outcome: "fulfilled", orderId };
}
grantAccess is where we give the buyer what they paid for. We intentionally keep it after the duplicate check so that if the same message arrives twice we do not unlock twice.
Whatever it writes is what the rest of the app reads later. When a page needs to know if someone paid, it looks at that, not at the order. The order says a sale happened. The unlock says what the buyer can do.
Finally, go to app/api/webhooks/whop/ and create a file called route.ts:
import { NextResponse } from "next/server";
import { whop } from "@/lib/whop";
import { getEnv } from "@/lib/env";
import { fulfil, type WhopWebhookEvent } from "@/lib/fulfil";

export async function POST(request: Request) {
  if (!getEnv().WHOP_WEBHOOK_SECRET) {
    return NextResponse.json({ error: "webhook secret is not configured" }, { status: 500 });
  }

  const raw = await request.text();
  const headers = Object.fromEntries(request.headers.entries());

  let event: WhopWebhookEvent;

  try {
    event = whop().webhooks.unwrap(raw, { headers }) as unknown as WhopWebhookEvent;
  } catch {
    return NextResponse.json({ error: "bad signature" }, { status: 401 });
  }

  const deliveryId = headers["webhook-id"] ?? event.id;
  const result = await fulfil(event, deliveryId);

  return NextResponse.json({ received: true, outcome: result.outcome });
}
Check it worked
Before moving on, let's check if the checkout works. On localhost, with npm run dev running:
- Clicking Buy writes a pending order before the payment form appears.
- The form shows the price set in
whop plans create. 4242 4242 4242 4242completes it, and the page says the payment is confirmed./api/verifyanswers with our ownorderId, not just Whop's payment ID.
Once deployed, with the webhook pointed at the real address, see if:
- The webhook endpoint answers 2xx, visible in the dashboard's delivery list.
- The
payment.succeededpayload carries ourmetadata.order_id. - Replaying the same delivery from the dashboard answers
already_doneinstead of fulfilling again.
Going live
- Go to Whop.com and create a production API key with the same permissions.
- Remove
WHOP_SANDBOXor set it tofalse, and clearWHOP_API_BASE_URLfrom any terminal that still has it. - Sign the CLI in again with a production key. Run the same two commands to make the product and the plan on the live business, then put the new IDs in
constants/whop-ids.ts. - Create the webhook again on the live dashboard.
- Move both in-memory stores to a real database. Forgetting the
Setinwebhook-log.tsis the easy mistake, and losing it means a repeated message unlocks twice. Save the order and the unlock together, so a crash cannot leave one without the other. - Replace
grantAccesswith the real unlock, and make sure whatever it writes is what the rest of the app reads.
Use more of Whop in your platform
Your app now has the Whop checkout integrated. But that's not the only thing Whop can help you with.
After you integrate the checkout, you might want to add a paywall feature to gate your products, or add free trials so members can get a feel for your product before making a payment.
If you don't already have an app or platform of your own, our other tutorials like building a Gumroad or a YouTube clone can help you get started.
If you want to learn more about how Whop can help you, check out the Whop developer docs.