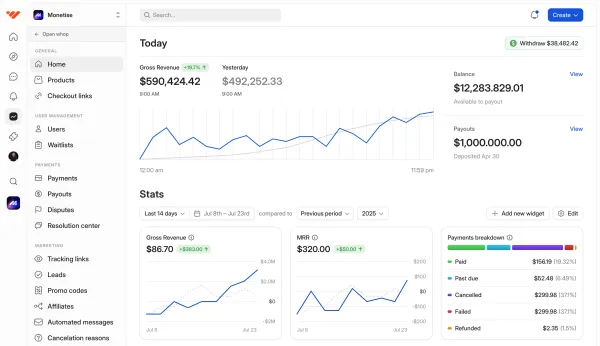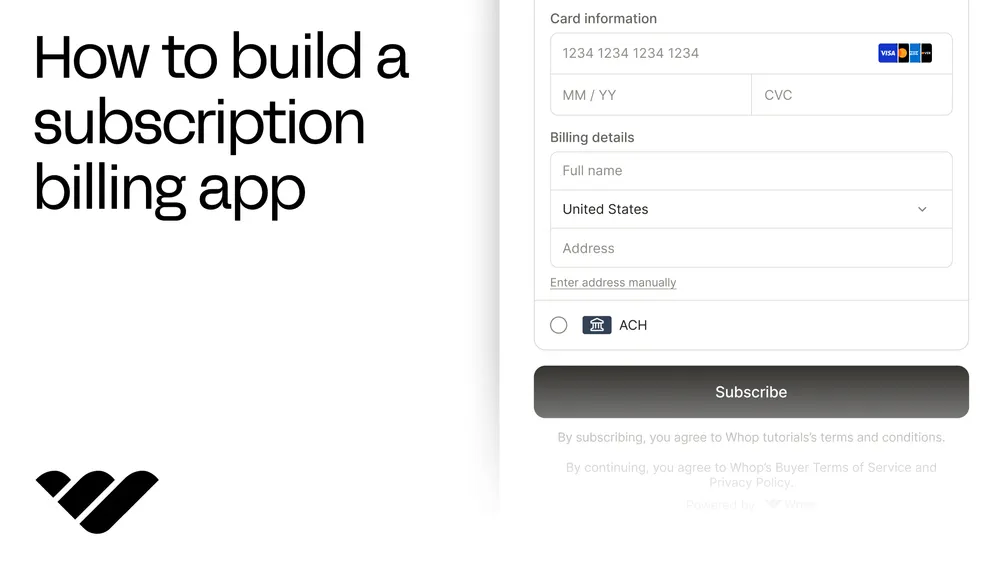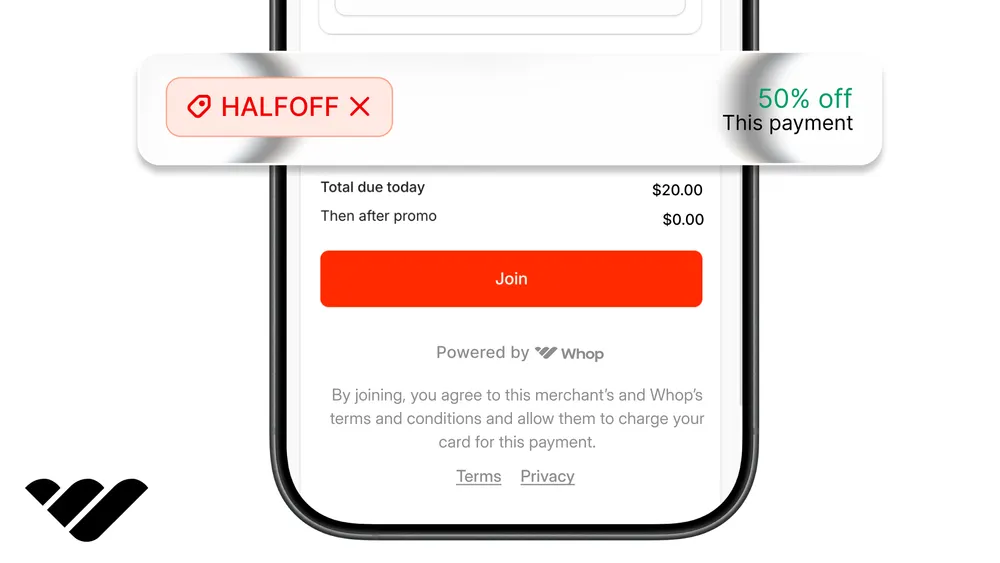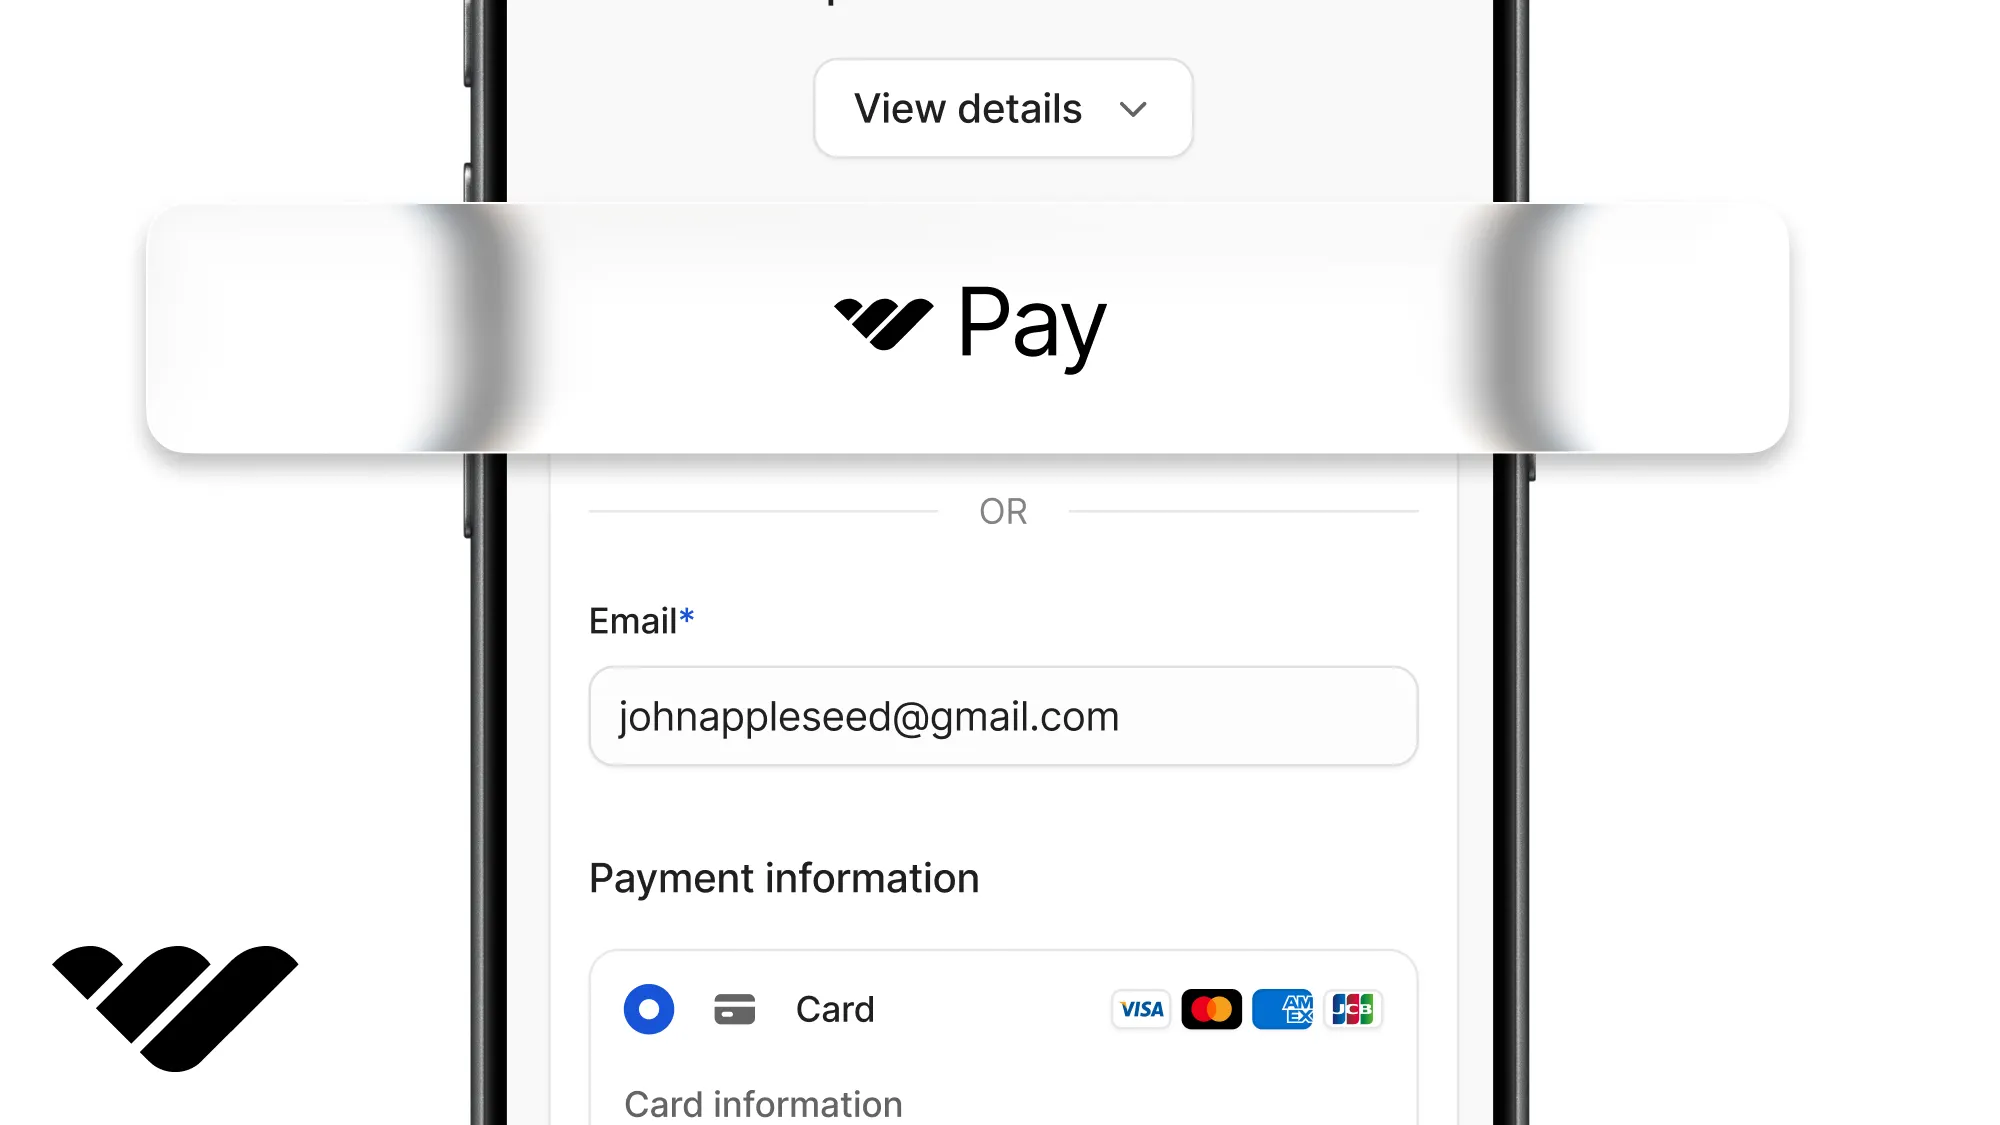
You can add express checkout to your app by simply dropping in the Whop express checkout component.
Key takeaways
- Drop in Whop's express checkout button to take real payments without building a checkout page or touching card data.
- The button adapts per visitor, showing Apple Pay, Google Pay, or a Whop checkout popup automatically.
- Always verify payments server-side from the receipt ID, and build in the sandbox before going live.
In this tutorial, we're going to walk you through adding an express checkout button to your store pages. You won't have to build a checkout page or touch any card number for the express checkout button to process real money.
We'll use Whop's express checkout button to achieve this. All you have to do is drop the button component into your store, and it will show each visitor the fastest way to pay, like Apple Pay if they're on an iPhone or Google Pay if they're on an Android.
Otherwise, they will see a pre-built Whop checkout popup. If you'd rather give checkout a page of its own, Whop's embedded checkout is the other option.
In this tutorial, we'll add the button, take a test payment, check whether the payment went through, handle the case where the browser gets sent away and comes back, and finish with a version for sites that don't run React.
You can click through the finished version in our companion demo here and read all of its code in the repository here.
Prerequisites
We're assuming your app runs on Next.js with the App Router. We'll add files under lib/, components/, constants/, app/pricing/, app/checkout/, and app/api/.
The express checkout button sells one thing at a time, and that thing is a Whop plan. A plan is a price attached to a product you've created before (we'll look at creating products soon).
Set up a sandbox account
The first thing you should keep in mind is that we'll be building on Whop sandbox first. This will allow us to see if our payments work without moving real money. Then, we'll move to live Whop.com.
Now, you should:
- Go to Sandbox.Whop.com and create an account
- After creating an account, click the Start a business button on the left navigation bar
- After creating a company, go to its dashboard using the company navigation bar
Get an API key
API keys are secrets that your app uses when it talks to other services, like Whop. While viewing the dashboard of your company, go to the Developer page.
There, you'll find a section called Company API keys. Click the Create button next to it and create an API key with the permissions:
payment:basic:readaccess_pass:basic:readplan:basic:readaccess_pass:createplan:create
After creating the API key, take note of it. We'll use it soon.
Install the packages
Before setting up the environment variables, let's install the packages we'll use: Whop's server SDK, the package that ships the button, a library for encrypted cookies, and one for checking that incoming data is the shape we expect.
Run the command below:
npm install @whop/sdk @whop/checkout iron-session zodEnvironment variables
Add these to your .env.local file, and later to your host's environment settings when you deploy.
| Variable | Example | How to get it |
|---|---|---|
WHOP_COMPANY_API_KEY | apik_... | Whop dashboard > Developer > Company API keys. |
WHOP_SANDBOX | true | Set manually. true while you build. Remove it or set it to false in production. |
SESSION_SECRET | ... | Generate with openssl rand -base64 32. 32+ chars. iron-session uses it to encrypt the cookie. |
APP_URL | http://localhost:3000 | Your app origin. The button's returnUrl is built from it. |
Check your env vars on startup
On startup, you should validate the environment variables to avoid silent errors in the future. Go to lib/ and create a file called env.ts with the content:
import { z } from "zod";

const envSchema = z.object({
  WHOP_COMPANY_API_KEY: z.string().startsWith("apik_"),
  WHOP_SANDBOX: z
    .string()
    .optional()
    .transform((v) => v === "true"),
  SESSION_SECRET: z.string().min(32),
  APP_URL: z.string().url(),
});

type Env = z.infer<typeof envSchema>;

let cached: Env | null = null;

export function getEnv(): Env {
  if (cached) return cached;
  cached = envSchema.parse({
    WHOP_COMPANY_API_KEY: process.env.WHOP_COMPANY_API_KEY?.trim(),
    WHOP_SANDBOX: process.env.WHOP_SANDBOX?.trim(),
    SESSION_SECRET: process.env.SESSION_SECRET,
    APP_URL: process.env.APP_URL?.trim(),
  });
  return cached;
}
Connect to Whop
Then, go to lib/ and create a file called whop.ts:
import { WhopClient } from "@whop/sdk";
import { getEnv } from "@/lib/env";

let cached: Whop | null = null;

export function getWhop(): Whop {
  if (cached) return cached;
  const env = getEnv();
  cached = new Whop({
    apiKey: env.WHOP_COMPANY_API_KEY,
    baseURL: env.WHOP_SANDBOX
      ? "https://sandbox-api.whop.com/api/v1"
      : "https://api.whop.com/api/v1",
  });
  return cached;
}baseURL with a capital URL, or the SDK quietly talks to the live site where your sandbox key fails. Keep the /api/v1 on the end too, or every call comes back as a 404 instead.How the button decides what to show
As we mentioned, the express checkout button doesn't look the same for everyone. It checks what the visitor's browser supports and shows the quickest option available:
| Browser | Shows | Where they pay |
|---|---|---|
| Safari on Mac or iPhone with Apple Pay set up | Apple Pay button | Right there, no window |
| Chrome or Android with Google Pay | Google Pay button | Right there, no window |
| Everything else | Whop Pay button | A checkout window over your page |
There's one required setting that you shouldn't miss, the returnUrl. Some payment methods might redirect the buyer to another approval page, and those pages require a URL to return the user to. We will set that page up in the coming parts.
The same code shows the real wallet buttons in production, which is why the go-live list at the end asks you to test in both browsers.
Create something to sell
The express checkout button needs a plan ID to work, so let's get one. The fastest way is Whop's command line tool. Install it by running the command:
npm install -g @whop/cliNow, let's sign in to use the CLI. One thing you'll realize is that there are two ways to sign in to the Whop CLI: with a browser login, and by providing an API key of a business.
We're going to use the API key method since browser logins will automatically target live Whop.com accounts and businesses.
Point it at the sandbox and sign in with the API key you just created (you won't have to do this if you're not working on Whop sandbox).
If you work with AI agents, you can instruct them to do this for you (we'll dive deeper into this in the next section), although it's always better to keep your API keys a secret:
# macOS and Linux
export WHOP_API_BASE_URL="https://sandbox-api.whop.com/api/v1"

# Windows PowerShell
$env:WHOP_API_BASE_URL = "https://sandbox-api.whop.com/api/v1"

whop auth login --method api-key --apiKey apik_your_key_hereTo point the CLI back at your live account in the same window, run unset WHOP_API_BASE_URL (on Windows PowerShell: Remove-Item Env:WHOP_API_BASE_URL) and sign in again with a production key, because a sandbox key against the live site just returns "Authentication failed".
It's time to create the product, then the $19.99 one-time price that goes on it. If you're using AI agents, you can instruct them to create a product and give you the plan ID.
If you prefer doing it yourself, the first command prints a product ID starting with prod_, and that id goes into the second command:
whop products create --title "Pro pass" --description "Unlocked with the express checkout button." --visibility visible

whop plans create --product_id prod_XXXXXXXXX --plan_type one_time --initial_price 19.99 --visibility visible
The second command prints a plan id starting with plan_. Both ids go in a file the rest of the app imports, so go to constants/ and create a file called whop-ids.ts with the content:
export const WHOP_IDS = {
  productId: "prod_XXXXXXXXX",
  planId: "plan_XXXXXXXXX",
} as const;
If you prefer doing things manually on Sandbox.Whop.com, you can go to your sandbox company's dashboard, create a product under the Products section, and copy its ID by using its context menu button.
You need the plan ID too, which sits under the product's Checkout links section.
Let your AI run it
As we mentioned, you can use the Whop CLI with your AI agents. If you want your agents to get comfortable using the Whop CLI and save you some time, you can get the Whop CLI skills by running the command:
whop skills addThis will write a short reference file for every group of Whop CLI commands, so your preferred agent can learn how to use the CLI, even if you switch agents.
From then on, you can ask your agent in plain language to manage your business, like creating plans, getting statistics, or creating checkout links.
The Whop CLI will stick to the account you signed in with, and won't prompt you to select a business again.
The sandbox key and WHOP_API_BASE_URL from above keep it in the sandbox account. Signing in with a production key, or selecting the browser login option with whop login, puts it on your real business instead.
Drop in the button
This component shows the button, hides itself if the button has nothing to show, and tells our server when a payment goes through.
The onComplete function hands us a receipt id that starts with pay_, and that id is the only thing that crosses to the server. What it's actually worth gets decided there.
Go to components/ and create a file called PricingCard.tsx with the content:
"use client";

import { useCallback, useState } from "react";
import { WhopExpressCheckoutButton } from "@whop/checkout/react";

interface PricingCardProps {
  planId: string;
  environment: "production" | "sandbox";
  returnUrl: string;
}

type Phase =
  | { name: "idle" }
  | { name: "verifying" }
  | { name: "unlocked"; receiptId: string }
  | { name: "error"; message: string };

const POLL_MS = 2000;
const MAX_ATTEMPTS = 10;

export function PricingCard({ planId, environment, returnUrl }: PricingCardProps) {
  const [phase, setPhase] = useState<Phase>({ name: "idle" });
  const [hidden, setHidden] = useState(false);

  const verify = useCallback(async (receiptId: string) => {
    setPhase({ name: "verifying" });
    for (let attempt = 0; attempt < MAX_ATTEMPTS; attempt++) {
      const res = await fetch("/api/verify", {
        method: "POST",
        headers: { "Content-Type": "application/json" },
        body: JSON.stringify({ receiptId, path: "callback" }),
      });
      if (res.status === 202 || res.status === 404) {
        await new Promise((resolve) => setTimeout(resolve, POLL_MS));
        continue;
      }
      if (res.ok) {
        setPhase({ name: "unlocked", receiptId });
        return;
      }
      setPhase({
        name: "error",
        message: `We couldn't verify the payment. Keep your receipt id (${receiptId}) and contact support.`,
      });
      return;
    }
    setPhase({
      name: "error",
      message: "Verification is taking longer than expected. Refresh and try again.",
    });
  }, []);

  if (hidden) return null;
  if (phase.name === "unlocked") return <p>Payment confirmed. You're in.</p>;
  if (phase.name === "verifying") return <p>Confirming your payment...</p>;

  return (
    <div>
      {phase.name === "error" && <p>{phase.message}</p>}
      <WhopExpressCheckoutButton
        planId={planId}
        returnUrl={returnUrl}
        environment={environment}
        theme="light"
        themeOptions={{ accentColor: "orange" }}
        fallback={<div>Resolving payment method...</div>}
        onComplete={(_planId, receiptId) => {
          if (receiptId) void verify(receiptId);
        }}
        onPaymentError={(error) => setPhase({ name: "error", message: error.message })}
        onExpressMethodResolved={({ rendered }) => {
          if (rendered === "none") setHidden(true);
        }}
      />
    </div>
  );
}https://*.whop.com in frame-src and connect-src, and https://js.whop.com and https://t.whop.tw in script-src.Add
https://cdn.plaid.com too if you keep the bank transfer option switched on.Since we passed onComplete, the buyer will stay on the page instead of getting redirected. Removing it will redirect the user to your return URL instead. We'll take a more detailed look at this later.
Now render the card from a page, which is where the env values get passed in. Go to app/pricing/ and create a file called page.tsx with the content:
import { PricingCard } from "@/components/PricingCard";
import { WHOP_IDS } from "@/constants/whop-ids";
import { getEnv } from "@/lib/env";

export default function PricingPage() {
  const env = getEnv();
  return (
    <main>
      <h1>Pro pass</h1>
      <p>Everything we ship, one payment, $19.99.</p>
      <PricingCard
        planId={WHOP_IDS.planId}
        environment={env.WHOP_SANDBOX ? "sandbox" : "production"}
        returnUrl={`${env.APP_URL}/checkout/complete`}
      />
    </main>
  );
}
Once that's done, start the dev server and open /pricing:
npm run devDon't pay yet, because the card reports to
/api/verify, which doesn't exist until the next section.Check the payment on your server
In this part we're going to work on the system that decides whether you actually get paid. We can't rely on what the browser tells us, so we want the server to ask Whop directly whether the receipt is real and paid.
We'll keep the confirmed payment in an encrypted cookie so the rest of the app can read it, and you'd swap that for whatever your app really does, like setting a flag on a user.
Go to lib/ and create a file called session.ts with the content:
import { getIronSession, type IronSession, type SessionOptions } from "iron-session";
import { cookies } from "next/headers";
import { getEnv } from "@/lib/env";

export interface SessionData {
  callbackPaymentId?: string;
  redirectPaymentId?: string;
  redirectStateId?: string;
}

export function sessionOptions(): SessionOptions {
  return {
    password: getEnv().SESSION_SECRET,
    cookieName: "whop_session",
    cookieOptions: {
      httpOnly: true,
      secure: process.env.NODE_ENV === "production",
      sameSite: "lax",
      path: "/",
    },
  };
}

export async function getSession(): Promise<IronSession<SessionData>> {
  const store = await cookies();
  return getIronSession<SessionData>(store, sessionOptions());
}
One route covers both ways a payment can reach us: the button's callback, and the return page we'll build in the next step. The receipt has to look like a payment ID, exist at Whop, be attached to our product, and be paid.
Go to app/api/verify/ and create a file called route.ts with the content:
import { z } from "zod";
import { NotFoundError } from "@whop/sdk";
import { WHOP_IDS } from "@/constants/whop-ids";
import { getSession } from "@/lib/session";
import { getWhop } from "@/lib/whop";

const bodySchema = z.object({
  receiptId: z.string().regex(/^pay_[A-Za-z0-9]{4,60}$/),
  path: z.enum(["callback", "redirect"]),
  stateId: z.string().max(80).optional(),
});

export async function POST(request: Request) {
  const body: unknown = await request.json().catch(() => null);
  const parsed = bodySchema.safeParse(body);
  if (!parsed.success) {
    return Response.json({ error: "invalid_receipt" }, { status: 400 });
  }

  let payment;
  try {
    payment = await getWhop().payments.retrieve(parsed.data.receiptId);
  } catch (error: unknown) {
    if (error instanceof NotFoundError) {
      return Response.json({ error: "not_found" }, { status: 404 });
    }
    throw error;
  }

  if (payment.product?.id !== WHOP_IDS.productId) {
    return Response.json({ error: "wrong_product" }, { status: 403 });
  }
  if (payment.status === "pending" || payment.status === "open") {
    return Response.json({ status: "pending" }, { status: 202 });
  }
  if (payment.status !== "paid") {
    return Response.json({ error: "not_paid" }, { status: 403 });
  }

  const session = await getSession();
  if (parsed.data.path === "callback") {
    session.callbackPaymentId = payment.id;
  } else {
    session.redirectPaymentId = payment.id;
    session.redirectStateId = parsed.data.stateId;
  }
  await session.save();

  return Response.json({
    ok: true,
    receipt: {
      id: payment.id,
      status: payment.status,
      substatus: payment.substatus,
      total: payment.total,
      currency: payment.currency,
      paidAt: payment.paid_at,
      cardBrand: payment.payment_method?.card?.brand ?? null,
      cardLast4: payment.payment_method?.card?.last4 ?? null,
    },
  });
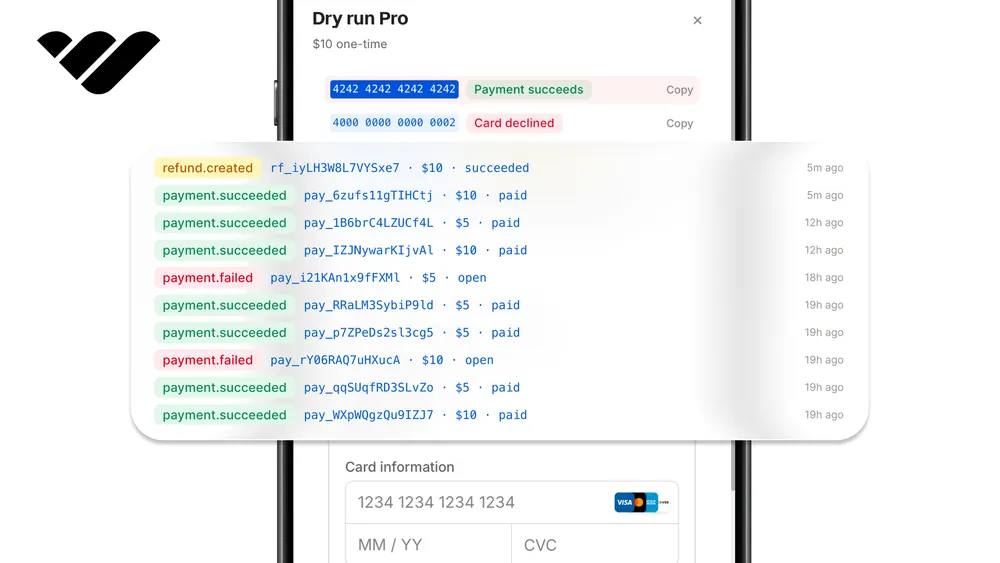
}Now let's see if everything works. On /pricing, click the express checkout button and pay with the Whop sandbox test card (4242 4242 4242 4242, any future expiry, any CVC).
The window closes, the page says it's confirming your payment, and then it confirms. You never left /pricing.
Handle the return trip
There's another way a payment can end. If we don't pass onComplete, the payment sends the user to the returnUrl with the result in the address bar. Even with onComplete in place, a bank approval step can send the user to that same address.
The URL receives three things: status is either success or error. payment_id is the receipt to check, and state_id identifies the checkout.
If the checkout didn't process any charges, like if the user saved a card for later, you'll get setup_intent_id in place of payment_id.
The return page reads the address bar, checks the payment with the same call we used before, and shows confirmation only for payments that pass. Go to app/checkout/complete/ and create a file called page.tsx with the content:
import { NotFoundError } from "@whop/sdk";
import { WHOP_IDS } from "@/constants/whop-ids";
import { getWhop } from "@/lib/whop";

function first(value: string | string[] | undefined): string | undefined {
  if (typeof value === "string") return value;
  return Array.isArray(value) ? value[0] : undefined;
}

export default async function CheckoutCompletePage({
  searchParams,
}: {
  searchParams: Promise<Record<string, string | string[] | undefined>>;
}) {
  const params = await searchParams;
  const status = first(params.status);
  const paymentId = first(params.payment_id);
  const setupIntentId = first(params.setup_intent_id);

  if (status !== "success") {
    return (
      <main>
        <h1>Payment not completed</h1>
        <p>The payment failed or was canceled, and nothing was charged.</p>
      </main>
    );
  }

  if (!paymentId) {
    return (
      <main>
        <h1>All set</h1>
        <p>Checkout finished without a charge{setupIntentId ? ", and your payment method was saved" : ""}.</p>
      </main>
    );
  }

  let payment = null;
  try {
    payment = await getWhop().payments.retrieve(paymentId);
  } catch (error: unknown) {
    if (!(error instanceof NotFoundError)) throw error;
  }

  if (!payment || payment.status === "pending" || payment.status === "open") {
    return (
      <main>
        <h1>Almost there</h1>
        <p>Your payment is still settling. Refresh this page in a few seconds.</p>
      </main>
    );
  }

  if (payment.product?.id !== WHOP_IDS.productId || payment.status !== "paid") {
    return (
      <main>
        <h1>We couldn't confirm this payment</h1>
        <p>Keep your receipt id ({paymentId}) and contact support.</p>
      </main>
    );
  }

  return (
    <main>
      <h1>Payment confirmed</h1>
      <p>${payment.total} {payment.currency?.toUpperCase() ?? "USD"} paid. Receipt {payment.id}.</p>
    </main>
  );
}
This page can check a payment and display the result, but it can't set cookies because Next.js doesn't allow that while a page is rendering.
If your return needs to log someone in or save their progress, you should post the payment_id to /api/verify with path: "redirect" from the browser instead.
To test this, take onComplete out of the pricing card and buy again. The browser should leave your page and come back to /checkout/complete?status=success&payment_id=pay_...&state_id=..., where the page checks it and confirms. Put onComplete back when you're done, unless the redirect is the flow you want.
If your site isn't React
The express checkout button works as a plain HTML tag so you can sell from Framer, Webflow, WordPress, or any hand-written HTML page. You only need to load the script, drop the tag in, and listen for the information you need.
The complete listener below posts to /api/verify, the route we built earlier, so it only works when this page and your app sit on the same domain.
If your page lives somewhere else, like Framer or Webflow, leave the fetch out and let the payment.succeeded webhook confirm the payment instead.
<script async defer src="https://js.whop.com/static/checkout/loader.js"></script>

<whop-express-checkout-button
  id="buy-button"
  plan-id="plan_XXXXXXXXX"
  return-url="https://yoursite.com/checkout/complete"
  environment="sandbox"
  skip-redirect="true"
  theme="light"
  theme-accent-color="orange"
></whop-express-checkout-button>

<script>
  const button = document.getElementById("buy-button");

  button.addEventListener("express-method-resolved", (event) => {
    if (event.detail.rendered === "none") button.style.display = "none";
  });

  button.addEventListener("complete", (event) => {
    fetch("/api/verify", {
      method: "POST",
      headers: { "Content-Type": "application/json" },
      body: JSON.stringify({ receiptId: event.detail.receiptOrSetupIntentId, path: "callback" }),
    });
  });

  button.addEventListener("payment-error", (event) => {
    console.log("payment failed", event.detail.message, event.detail.code);
  });
</script>
skip-redirect="true" is what keeps the buyer on your page, the way onComplete does in React. Take it out if you'd rather the browser go to your return URL.
Take environment="sandbox" out when you switch to a live plan id, because there's no WHOP_SANDBOX on a plain HTML page.
Going live
Everything we built so far runs on the sandbox. To go live, you should direct your process from Sandbox.Whop.com to Whop.com. Here's a small checklist to help:
- Make the product and plan again for real on whop.com, because sandbox ids don't carry over. Same two CLI commands, except you sign in with a production API key and leave
WHOP_API_BASE_URLunset. Put the new ids inconstants/whop-ids.ts. - Create a production API key with the same permissions and set it as
WHOP_COMPANY_API_KEY. - Remove
WHOP_SANDBOXor set it tofalse. The SDK address and the button'senvironmentboth come from it, so they switch together. - Generate a fresh
SESSION_SECRETand pointAPP_URLat your real domain, which movesreturnUrlto your real return page. - Keep
https://js.whop.comandhttps://t.whop.twin your CSP. - Test on Safari with an Apple Pay card and on Chrome with Google Pay. This is the first time you'll see the real wallet buttons.
- Register the
payment.succeededwebhook on your Whop dashboard, so a buyer who closes the tab before your page confirms still gets what they paid for. The checkout article sets one up.
Use Whop to improve your business
You now have the quickest possible way for people to make payments on your app, but that's not the only thing Whop can help you improve your business with.
With Whop, you can add embedded checkouts to your existing apps, put your premium content behind a paywall, or integrate embedded chats for your community to engage with each other.
All of this can be done with the Whop API, and you can use the Whop CLI with your agents to get everything done agentically. If you want to learn more about what Whop offers, check out our other tutorials and the Whop developer documentation.