Thinking about migrating your Slack community to Discord? This guide walks you through the entire process from start to finish.
Key takeaways
- Discord offers more affordable pricing with fewer paywalled features, making it ideal for public communities versus Slack's enterprise focus.
- Slack and Discord share similar structures (workspaces/servers, channels), enabling straightforward channel replication during migration.
- Successful migration requires advance team preparation, feedback channels for unfamiliar users, and archiving Slack content for future reference.
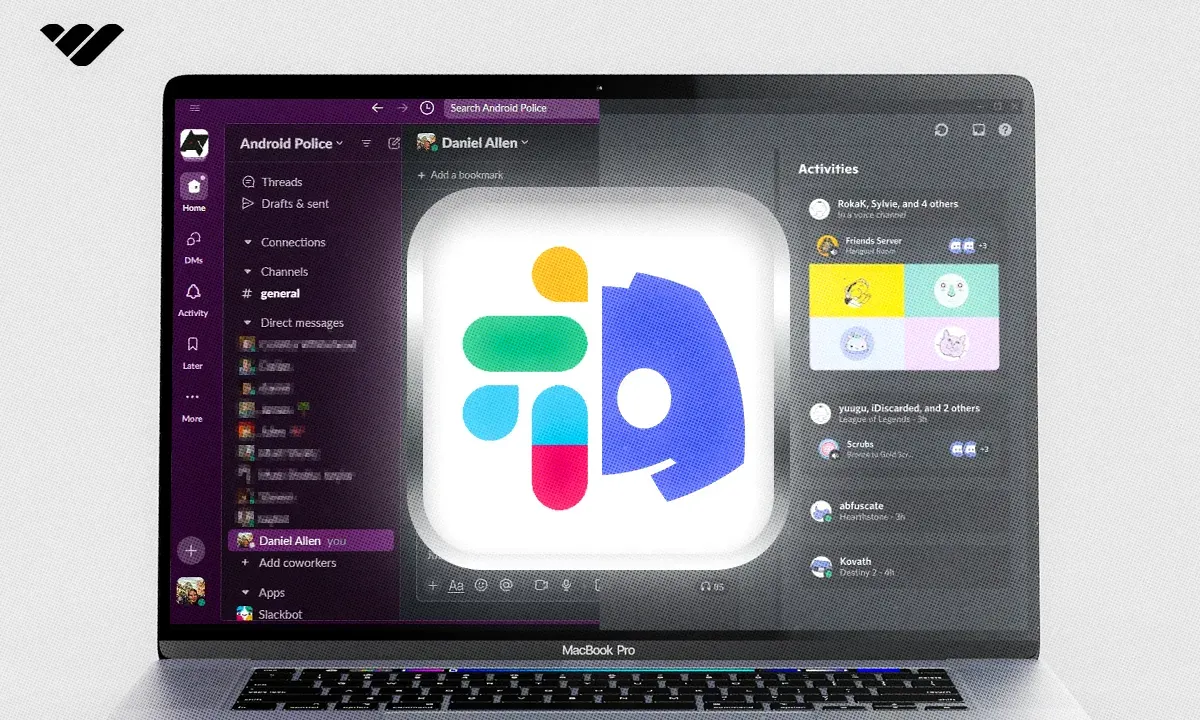
Slack and Discord are both amazing apps with their own pros and cons. When simplified to their core, Slack is more for professional project/company groups, and Discord is... well, for everything! But just like how a Swiss pocket knife is amazing for multiple purposes, it might not cut as efficiently as a knife with just one purpose, depending on what you're trying to cut.
But does that mean one is better than the other? No, it all depends on what you want to get out of the platform. In this guide, we’re going to take a look at why you might want to migrate your Slack community to Discord and how you can do it.
Why Migrate Your Community to Discord?
There are many reasons to migrate to Discord, but not all of them might suit your situation. Slack is more of a company/project group-focused platform, while Discord focuses on being adaptable to any situation. You can think of Slack as a private group and Discord as a public one, which can be made private if you want to. If you want to transform your group into an easy-to-use community, migrating to Discord might be the way to go.
While Slack is considered the best platform for professional communication, Discord is much more accessible and has fewer paywalled features when compared to Slack.
Which is Better for a Community: Slack or Discord?
Here is a comparison table of both Slack and Discord:
| Slack | Discord | |
|---|---|---|
| Free and paid options | Free, $7.75, and $12.50 per person and enterprise options | Free, $2.99, and $9.99 |
| User-friendliness | Simple and easy to use | Even simpler and easier to use |
| Communication options | Chat, voice, and video calls | Chat, voice, and video calls, including multiple channel types |
| File sharing | 1 GB | Free users have a 25 MB limit, while Nitro Basic has 50 MB and Nitro has 500 MB |
| Integrations | A lot of official integration options | While there are various official integration options, many are supported via third-party bots |
| Security | Secure with MFA (multi-factor authentication) | Secure with MFA (multi-factor authentication) |
| Visual customization | Unlimited emojis, custom workspace icons, and theme color adjustments | A lot of customization options, from server banners to custom emojis. Expression limits are based on the Server Boost level |
| Target group | Companies and project groups | Everyone |
| Paywalled features | Accessing chats from the past 90 days, more than 1:1 calls, custom groups, and more | Cosmetic features and functional ones like bigger file sharing, joinable server limit, and longer messages (up to 4000 characters) |
When we compare the two, it’s easy to see that Slack focuses on professional organizations while Discord tries to be adaptable to all communities. This can be seen in the pricing options as well. Slack has paywalling features that organizations need to scale their internal operations, while Discord paywalls social features like profile customization.
If you want to create a public community, when we compare the two, the result is very polarized - Discord is the best platform to create communities. So, let's take a look at how you can move your community from Slack to Discord.
How to Move Your Community from Slack to Discord in 6 Steps
Slack’s communication channels are organized under “workspaces,” and Discord’s communication channels are organized under “servers.” Despite the different names, the communication channels, or simply channels, are virtually the same on both apps. Fortunately for you, the workspaces of Slack and the servers of Discord are very much alike as well. They contain channels and members.
Since Slack and Discord share a similar structure, you can easily replicate your Slack channel structure on your new Discord server's channels. That’s not all, of course - you still need to create a server, visually design it, and set up roles, permissions, and channels.
Let’s take a look at the steps you should follow for your migration.
Prepare Your Team
Migrating from Slack to Discord can be a bit confusing for your members, especially if they have never used Discord before. So make sure to let them know of your migration in advance and provide them with resources so they can familiarize themselves with Discord.
If you have someone who can help you with the migration, you can split the workload into two. While you’re creating channels, your friend can help you by setting up the roles and their permissions.
Another useful step you can take is to write down all of your members and their superficial roles. So, for example, if you have a creative writer, a content writer, and a technical writer, you can organize them under the “Writer” role. This will allow you to grant roles to your Discord members much more efficiently.
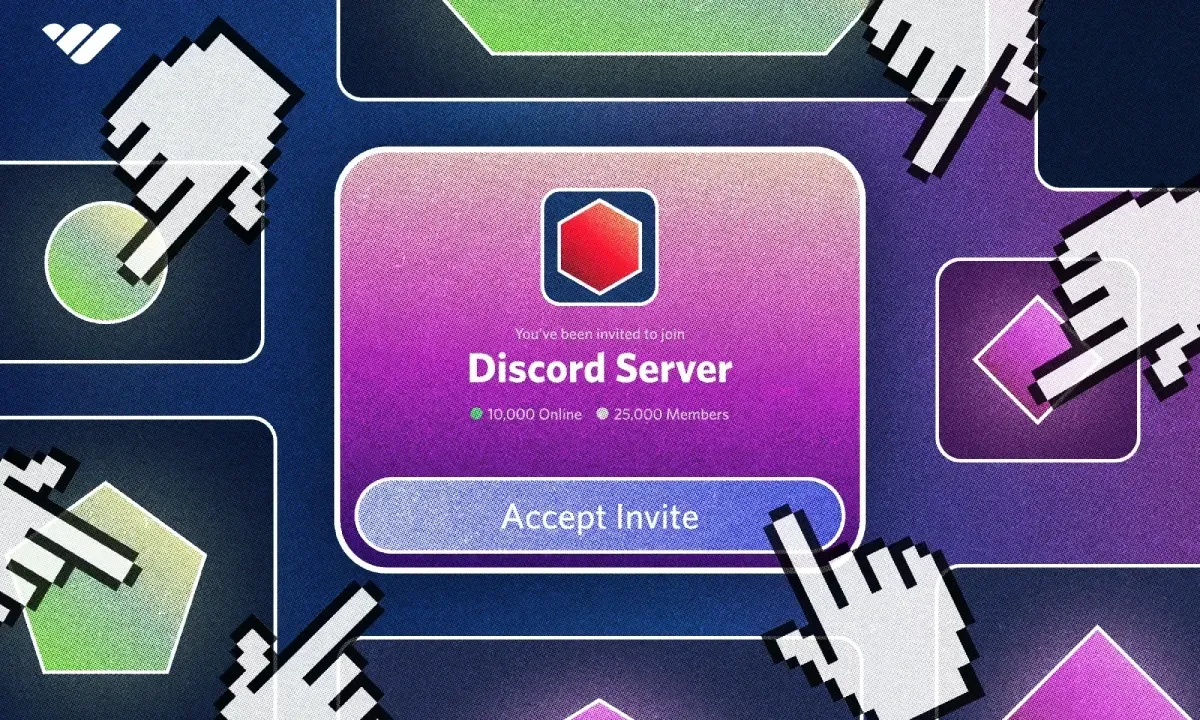
Create Your Discord Server
The first step in your migration journey should be creating a Discord server. Creating one is easy and free, and you can invite as many people as you want to the server since they can host tens of millions of members.
When creating your Discord server, make sure to set its name and icon the same as your Slack workspace so when members who are not familiar with Discord migrate to it, they can easily find your server.
Customize Your Server
We mentioned that Discord allows its users to customize their servers in many ways, including emojis, roles, permissions, channels, and some visual aspects.
After you create your server, the first thing you should do is create your channels. You can copy the structure of your Slack since the workspace and server systems are very much alike. A suggestion we have for you is to create two read-only channels: rules and server information. The rules channel will provide the rules that you expect your members to follow, while the server information provides all the information your members should know. You can detail your channel structure, role structure, how to use Discord, and other information that you think your members can use.
The second thing you should do is to take a look at your members and their roles. You should liberally create roles for your members, but make sure not to create too many roles since it can make managing your Discord server harder than it should be.
After you create the channels and the roles, you should set up the permissions of both of them so you can organize who can access which channel.
The last step is visual customization - it’s important to make your server visually appealing so your members feel like they’re in a place that you spent effort to create. Take a look at our Discord Size Guide article to learn more about every single visual you can customize on your server.
Prepare a Community Engagement Strategy
Communities need engagement, but this largely depends on what kind of community you have. If your server consists of the members of your company, you don’t have to host Discord events. You might rather host gatherings in a voice channel. On the other hand, if you have a public community, hosting virtual events on your server can benefit you a lot in terms of growth and retention.
Since you’re migrating from Slack to Discord, it would be helpful for both you and your members to create feedback and help channels so that your members who are not that familiar with Discord can give you feedback and ask for your help.
Begin Moving Your Community
Now that you have your server ready, it’s time to start the migration. We’ve prepared a step-by-step action guide that largely applies to all communities:
- Transfer all integrations you have from Slack to Discord, if any.
- Test all of your roles and their permissions via the “View Server as Role” option in Discord’s role settings to see if everything is set up correctly.
- Go over your rules and the server-information channels and confirm they’re all up-to-date.
- Start inviting the inner circle and gather feedback from them.
- Once everything is fine and your server is ready to go, start inviting every single member of your Slack workspace to the Discord server. As they join your server, either manually grant them the roles or let them pick their own via a reaction role system.
- Once the migration is complete, keep gathering feedback as much as you can so you can revise your server as needed.
Start Shutting Down Slack
The migration is complete and your community is on Discord now - great. You might think that it’s fine to get rid of your Slack workspace, but that’s not always a good practice. Instead, try archiving your Slack channels so that if anything comes up in the future that needs you to reference the content of your Slack workspace, you can go back and check it.
How Whop Can Help
Whop can help you with the role organization of your server as well. Manually assigning roles to your Discord members can be time-consuming.
Instead, try creating a Hub on Whop and set up products related to the roles in your community so your members can join your Hub, get the product (free or paid) for their role, and the Whop bot will automatically invite them to your server and grant them the related role.
Community Management With Whop
Managing a community is not everyone’s cup of tea - it can be hard. Whop is here to help you. You can easily set up roles and member management with Whop’s Discord integration and keep your server organized.
If your server isn’t a private company or project group server, you should consider monetizing it with Whop. Whop has been helping thousands of server owners monetize their servers and generate an income. Signing up to Whop and starting selling access to your server takes less than 10 minutes, sign up today.